Quick Answer
Yes, it is possible to install macOS Big Sur on an external hard drive. Apple made it easier to install macOS on external drives starting with macOS High Sierra. However, there are some limitations and things to keep in mind when installing macOS on an external drive.
Overview
Installing macOS on an external drive has a number of potential benefits compared to installing on your Mac’s internal drive:
- Allows you to boot multiple Macs from a single external drive
- Keeps your data separate from your system files
- Allows you to easily reformat your internal drive without losing your system
- Provides a portable macOS installation for troubleshooting
However, there are also some downsides:
- Slower system performance when running macOS from external drive
- External drives more prone to failure than internal drives
- Not all Macs support booting from external drives
Overall, using an external drive for macOS is a viable option for advanced users who understand the tradeoffs. Casual users who just want to install macOS Big Sur will likely find an internal installation more straightforward.
Requirements
To install Big Sur on an external drive, you’ll need the following:
- A compatible Mac that meets Big Sur minimum requirements
- At least 14GB of available storage on the external drive
- A USB 3.0 external drive or Thunderbolt drive
- The macOS Big Sur installer application
- An external drive formatted as Mac OS Extended (Journaled)
- Time and patience! Plan for 1-2 hours to complete the install process.
Not all Macs support booting from external drives. Macs introduced in or after 2013 generally support it, while earlier Macs have more limited compatibility. Check Apple’s support documentation to see if your Mac can boot from external drives.
Steps to Install Big Sur on External Drive
Here is an overview of the installation process:
- Format external drive and create macOS partition
- Download macOS Big Sur installer
- Create bootable installer drive
- Boot from the installer drive
- Install Big Sur on the external drive partition
- Set external drive as startup disk
Now let’s look at each of these steps in more detail.
1. Format External Drive and Create Partition
The first step is to format your drive and create a partition specifically for the macOS installation.
You’ll want to use the Disk Utility app to format your drive as “Mac OS Extended (Journaled)”. This will erase all existing data on the drive, so make sure to backup anything important first.
Next, you’ll create a partition on the drive just for macOS. The partition should be at least 14GB in size to accommodate all the system files. Name the partition something like “Big Sur” to easily identify it.
2. Download macOS Big Sur Installer
Next, you’ll need to download the macOS Big Sur installer application from the App Store on your Mac. The installer app is several GB in size, so make sure you have a good internet connection and sufficient space on your internal drive.
The easiest way to get the installer is to:
- Open the App Store app
- Search for “macOS Big Sur”
- Click Download and let the installer download to your Applications folder.
Once downloaded, don’t launch the installer just yet – we’ll use it in the next step.
3. Create Bootable Installer Drive
With the installer downloaded, now you’ll create a bootable Big Sur installer drive using your external drive. This will allow you to boot your Mac directly from the external drive and install Big Sur.
To create the bootable installer:
- Connect your formatted external drive to your Mac
- Launch Terminal (/Applications/Utilities/Terminal)
- Enter this command in Terminal, replacing “MyVolumeName” with your actual external drive name:
sudo /Applications/Install\ macOS\ Big\ Sur.app/Contents/Resources/createinstallmedia --volume /Volumes/MyVolumeName - Enter your admin password when prompted
- Wait for the bootable installer to be created. This can take a while depending on your drive speed.
When done, you’ll have bootable Big Sur installer drive ready to go.
4. Boot from the Installer Drive
Next, you’ll boot your Mac directly from the newly created installer drive:
- Reboot your Mac and hold down the Option key during boot
- Select your external drive under the boot manager
- Your Mac will boot directly from the external drive into the macOS installer
If booting from the external drive doesn’t work, you may need to enable it in your Mac’s Startup Security Utility.
5. Install Big Sur on the External Drive Partition
With your Mac booted from the installer drive, you can now install Big Sur onto the external drive partition:
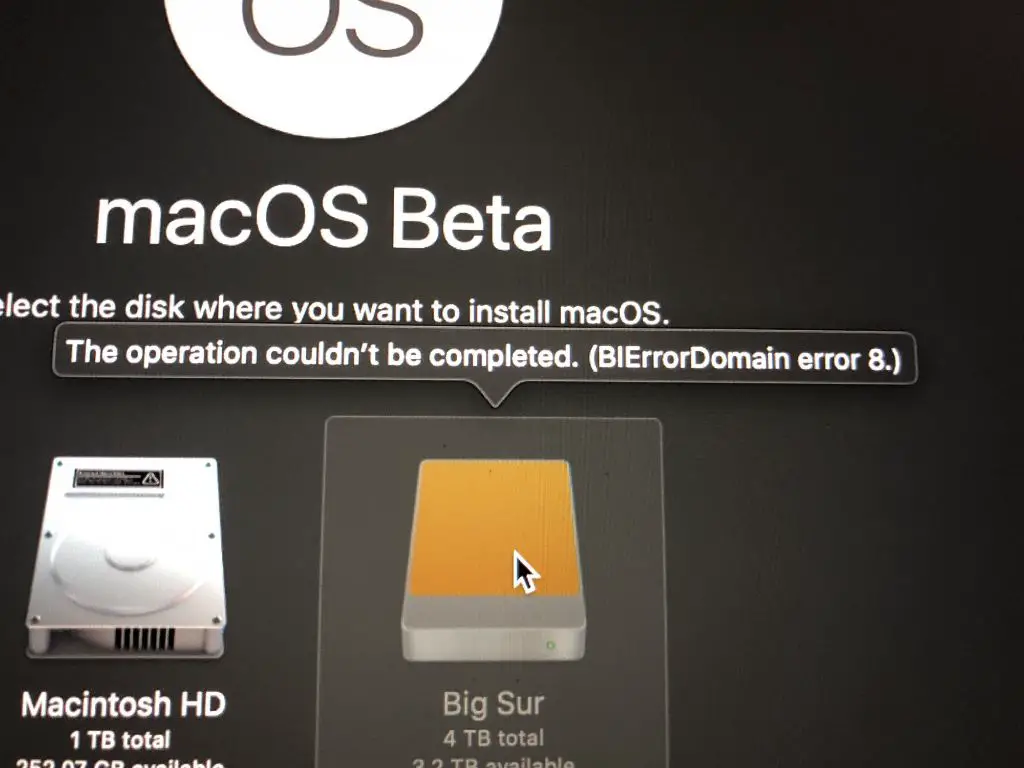
- Launch the macOS Big Sur installer as usual
- When asked to select a drive, choose your external drive partition (not your internal drive!)
- Continue through the rest of the installer screens
- Installation will take 30-40 minutes depending on drive speed
Be patient and let the full installation process complete. Your external drive will reboot a few times during the process.
6. Set External Drive as Startup Disk
Once installation is done, you’ll want to set your external drive as the default startup disk:
- Open System Preferences > Startup Disk
- Select your external drive
- Click Restart to boot from external drive now
Your Mac will now boot directly from the external drive by default.
Using Big Sur Installed on External Drive
Now that you have Big Sur installed on your external drive, you can:
- Boot from the drive on multiple Macs
- Keep personal data on your internal drive separate from system files
- Easily reformat the internal drive without losing macOS
- Test new macOS versions without impacting your main installation
A few usage notes:
- System performance may be slower, especially on older Macs
- Always eject the external drive properly before unplugging it
- Use Time Machine to back up both internal and external drives
- Keep drives physically secure – external drives are easier to steal!
And remember, you can always change the startup disk back to your internal drive in System Preferences if needed.
Tips for a Successful Installation
Here are some tips to ensure your external Big Sur installation goes smoothly:
- Use a high-quality external drive – SSDs work best for performance
- Avoid low free space – leave at least 15GB of room on the drive
- Use USB 3.0 or Thunderbolt ports for fastest data speeds
- Don’t interrupt the installation process midway through
- Have a backup Mac available in case of issues
- Be prepared to troubleshoot any startup issues after install
- Don’t forget to set Startup Disk to external drive after installing
Taking the time to properly prepare your drive, complete all steps, and check compatibility will give you the best chance of success.
Potential Issues When Installing Big Sur on External Drives
Despite best efforts, you may encounter occasional issues when installing Big Sur on an external drive. Here are some potential problems and how to fix them:
External drive doesn’t show up as a boot option
First, check Startup Security Utility to confirm your Mac supports booting from external drives. If so, try changing the drive format to APFS or reformatting the drive entirely before reinstalling.
Big Sur installation becomes stuck or frozen
Allow ample time for the install – don’t assume it’s frozen right away. If truly not progressing, force quit the installer app and reboot from your main startup disk. Start the installer again from the beginning.
Random errors during installation
Many errors can simply be fixed by retrying the installation from the beginning. Also consider updating your Mac with the latest software updates before installing.
External drive doesn’t boot after installation
Make sure your T2-equipped Mac is allowing booting from external media in the Startup Security Utility. You may need to select your external drive manually at boot as well.
Big Sur runs slowly from external drive
Using USB 2.0 or slow hard drives can result in significant system lag. Upgrade to Thunderbolt, USB 3.0 or an SSD external drive instead for much better performance.
Time Machine won’t back up external drive
Time Machine requires a directly connected Thunderbolt, FireWire or USB drive to back up an external startup disk. Network volumes are not supported.
Reinstalling the macOS on Internal Drive
If you wish to move your Big Sur installation back to your internal drive, you can simply run the macOS installer again, this time selecting the internal drive.
Be sure to copy any data you wish to retain back to your internal drive first. Then boot from your main internal drive again after reinstall is complete.
You can also try cloning your external drive to your internal drive using Carbon Copy Cloner or a similar tool. This may be faster than reinstalling from scratch.
Conclusion
Installing macOS Big Sur on an external drive is totally possible and lets you maintain a portable macOS installation. Just be sure your Mac supports it, understand the limitations, and follow all installation steps closely. Allow plenty of time for the process and have backup plans in case issues arise. Overall, an external Big Sur drive gives you flexibility and options beyond the standard internal-only setup.