Having a ghost CD drive show up in your computer can be annoying and confusing. A ghost CD drive is a virtual CD/DVD drive that doesn’t actually exist as a physical drive on your computer. Ghost CD drives usually appear after improperly uninstalling CD/DVD burning software or drivers. The good news is that removing a ghost CD drive is usually pretty straightforward.
What causes a ghost CD drive?
A ghost CD drive usually shows up after you’ve uninstalled a program like burning software or DVD playback software. Some common causes include:
- Uninstalling CD/DVD burning software like Roxio or Nero without removing the associated drivers
- Updating or uninstalling the Windows operating system and device drivers
- Removing a physical CD/DVD drive without deleting the associated drivers
- Corrupted registry entries related to your CD/DVD drives
When you uninstall software like this, it sometimes leaves behind registry entries and driver files, causing Windows to still detect the “phantom” drive. A ghost drive doesn’t point to any real hardware, so you can’t actually use the drive.
How can I view my CD/DVD drives?
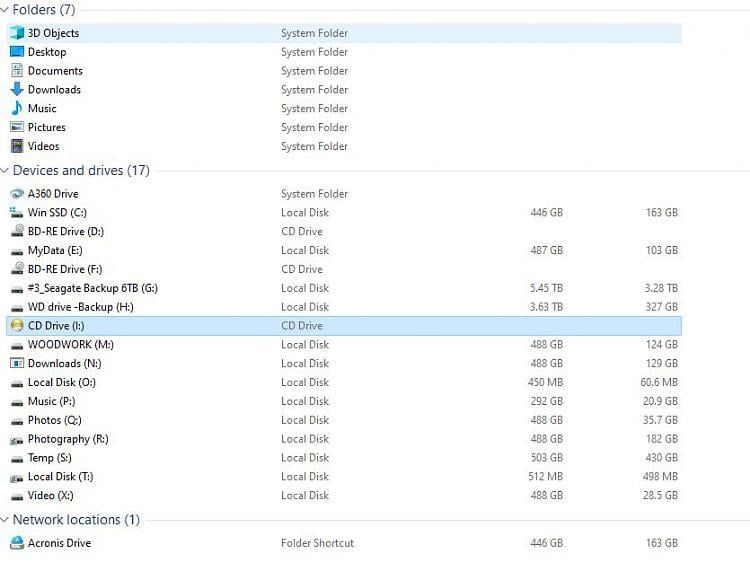
To see what CD/DVD drives your computer has detected, open up File Explorer in Windows and look under “This PC” or “My Computer.” Each drive will be listed under Devices and Drives.
You can also check in Device Manager. Type “devmgmt.msc” into the Windows search bar and press Enter to open Device Manager. Expand the “DVD/CD-ROM drives” section to view all detected drives.
Compare the drive letters in File Explorer to those in Device Manager to identify any drives that don’t seem to match up to real hardware.
Remove the ghost drive in Device Manager
The easiest way to remove a ghost CD drive is through Device Manager:
- Open Device Manager as explained above.
- Expand the “DVD/CD-ROM drives” section.
- Right-click on the ghost drive and select “Uninstall device.”
- Check the box to “Delete the driver software for this device” and then click “Uninstall.”
- Restart your computer and the ghost drive should be gone.
This process removes the registry entry and driver files that are causing the phantom drive to appear. Make sure you don’t uninstall the wrong drive though! If you accidentally remove a legit drive, you can restart your computer to make it reappear.
Use third-party software
If Device Manager doesn’t do the trick, the ghost drive is likely tied to some deep registry entries. You can manually dig through the registry to remove these entries, but that involves a lot of searching and precision deletions. It’s easier to use third-party software to automate the process.
Here are some good options:
- DriveTheLife – Free tool designed specifically for eliminating ghost drives
- PC Cleaner – System utility suite that can remove phantom drives
- CCleaner – Popular registry cleaner that should purge ghost drive entries
Download and install one of these tools, scan your system for issues, and let the software search and destroy any leftovers related to the phantom drive. This usually does the trick when Device Manager fails. Be careful when deleting registry entries though, and it’s a good idea to create a restore point first.
Change or uninstall the driver
Sometimes a bad driver itself can cause a ghost drive. You may be able to resolve the phantom drive by either updating or fully removing the related driver. The easiest way is through Device Manager:
- Right-click the ghost drive and select “Properties.”
- Go to the “Driver” tab and click “Update driver.” This will search for a newer version.
- If updating doesn’t work, click “Uninstall device” on the Driver tab. Make sure to check “Delete the driver software for this device” before confirming.
After uninstalling the driver software, restart your PC and Windows should reinstall the drive with fresh driver files, hopefully eliminating the phantom issue.
Change drive letters
One common cause of phantom drives occurs if you delete a physical drive without changing the drive letter assignments in Windows. For example, if you have a CD drive assigned to the F: drive and you remove it, Windows still reserves the F: drive letter.
To fix this:
- Open up File Explorer and right-click on the phantom drive.
- Select “Change Drive Letters and Paths.”
- Click “Change” and remove the drive letter assignment.
This will release the drive letter on your system. Restart your computer and the phantom drive may disappear.
Remove registry entries
If all else fails, you can manually remove the registry entries associated with the ghost drive. This is an advanced process and requires making precise registry edits. Make sure you create a full system backup first!
To remove a phantom drive’s registry entries:
- Open the Windows Registry Editor (regedit).
- Navigate to HKEY_LOCAL_MACHINE\SYSTEM\MountedDevices.
- Look for entries with the same drive letter as your ghost drive. Delete these entries.
- Go to HKEY_LOCAL_MACHINE\SYSTEM\CurrentControlSet\Control\Class\{4D36E965-E325-11CE-BFC1-08002BE10318}.
- Delete any subkeys referencing the phantom drive letter.
After removing these entries, restart your PC. The ghost drive should no longer appear. Again, be extremely careful editing the registry directly. Make backups and only delete entries you know relate to the phantom drive.
Conclusion
Ghost CD drives can certainly be a nuisance, but thankfully removing them is usually pretty simple:
- Use Device Manager to uninstall the phantom drive.
- Try a third-party registry cleaner or drive-removal tool.
- Update or uninstall the driver for the ghost drive.
- Change the drive letter assignment in Windows.
- Manually delete associated registry entries (advanced).
In most cases, Device Manager or a registry tool will take care of the problem. Just be careful not to remove any actual drives you want to keep. With a few simple steps, you can banish any ghost drives back to the grave where they belong.