Resetting a USB drive back to normal can be done in a few simple steps. If your USB drive is not working properly or has become corrupted, resetting it can often fix common issues and restore it back to factory default settings.
What causes a USB drive to become corrupted?
There are a few common causes of USB corruption:
- Improperly ejecting the USB – Always use the “Safely Remove Hardware” option before unplugging the USB from your computer. Improperly ejecting can cause file errors.
- Physical damage – Damage to the USB drive from dropping or liquids can lead to corruption.
- Driver conflicts – Conflicts between the USB driver on your computer and the drive can cause issues.
- Virus infection – Viruses or malware on the USB can corrupt data and cause problems.
Resetting the USB will wipe out any viruses or corrupted data on the drive and restore it back to a clean, working state.
How to reset a USB on Windows
Here are the steps to reset your USB on a Windows PC:
- Insert the USB you want to reset into your computer.
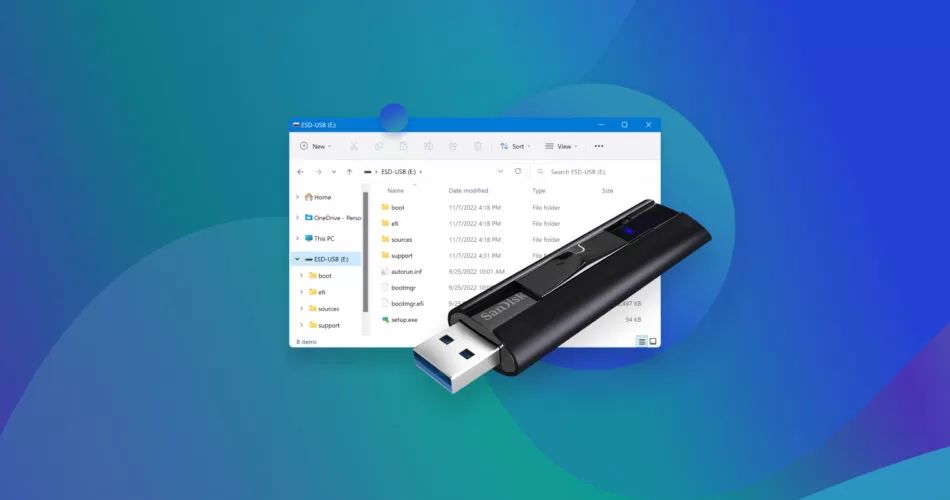
- Open Windows File Explorer and locate the USB drive.
- Right click on the USB drive and select “Format”. This will open the format dialog box.
- In the File System drop down, select “FAT32”.
- Check the “Quick Format” box.
- Click “Start” to begin the format.
- After formatting is complete, your USB is reset.
The quick format on Windows will completely reset everything on the USB drive back to the blank, default state. All files will be deleted. Make sure you backup any important data before resetting the USB.
How to reset USB on Mac
Here is how to reset a USB on Mac OSX:
- Connect the USB drive to your Mac.
- Open Disk Utility (Applications > Utilities > Disk Utility).
- Select your USB drive in the left panel.
- Click “Erase” at the top.
- Enter a name for the drive.
- Select “MS-DOS (FAT)” for Format.
- Click “Erase” to reset the USB.
This process will reformat the USB drive and wipe it back to factory default state. All data on the drive will be deleted in the process.
How to reset USB on Linux
To reset a USB on Linux, you can use the mkfs.vfat command. Here are the steps:
- Open the terminal on your Linux machine.
- Type
sudo fdisk -lto get a list of drives. Identify the correct USB drive. - Unmount the USB drive with
sudo umount /dev/sdX(replace X with your drive letter). - Use the mkfs.vfat command to format and reset the drive:
sudo mkfs.vfat -F 32 /dev/sdX - After the mkfs.vfat command completes, your USB is reset.
This will format the USB drive to FAT32 and return it to factory settings. The existing data on the drive will be overwritten in the process.
Try a different USB port or computer
If resetting the USB drive does not resolve the problem, try plugging the USB into a different port on your computer. Occasionally, the USB port itself may cause issues with the drive. You can also try connecting the USB to a different computer entirely.
If the USB continues having issues on other machines, it likely indicates a hardware problem with the USB drive itself. At that point, you may need to replace the faulty USB drive.
Check for physical damage on the USB
Carefully inspect the physical USB drive to check for any damage or broken pieces. Problems like the following can prevent your USB drive from working properly:
- Broken or bent USB connector – The metal pins must be straight and aligned to insert into the USB port properly.
- Cracked or damaged casing – Damage that exposes the internal components can cause shorts and failures.
- Liquid damage indicators – Discoloration inside the USB port indicates liquid contact that could have damaged electronic components.
- Missing cap or broken slides – The protective plastic cap can break off from rough handling.
If you see any physical damage on your USB drive, it may need to be replaced rather than just reset. The damage could prevent the reset from being effective.
Try a low-level format tool
If the standard reset process does not work, you can try using a low-level formatting tool for USB drives. Low-level formatting completely erases and rewrites all of the sectors on the USB device.
Some recommended free low-level formatting tools include:
- HP USB Disk Storage Format Tool – Works on Windows and Mac.
- SDFormatter – For SD cards and USB drives on Windows.
- GParted – Free partition manager that runs on Linux.
To use these tools, you’ll need to:
- Backup any data you want to keep from the USB.
- Download and install the tool.
- Connect the USB drive to your computer.
- Run the low-level format process. This can take some time to complete.
- After it finishes, the USB will be reset to factory state.
Low-level formatting is an advanced option, but can resolve issues not fixed by a standard reset process.
Reset corrupted USB drives
If your USB drive has become corrupted from viruses, file errors, or other damage, resetting can often fix the corruption. Symptoms of a corrupted drive include:
- Error messages when accessing the USB
- Inability to open files or access data
- Strange behavior like freezing, crashing, or slow response
- Unusable sections or partitions on the USB
Resetting a corrupted drive essentially reformats the storage media and writes over any corrupted data or code. This restores functionality and erases viruses or malicious software that may have caused the corruption.
The steps to reset a corrupted USB drive are the same as resetting a normal USB. Follow the instructions earlier in this article for how to format and reset the USB device. Just be sure to backup any data you need before resetting a corrupted drive.
How to make a bootable USB drive
In some cases, you may want to reset a USB drive to be bootable, meaning it can be used as a startup disk to install an operating system.
Here are the basic steps to make a bootable USB drive:
- Insert your USB drive into your computer.
- Open the Disk Utility tool.
- Select your USB drive in the left panel.
- Click “Erase” to clear all content on the USB.
- Next, download the ISO file for the operating system you want to make bootable.
- Use utility software like Rufus or UNetbootin to write the ISO to the USB drive.
- After writing completes, you will have a bootable USB.
You need a 4GB or larger USB drive to have room for most operating system ISO files. The process completely resets and replaces the contents of the USB to become a boot disk rather than a normal storage drive.
Other USB reset tips
Here are some other miscellaneous tips for resetting your USB drive:
- Back up your data – Be sure to copy any files or data you need from the USB before resetting it. The reset process will erase everything.
- Use the native utility – Use the built-in reset utility for your specific OS rather than a third-party tool.
- Reset using Device Manager – You can right-click on your USB in Windows Device Manager and select “Format” to reset it.
- Try on another PC – If your USB is not resetting properly, try it on a different computer to rule out PC-specific issues.
- Check for the latest USB drivers – Outdated drivers can sometimes cause USB problems. Update your USB drivers to the latest versions.
Conclusion
Resetting a USB drive is a simple process on Windows, Mac, and Linux. Simply reformatting the drive and wiping it to factory default settings can fix many common USB problems. In severe cases of corruption or hardware failure, you may need advanced tools or a new USB drive. But in most cases, the standard reset process outlined in this article can restore your USB back to normal working order.