What is Time Machine?
Time Machine is an automatic backup software utility that is built into macOS. It allows users to restore files, folders, or their entire system from backups taken at different points in time [1]. Time Machine backups are stored on an external drive connected to your Mac, such as an external hard drive or Apple’s AirPort Time Capsule.
Time Machine works by automatically making incremental backups of your Mac’s files, on an hour-by-hour basis, whenever the backup drive is connected. This allows you to go “back in time” to restore previous versions of your files, folders or system from before unwanted changes occurred or data was lost [2].
When to restore from Time Machine
There are several common scenarios when you may need to restore files or your entire system from a Time Machine backup. Some of the main reasons to restore from Time Machine include:
After data loss or corruption – If you lose important files or suffer data corruption, you can restore from a Time Machine backup to recover your data. Time Machine keeps hourly backups for the past 24 hours, daily backups for the past month, and weekly backups prior to that. So you can restore a previous clean version before the data loss occurred (Apple Support).
To recover older versions of files/folders – Time Machine allows you to browse through your previous backups and recover older versions of files, folders or your entire system. This is useful if you made changes to a document and want to revert back to an earlier draft or version (Apple Support).
When upgrading to a new Mac and needing to transfer data – You can use Time Machine to migrate your apps, settings, and data to a new Mac. Rather than manually moving files, the Migration Assistant can pull your most recent Time Machine backup to seamlessly set up your new system (Apple Support).
Requirements for restoring from Time Machine
To restore your Mac from a Time Machine backup, there are two key requirements:
First, you need an external backup drive that you’ve been using with Time Machine to store backups of your Mac. Time Machine requires an external drive to save backups – it can’t back up to your main startup disk or to iCloud. The external Time Machine backup drive needs to be connected to your Mac to restore from it.
Second, your Mac needs to be able to run the version of the Mac operating system (macOS) that is contained in the Time Machine backup you want to restore from. For example, if your latest backup was performed when your Mac was running macOS Catalina, your Mac will need to be able to run macOS Catalina as well in order to restore from that backup. You may need to reinstall your previous version of macOS before restoring if your Mac was upgraded to a newer OS version since that backup.
Refer to Apple’s support article on restoring your Mac from a Time Machine backup for full details on requirements.
Connect Time Machine backup drive
In order to restore your files from a Time Machine backup, you first need to connect the external drive containing the Time Machine backups to your Mac. The backup drive should connect directly to the Mac using a USB, Thunderbolt, or FireWire cable.
Once connected, make sure the drive is mounted and accessible. If the drive does not show up on the desktop or in the Finder, go to System Preferences > Disk Utility and see if the drive shows up under External Drives. If not, try disconnecting and reconnecting the drive. You may need to re-format the drive if it is unrecognized.
The backup drive must use a compatible format like HFS+ or APFS. To reformat a drive, select it in Disk Utility and click Erase. Choose a name, compatible format, and guide scheme. Be aware this will erase all data currently on the drive.
Once connected and mounted, the Time Machine backup drive should be accessible and ready to restore from within the Time Machine interface.
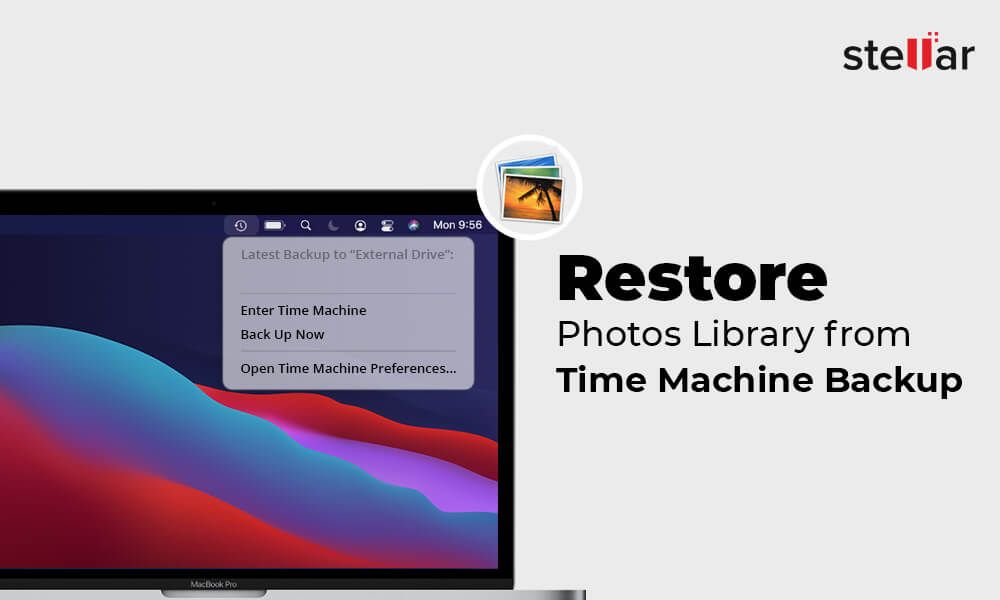
Enter Time Machine
To enter Time Machine and view your backups, you can either open it from the Dock or System Preferences:
From the Dock:
- Click the Time Machine icon in the Dock. This will open the Time Machine interface and show your available backups.
From System Preferences:
- Open System Preferences and go to the Time Machine section.
- Click “Enter Time Machine”. This will open the Time Machine interface and display your backups.
Once in the Time Machine interface, your backups will be shown in a timeline view on the right side. You can scroll through this timeline to find the backup point you want to restore from. The Finder window on the left will update to show your Mac’s contents at the selected time.
Navigate to Backup Time
To navigate to the specific point in time you want to restore from, use the timeline on the right side of the Time Machine interface. This timeline shows snapshots of your entire Mac’s file system taken at each backup interval. Each snapshot is represented by a dot on the timeline.
You can scroll through the timeline to browse the different backup points. Hover over a dot to preview the files and folders on your system at that point in time. This allows you to pinpoint the backup you want to restore from before restoring any files (source).
Once you’ve identified the backup time you want to restore from, click on that point on the timeline. Time Machine will automatically navigate to that time and update the file browser to show your Mac’s file system as it was at that point. You can then browse and select files and folders to restore from that snapshot.
Restore files/folders
You can selectively restore individual files or folders from your Time Machine backup to your current Mac. Here are the steps:
1. Connect your Time Machine backup drive to your Mac.
2. Open Finder and click Enter Time Machine in the menu bar.
3. Navigate to the backup time that contains the files or folders you want to restore.
4. Select the files or folders you want to restore.
5. Click the Restore button. This will copy the selected files/folders to your current Mac (1).
The restore process will only copy the selected files/folders without overwriting other data on your current Mac. It lets you granularly recover specific data without restoring your entire system.
Restore entire system
You can restore your entire Mac system from a Time Machine backup. This will completely overwrite your current system and restore everything to the state of the backup. According to Apple, you can restore to an external drive which will allow your Mac to boot from the external drive backup.
To restore your entire system from Time Machine:
- Connect the Time Machine backup drive to your Mac.
- Restart your Mac and hold down Command + R keys to enter Recovery mode.
- Select “Restore from Time Machine Backup” and choose the backup you want to restore from.
- Select the disk you want to restore to. This can be your normal startup disk or an external drive.
- Click Continue to start the restore process. This may take several hours.
If you restore to an external drive, your Mac will boot up directly from that drive. This allows you to access the restored system without overwriting your original startup drive. It’s useful for testing restores before committing to changes. Just make sure the external drive is plugged in when booting your Mac.
Best practices
Following some key best practices can help ensure your Time Machine backups are working properly and you can successfully restore when needed:
Keep regular backups – Time Machine is designed to backup hourly, but it’s important to connect your backup disk regularly to capture all changes. The backup disk should be connected most of the time.1
Test restores periodically – Every so often, go into Time Machine and test restoring a few files or folders. This verifies your backups are working and makes you more familiar with the restore process for when you actually need it.2
Maintain enough backup disk space – Check your backup disk occasionally and make sure it has ample free space for Time Machine to continue backing up. You may need to archive or delete old backups to clear space.
Troubleshooting
If you encounter issues while trying to restore from Time Machine, there are some common troubleshooting steps to try:
Make sure your backup disk is connected, turned on, and plugged in securely. For network disks, verify the connection is active and your Mac can access the disk over the network (source).
Check for any VPN software or firewalls that may be blocking access to the backup disk. Disable VPN and firewall temporarily to test (source).
If the backup appears corrupted, try rebuilding the Time Machine database. To do this, open Terminal and run:
sudo tmutil verifybackup
Follow prompts to rebuild database. This can fix missing or incomplete backups.
As a last resort, you can reset Time Machine entirely by entering this Terminal command:
sudo tmutil reset
This will clear all connections and let you reselect a disk. Backup history will be lost.
Following these troubleshooting tips can help resolve most common Time Machine errors during restore.