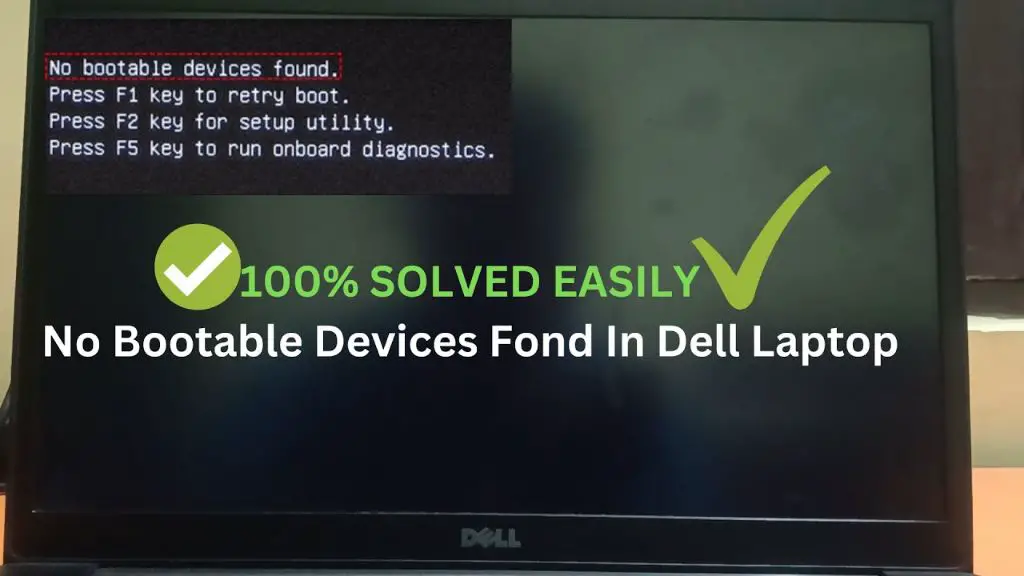
If your Dell computer is displaying a “no boot device found” error message when you turn it on, there are several steps you can take to try to fix the issue. This error indicates that the computer is not detecting a bootable hard drive from which it can load the operating system. Here are some quick answers to common questions about this error, followed by detailed troubleshooting steps.
Quick Answers
- What does “no boot device found” mean? – It means your computer cannot find a bootable hard drive containing an operating system to start up.
- What are some common causes? – Faulty hard drive, loose SATA cable, disabled boot device in BIOS, corrupt OS files.
- How can I fix it? – Check SATA connections, run hardware diagnostics, access BIOS and check boot order, try system restore or OS repair.
- Do I need to replace the hard drive? – Maybe, if diagnostics find the hard drive is faulty or cannot be repaired.
Step 1: Check Physical Connections
The first step in troubleshooting a “no boot device” error is to do a physical check of your hardware connections. Here are some things to verify:
- Make sure the SATA data and power cables are firmly connected to the hard drive and motherboard. Loose or damaged cables can cause connection issues.
- Inspect the cables for any bent or broken pins. If the SATA cable is faulty, replace it with a new one.
- Check that the hard drive is properly seated in its bay and that no screws are missing or loose.
- Remove and reseat the RAM modules to ensure they are making good contact with the motherboard.
If reseating cables and connections does not help, try disconnecting all non-essential devices like external hard drives. You just need the system drive connected to perform initial troubleshooting.
Step 2: Run Hardware Diagnostics
The next step is to check for any hardware issues using Dell’s built-in diagnostics tool. Here is how to run the ePSA pre-boot system assessment:
- Restart your computer and press the F12 key when the Dell logo appears to access the boot menu.
- Select “Diagnostics” from the menu and press Enter.
- When the ePSA tool launches, choose the option for “Hard Drive” tests.
- Let the tests run to completion. They will verify the health status of your hard drive.
If the tests detect any issues with your hard drive, it may need to be repaired or replaced. Contact Dell support if the diagnostics find hardware faults.
Step 3: Check BIOS Settings
Another potential reason for the “no boot device” message is if your BIOS settings have been configured incorrectly:
- Access your BIOS setup menu by pressing F2 during bootup.
- Go to the “Boot” tab and check if your hard drive is listed as a bootable device.
- If not, use the arrow keys to select it and press Enter to add it as a valid boot device.
- Make sure “Hard Drive” is prioritized over other boot options in the boot order.
- Press F10 to save changes and Exit from the BIOS.
This will ensure the BIOS recognizes your system hard drive as the primary boot device. If it still does not appear, there may be an issue with the drive itself.
Step 4: Attempt System Restore
If you can boot into Windows but are experiencing issues, you may be able to use System Restore to roll back your computer to an earlier working state:
- Boot into Windows in Safe Mode by pressing F8 during restart.
- Log in and click Start > All Programs > Accessories > System Tools > System Restore.
- Select “Choose a different restore point” and pick a date prior to when issues began.
- Follow the prompts to restore your system to the earlier restore point.
- Restart your computer and check if the error still occurs.
This may help fix software issues or driver conflicts that could be preventing your system from booting properly. If the problem persists, you will need to dig deeper.
Step 5: Boot and Repair from Recovery Media
If System Restore does not resolve the boot issue, the next step is to boot from recovery media and run startup repair or boot rec rec. Here’s how:
- Insert your Windows install DVD or USB recovery drive.
- Restart your PC and press F12 to access the boot menu.
- Select your inserted media as the boot device.
- Choose your language and edition of Windows.
- Click “Repair your computer” at the bottom left.
- Go to Troubleshoot > Advanced options > Startup Repair and let it run.
Startup Repair will automatically diagnose and fix boot issues. After it completes, restart your PC normally and see if the problem is resolved.
Step 6: Rebuild BCD
If Startup Repair did not fix your no boot device issue, you can try rebuilding the BCD (Boot Configuration Data) store manually:
- Boot from the Windows DVD or USB drive as before.
- Open Command Prompt from the Advanced options.
- Run “bootrec /RebuildBcd” and press Enter.
- Type “Y” and hit Enter when prompted to add installation to boot list.
- Close Command Prompt and restart your PC normally.
Rebuilding the BCD can resolve boot problems caused by a corrupted system file. Try running Startup Repair again after rebuilding BCD.
Step 7: Refresh or Reset Windows
If the previous steps have not helped resolve the issue, refreshing or resetting Windows may fix software and system file errors:
- Refresh – Reinstalls Windows but preserves your personal files and settings.
- Reset – Completely reinstalls Windows and deletes all your files, apps, and settings.
To refresh or reset Windows:
- Boot from your recovery drive as before.
- Choose Troubleshoot > Reset this PC or Refresh this PC.
- Follow the on-screen instructions to refresh or reset your PC.
This will reinstall Windows system files and drivers which may resolve the boot issue if it was caused by system file corruption.
Step 8: Check for Faulty Hard Drive
If all above steps fail to fix the problem, it’s possible the no boot device error is being caused by a failed or failing hard drive.
Signs of a faulty hard drive include:
- Loud clicking or grinding noises from the hard drive.
- OS crashes and data loss or corruption.
- Slow system performance and freezing.
- ICT (internal configuration tool) detects issues during diagnostic tests.
To confirm, you can pull out the suspect hard drive and test it in another system or external enclosure. If it is still not being detected or has connectivity issues, the hard drive is faulty and needs to be replaced.
Replacing a Faulty Hard Drive
If diagnostics confirm the hard drive is defective, here are steps to replace it:
- Purchase a compatible new hard drive for your Dell model.
- Use a Phillips head screwdriver to remove the access panel or cover.
- Locate the hard drive and remove any screws securing it in place.
- Disconnect the SATA data and power cables from the faulty hard drive.
- Slide out the faulty hard drive from the drive bay.
- Insert the new replacement drive into the drive bay and secure in place.
- Reconnect the SATA cables to the back of the new drive.
- Replace the access panel, reconnect power cord, and turn PC back on.
Once powered on, you will need to reinstall your operating system on the new hard drive before you can boot into Windows again.
Conclusion
The “no boot device found” error indicates the PC cannot detect a boot drive during startup. Typical causes include loose SATA connections, BIOS misconfiguration, corrupt system files, or a failed hard drive. To resolve, first check connections and run hardware diagnostics. Try system restore or startup repair using recovery media. Refreshing, resetting, or replacing Windows may be needed if software is damaged. In rare cases, replacing a faulty hard drive completely may be required to successfully boot again.