exFAT (Extended File Allocation Table) is a file system that is optimized for flash memory such as SD cards and USB flash drives. It was introduced by Microsoft in 2006 as an improvement over the older FAT32 file system.
The main benefits of using exFAT on Android devices are:
- Supports files larger than 4GB – FAT32 has a maximum file size limit of 4GB whereas exFAT supports much larger files.
- Wide compatibility – exFAT can be read and written to by Windows, macOS, Linux, Android, and many other operating systems. This makes it useful for sharing files between different devices.
- Efficiency with large capacity cards – exFAT is optimized for large capacity storage devices like high capacity SD cards.
Therefore, formatting an SD card to exFAT can be beneficial for Android users who want to store large files beyond 4GB, share files across different operating systems, or use high capacity SD cards efficiently.
Prerequisites
Before formatting your SD card to exFAT on an Android device, there are a few requirements both for the Android device and the SD card:
Android device requirements:
- Running Android 6.0 Marshmallow or newer – According to an Android Stack Exchange post, exFAT support was added in Android 6.0: https://android.stackexchange.com/questions/163197/since-which-android-version-is-exfat-supported
- Supported on some devices running Android 5.1 Lollipop
- Full support coming in Android 13 according to Android Police: https://www.androidpolice.com/pixel-android-13-exfat-support-history/
SD card requirements:
- Capacity of 32GB or higher – Lower capacity cards may not support exFAT
- SDHC or SDXC card – Older SD cards may not be compatible
Back Up SD Card Data
Before formatting your SD card to exFAT on an Android device, it is crucial to back up any important data stored on the card. According to What Happens When You Format an SD Card?, while lost data can potentially be recovered after formatting, it is not guaranteed. The formatting process can cause data to be overwritten. So backing up data ahead of time is the only way to ensure no important files are permanently lost.
To backup an SD card on Android, connect your device to a computer and transfer any photos, videos, documents or other files you want to keep onto the computer’s hard drive or external storage. You can also back up data to cloud storage services like Google Drive or Dropbox. Fully backing up the SD card to another location before formatting is highly recommended, as it is the only way to prevent accidental data loss.
The key point is to properly back up the SD card first before proceeding with any formatting operation. This preparatory step gives peace of mind that no irreplaceable data will be lost or corrupted by the formatting process.
Access Device Storage Settings
To access the storage settings menu on your Android device, follow these steps:
1. Open the Settings app on your device. This is usually done by swiping down from the top of the screen and tapping the gear icon, but may vary slightly between devices.
2. Scroll down and tap “Storage”. On some devices this may be called “Storage & USB” or “Memory”.
3. You should now see a screen showing the storage info and options for your device. This is the storage settings menu.
4. Here you can view details on used and available storage, manage downloads, clear cache files, migrate data to an SD card if you have one inserted, and more. The exact options will vary across Android versions and device models.
5. Locate the option for your external SD card on this screen. It may be listed under “Portable storage” or similar. Tap on it to manage files stored on the SD card.
Source: https://www.consumerreports.org/electronics-computers/cell-phones/how-to-free-up-storage-on-your-phone-a1910142091/
Locate and Select SD Card
The next step is to locate and select the external SD card within your Android device’s storage settings. This allows you to specify the SD card as the target for formatting.
To find the SD card, open the Settings app and go to the “Storage” or “Storage & USB” section. Here you will see internal storage as well as any external SD cards listed separately.
For example, on a Samsung device, navigate to Settings > Device care > Storage. Under “Portable storage” you will see the SD card details and available space.1
On other Android devices like Motorola, go to Settings > Storage, where the SD card will be listed with a notation that it is removable storage.
Once you have located the SD card details, tap on it to select it for the upcoming format process.
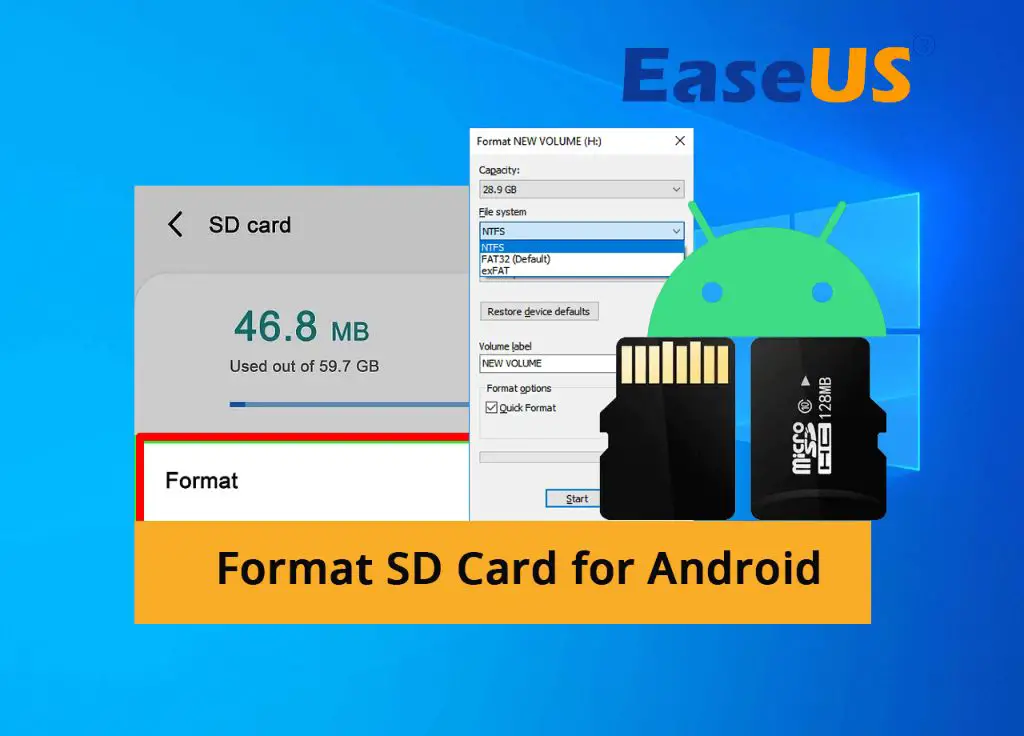
Tap Format
Once you have selected your SD card, the next step is to tap on the “Format” option. This allows you to choose the file system you want to format the SD card to. The Android operating system supports two main file systems for SD cards – FAT32 and exFAT.
exFAT (Extended File Allocation Table) is optimized for flash memory like SD cards, allowing support for larger individual file sizes compared to FAT32. This makes exFAT ideal for high capacity SD cards commonly used in Android devices today. exFAT also enables faster data transfer speeds.
According to Android Central, exFAT is the most ideal file system for SD cards 32GB and larger. So for most SD cards used with Android, you will want to tap on the “Format” option to choose exFAT when formatting the card.
Choose exFAT
When prompted to select a format type, you’ll want to choose exFAT. exFAT is an improved version of the older FAT32 format, offering advantages like support for larger maximum file sizes and better performance with large partitions or external storage devices like SD cards [1].
Compared to FAT32, exFAT reduces delays when writing large files and allows for individual files up to 16 exbibytes rather than being limited to 4 gigabytes. This makes exFAT better suited for high capacity SD cards commonly used in Android devices these days [2].
exFAT also has the advantage over FAT32 that it allows you to create partitions larger than 32 gigabytes. With increasingly large SD card capacities, this limit could easily be reached with FAT32 [3].
While exFAT lacks some of the permissions and encryption features of NTFS, it’s much more widely compatible with Android, MacOS, and other operating systems. So for external storage like SD cards, exFAT offers the best cross-platform performance and flexibility.
Confirm Format
Once you tap the Format option and select exFAT as the filesystem, you will be prompted to confirm the format. This is critical, as formatting will erase all existing data on the SD card.[1] Carefully review the name of the drive listed to double check you have the correct SD card selected. If everything looks correct, tap ‘Format’ to confirm and start the formatting process.
If you accidentally tap ‘Format’ on the wrong drive, tap ‘Cancel’ immediately to abort the process before data is erased. You may also see a ‘Reset prompt before formatting’ option which will enable a warning prompt in the future. Select this if you wish to have an additional confirmation dialog before formatting.[2]
Once you accept the format prompt, the process will start and you’ll have to wait for it to complete. Do not interrupt the format or you risk corrupting data on the SD card.
Wait for Format to Finish
Depending on the size and speed class of your SD card, the format process may take anywhere from a few seconds to over an hour. Typically formatting a standard SD card to exFAT takes 1-5 minutes. Larger capacity cards like 128GB or 256GB may take 10-15 minutes on average.
For example, formatting a 16GB Class 10 SD card to exFAT usually takes under 2 minutes. But formatting a 250GB SD card could take 20-30 minutes. High speed and performance cards tend to format faster as well.
The most important thing is to wait until the format is 100% complete before removing the SD card or interrupting the process. Doing so can lead to corruption or damage to the card.1
Verify Successful Format
After the formatting process completes, it is important to verify that the exFAT format was successful. There are a couple ways to confirm on Android:
First, reopen the Device Storage settings and select your SD card. It should now indicate ‘exFAT’ as the filesystem under the storage details. This confirms the formatting process completed properly.
You can also use a third party app like DevCheck to view the filesystem details and validate the SD card is now formatted as exFAT.
If the SD card still shows the old filesystem like FAT32 after attempting to format, the process did not complete successfully. You may need to redo the steps to format the card properly as exFAT.
Once you’ve verified a successful format to exFAT, the SD card is ready to use with expanded storage capacity on your Android device.