SSDs, or solid-state drives, are a type of computer storage device that uses flash memory rather than spinning platters like traditional hard disk drives. SSDs are much faster, more reliable, and use less power than hard drives. As a result, SSDs are rapidly gaining in popularity for consumer and business use.
However, like hard drives, SSDs can also develop bad sectors or other errors over time. This raises the question of whether SSDs need to be scanned for errors in the same way that hard drives are. This article will examine the pros and cons of scanning SSDs for errors, whether scanning is recommended, and best practices for keeping your SSD healthy.
How SSDs Work
SSDs, or solid-state drives, store data on flash memory chips rather than magnetic platters like traditional hard disk drives (HDDs). This means SSDs have no moving parts, making them more durable and shock-resistant. The lack of moving parts also allows SSDs to operate silently and consume less power (see SSD vs. HDD: Which Do You Need?).
The flash memory in SSDs allows for much faster data access and transfer speeds compared to HDDs. This speed advantage makes SSDs significantly faster at loading applications, files, and booting up systems. The faster performance comes from not having to mechanically move drive heads to different parts of spinning platters to access data (see SSD vs. HDD: What’s the Difference?).
Do SSDs Need Error Checking?
SSDs are less prone to mechanical failure issues like bad sectors compared to traditional hard disk drives (HDDs). This is because SSDs have no moving parts and use flash memory chips to store data instead of mechanical platters. However, SSDs are not impervious to data errors and bit rot over time.
Even though individual flash memory cells in an SSD are very reliable, as an SSD ages the cells can begin to break down and lose charge, leading to read errors. Background tasks like garbage collection and wear leveling can also introduce bit errors as data gets moved around. Additionally, the SSD controller and firmware can have bugs that corrupt data.
Therefore, while SSDs don’t suffer from traditional hard drive mechanical failures, they can still experience data integrity issues over time. Periodically scanning an SSD using built-in tools like CHKDSK can detect these errors and allow you to repair them through rewriting the data. This maintains the health of the drive and ensures your data stays intact.
One source notes that CHKDSK can “check and repair disk errors” on SSDs, creating “a new file allocation table and repair any found bad sectors.”[1]
Problems SSD Scanning Can Catch
SSD scanning tools can detect various types of errors that may arise, including:
- Bad blocks – Areas of the NAND flash memory that can no longer store data reliably. This can happen through regular use as cells wear out. Scans can identify bad blocks before they cause data loss.
- Read disturbs – Errors that occur when reading data from one location interferes with nearby cells, corrupting their data. Scans can identify read disturb errors.
- Retention errors – Stored voltage levels in NAND flash memory cells can deteriorate over time, leading to data corruption. Scanning identifies retention errors before they become uncorrectable.
As noted in an NVMe technical brief, SSDs maintain internal error logs that record various errors. Scanning software can access these logs to identify concerning error patterns.
Regular scanning enables catching bad blocks, read disturbs, retention errors, and other issues early before they result in irrecoverable data loss or drive failure.
Potential Downsides of Scanning
While scanning an SSD for errors can catch potential problems, there are some downsides to consider:
Extra writes wear down drive – Each scan performs many read and write operations to thoroughly check the drive. This puts additional wear on the NAND flash memory cells, shortening the SSD’s lifespan (source).
Scanning takes time – A full scan of a large SSD can take hours to complete. This downtime may disrupt your workflow (source).
False positives – Scans may sometimes detect bad blocks or errors that aren’t actually impacting performance. This could prompt unnecessary replacement of an SSD that’s still functioning fine.
When to Scan SSDs
There is some debate around how often SSDs need to be scanned for errors. Some experts recommend periodic scanning, especially for older SSDs that may be more prone to issues. According to one source, running a scan at least twice with 48 hours between scans can help identify any bad sectors on an SSD (Source).
However, newer SSDs with good health may not need frequent scanning. Modern SSDs have features like wear leveling that help distribute writes across the drive to prevent excessive degradation. If the SSD is new and not exhibiting performance issues or other problems, scanning may be unnecessary.
In general, periodic scanning is a good idea for older SSDs to check for bad sectors. But for newer, healthy SSDs, scanning may not be as critical unless issues arise. Checking the SSD’s health stats and monitoring for symptoms of problems can help determine if and when a scan is warranted.
Best Practices for SSD Scanning
When scanning your SSD, it’s important to follow best practices to get accurate results and avoid unnecessary wear on the drive. Here are some recommended guidelines:
Use tools provided by the SSD manufacturer or reputable third party software like CrystalDiskInfo. These will have the right settings and features for analyzing your specific make and model of SSD.
Schedule scans during times of low activity like when your computer is idle or shut down. This prevents interference from other disk operations.
Understand the various scan settings and what they check for. Quick scans may only verify file system integrity while deep scans analyze the raw NAND flash memory for bad blocks. Select settings based on your goals.
Set the scan frequency appropriately. Weekly or monthly checks are sufficient for most SSDs being used normally. More frequent scans add unnecessary writes.
Follow additional tips from your SSD maker such as keeping 30% free space, enabling TRIM, and installing current firmware updates.
Repairing Errors
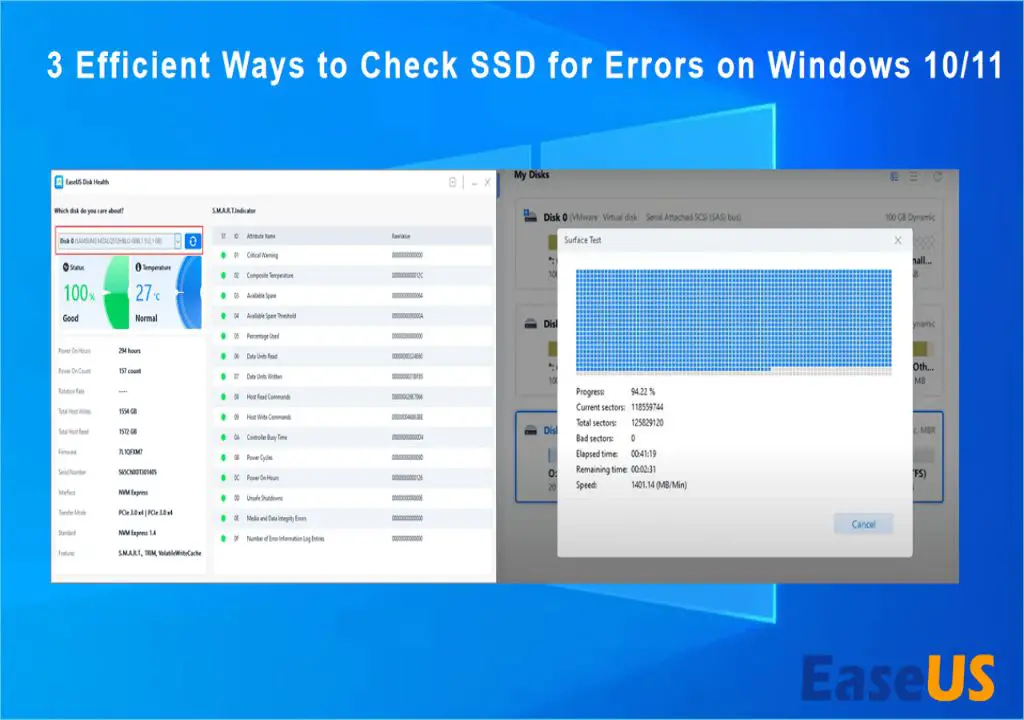
If you encounter corrupted sectors on your SSD, there are some repair and recovery options available. SSD repair tools like EaseUS Partition Master can help fix SSD corruption issues by updating firmware, rebuilding the MBR, and running chkdsk scans. You can also try using the native Command Prompt utilities like chkdsk, sfc, and dism to detect and repair SSD problems.
However, if the corruption is extensive and spans large portions of the drive, these tools may not be able to fully restore your SSD. In cases of severe damage or failed drives, you may need to replace the SSD entirely. It’s a good idea to keep regular backups of your data so you can easily restore to a new SSD if needed. Replacing a damaged SSD is often the most reliable way to get your system running again if major corruption occurs.
Improving SSD Health
There are several tips to help improve and maintain SSD health over its lifespan:
Keep firmware up to date – Firmware updates from SSD manufacturers can improve performance and fix bugs. Staying current on firmware is one of the easiest ways to maintain SSD health. Kingston recommends always installing the latest storage drivers and firmware.
Proper system shutdowns – Forcing a shutdown can interrupt writes and damage data. Always properly shut down the system to allow the SSD to finish writing data and enter a low power state. Kingston warns to never abruptly cut power or force shutdown a system with an SSD.
Enable overprovisioning – Having spare capacity allows the SSD controller to better manage writes and cleanup operations. Leaving 10-20% free space enables overprovisioning. EaseUS suggests shrinking partitions to free up space to extend other partitions and enable overprovisioning.
Limit drive writes – The total bytes written to SSD cells contributes to wear. Enabling write caching, moving temporary files to a RAM disk, and other tips can reduce unnecessary writes and extend SSD lifespan.
Conclusion
In summary, periodically scanning SSDs for errors can help detect emerging issues before they become catastrophic. Scanning is most beneficial when an SSD is exhibiting signs of problems, such as slower performance, crashing, or bad sectors. Proactively scanning a seemingly healthy SSD is generally not necessary.
Beyond scanning, other best practices for maintaining SSD health include avoiding overfilling the drive, installing firmware and OS updates, managing heat levels, and using the TRIM command if available. Backing up important data is also essential to protect against data loss. While SSDs are less prone to mechanical failure than HDDs, they can still experience errors over time. Monitoring SSD health and utilizing scanning when warranted allows you to maximize performance and lifespan.