Error 9 is a common error that users may encounter when trying to restore or update their iPad 4. This error typically occurs when there is a problem with the firmware file that is being used for the restore or update process. In this article, we will take a closer look at what error 9 is, what causes it, and how to fix it so you can successfully restore or update your iPad 4.
What Causes Error 9?
There are a few potential causes of error 9 when restoring or updating an iPad 4:
- Corrupt firmware file – If the IPSW firmware file you are using for the restore is corrupted or damaged in some way, it may trigger error 9. This is often the most common cause of this error message.
- Incompatible firmware version – Trying to install an iOS firmware version that is not compatible with your specific iPad 4 model can also lead to error 9. Each iPad model requires a specific firmware version range.
- Outdated iTunes version – Having an outdated version of iTunes installed on your computer can sometimes result in error 9 during an iPad restore. Keeping iTunes up-to-date is recommended.
- Connection issues – Faulty cables, bad USB ports, driver problems and other USB connection issues between the iPad and computer can also be responsible for a restore or update failing with error 9.
Essentially error 9 signifies that something went wrong during the firmware installation process, preventing the new firmware from being properly copied and installed on the iPad. Tracking down the specific cause requires some troubleshooting of the potential issues outlined above.
How to Fix Error 9 When Restoring iPad 4
If you encounter error 9 when trying to restore your iPad 4, here are some steps you can take to try and resolve the problem:
- Verify the IPSW file – First, double check that the IPSW firmware file you are using for the restore is intended for your specific iPad model. Also verify the file is complete and not corrupted by re-downloading it if needed.
- Update iTunes – Make sure you have the latest version of iTunes installed on your computer. Older versions may not fully support installing the current iOS firmware builds.
- Use a different USB port/cable – Try connecting your iPad to a different USB port or use a different Lightning cable, as connection issues are a common cause of error 9.
- Hard reset the iPad – Perform a hard reset by holding down the Home and Power buttons together for at least 10 seconds until you see the Apple logo. Then try restoring again.
- Put the iPad in DFU mode – If still unsuccessful, put the iPad into DFU (Device Firmware Update) mode by holding the Power and Home buttons together for 8 seconds, then releasing Power while holding Home for 5 more seconds. Then restore.
- Restore in Recovery mode – As another option, connect the iPad and launch iTunes, then hold Home + Power again until you get a Recovery mode screen. This may bypass error 9.
- Restore using Finder or iMazing – Other programs like Finder on Mac or iMazing on Windows can be used to restore IPSW firmware files instead of iTunes.
- Take it to Apple Support – If all else fails, setup a Genius Bar appointment at an Apple store and have them examine the iPad and assist with the restore.
Following one or more of these troubleshooting tips should help you circumvent error 9 in most cases so you can successfully restore your iPad 4. Be sure to use the proper IPSW file for your exact model and try different USB ports/cables if possible.
What Causes Error 9 During iPad 4 Updates?
In addition to restores, error 9 can also crop up when trying to perform an over-the-air (OTA) software update on an iPad 4. Some of the potential culprits include:
- Network connectivity issues – Poor WiFi connection or intermittent cellular data during update download.
- Storage space problems – Not enough available storage to complete the update installation.
- Power interruption – iPad loses power or restarts during the update process.
- Corrupt update file – Portions of the update get damaged or missing during download.
- Unfinished pending install – Leftover pending update files from a previous unfinished install.
As you can see, there are a few more variables when it comes to software updates going wrong and producing error 9 compared to restores. Network problems tend to be the most common source of update errors, since the entire iOS update needs to download over WiFi or cellular reliably.
Fixing Error 9 During iPad 4 Updates
Clearing error 9 when trying to update an iPad 4 can be accomplished by working through these troubleshooting suggestions:
- Check network and try again – Ensure you have a strong WiFi or LTE connection and attempt the update again from scratch.
- Free up storage space – Delete unused apps, photos, media and other files to make room for the update to install correctly.
- Close all apps – Be sure no apps are running in the background when initiating the update.
- Reboot and retry update – Power cycle the iPad and retry the update from the beginning after restart.
- Delete update and re-download – Delete the current iOS update from Settings > General > iPad Storage and try downloading it again.
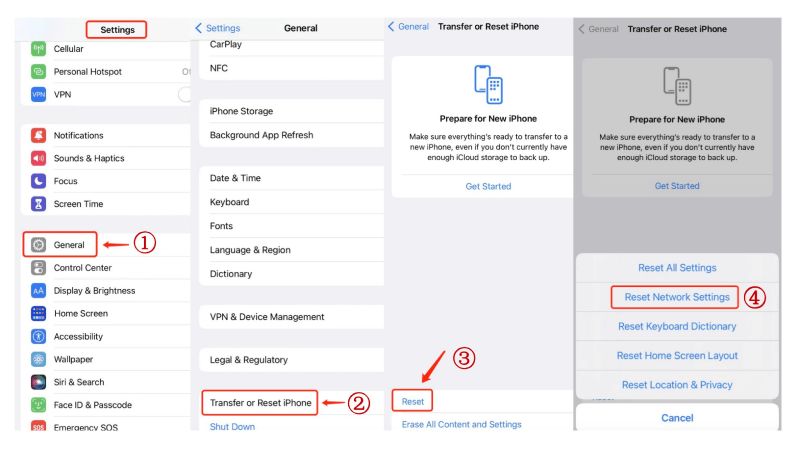
- Factory reset iPad – Back up iPad data and settings, then erase all content and settings via Settings > General > Reset. Then do the update.
- DFU Mode restore – Put the iPad into DFU mode and restore with the IPSW firmware file containing the desired update version.
- Update through iTunes – Connect the iPad to a computer and update directly through iTunes rather than wirelessly.
Taking the proper steps to troubleshoot and eliminate potential causes can help resolve error 9 when trying to perform an OTA update on an iPad 4. As with restores, connecting through iTunes on a computer is one of the more reliable update methods if other fixes are not working.
Why Proper Troubleshooting is Important
It’s easy to get frustrated when error 9 pops up and your iPad 4 gets stuck in recovery mode. However, it’s important to methodically troubleshoot the problem rather than try quick fixes and panic-restores that may make matters worse. A few reasons proper troubleshooting is important include:
- Avoids data loss – Restoring or updating without preparing for potential data loss risks losing documents, settings, and other important iPad information.
- Prevents upgrade issues – Upgrading to newer iOS versions without troubleshooting can compound existing performance or stability issues.
- Saves time and money – Methodical troubleshooting often fixes error 9 faster than a visit to the Apple store Genius Bar.
- Identifies underlying issue – Troubleshooting helps pinpoint the root cause so it can be permanently resolved.
- Reduces frustration – Following structured troubleshooting steps minimizes stress and frustration when dealing with error 9 situations.
Patience during proper iPad troubleshooting can pay off by getting your device back up and running while keeping all of your information intact. Rushing through restores or updates is more likely to compound problems than fix them.
Best Practices to Avoid Error 9
While there is no foolproof way to completely prevent error 9, implementing some best practices can help reduce the chances of encountering this error when restoring or updating your iPad 4:
- Always backup your iPad data regularly.
- Keep iTunes up-to-date on your computer.
- Use trusted sources like applesupport.com for iOS IPSW files.
- Verify the IPSW file size and MD5/SHA1 signature match official values.
- Only install iOS versions that Apple specifies as compatible.
- Don’t interrupt the restore or update process once started.
- Maintain sufficient storage space for completing updates.
- Disable Find My iPad before doing a restore via iTunes.
- Use a USB cable that supports data transfer for reliable connectivity.
- Disable VPNs, security software and firewalls temporarily during updates.
While these tips will not guarantee you never see error 9, they can certainly help minimize potential software glitches that can derail iPad restores and updates. Preventative care goes a long way!
When to Take Your iPad 4 to Apple
If you have worked through all the standard troubleshooting steps for fixing error 9 to no avail, it may be time to seek in-person help. Here are some good signs it is time to take your iPad 4 into an Apple store or Apple Authorized Service Provider:
- You have tried DFU mode restores, recovery mode, and directly updating via iTunes multiple times with no change.
- You encounter other cryptic restore errors beyond just error 9.
- Your iPad shows signs of hardware damage or component failure.
- The iPad gets stuck in recovery mode loops during restore attempts.
- You need advanced data recovery help accessing iPad content after failed updates or restores.
- The iPad begins frequently freezing, crashing, or exhibiting other performance issues.
Apple technicians have access to advanced internal diagnostics tools, iPad hardware troubleshooting techniques, and iOS debug capabilities. They can also facilitate iPad replacements or out-of-warranty repair service when necessary. If you are totally stumped on error 9 after exhausting all self-help fixes, make a Genius Bar reservation or visit an Apple Authorized Service Provider for expert assistance.
Conclusion
Error 9 is certainly one of the more frustrating errors that iPad users encounter, as it blocks software restores and updates necessary for proper device function. While the error itself is vague, a bit of targeted troubleshooting to isolate root causes like firmware corruption, connection glitches, power inconsistencies or storage bottlenecks can typically get an iPad back on its feet. Leveraging iTunes for restores and updates provides a more robust recovery pathway in many cases. Persistence and care when troubleshooting error 9 will pay off in preserving your iPad’s data and settings while restoring normal operability.