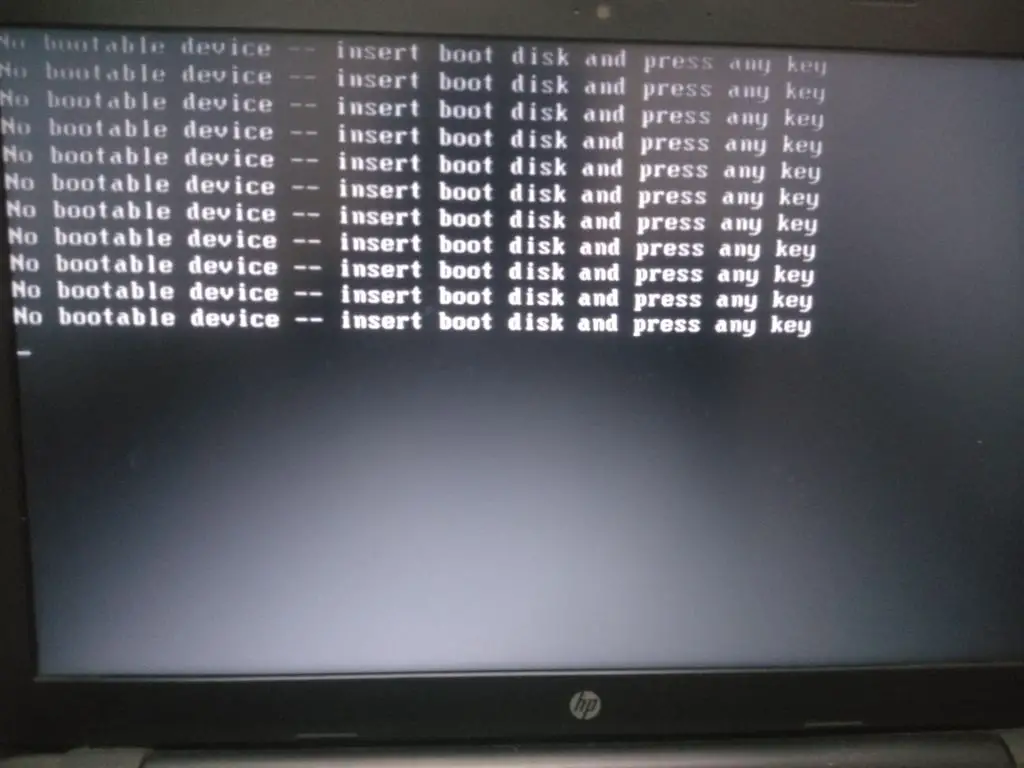
The “insert boot disk and press any key” error message can be frustrating to encounter. It usually appears when your computer is having trouble finding a bootable operating system to start up. There are several potential causes for this error and a few different solutions you can try to get your system running again.
In this comprehensive guide, we’ll cover the most common reasons why you might see the “insert boot disk and press any key” message. We’ll also provide step-by-step instructions for troubleshooting the issue in Windows, Mac, and Linux systems. By the end, you should have a better understanding of what causes this error along with all the tools to fix it.
What Causes the “Insert Boot Disk and Press Any Key” Error?
There are a few different potential causes behind the “insert boot disk and press any key” error message:
Missing or Damaged Operating System
One of the most common reasons this error appears is because your computer cannot find a bootable operating system installed. For example, if the master boot record (MBR) or boot sector becomes corrupted, the computer will not know where to look to load the OS.
A missing or damaged system file required for booting can also lead to this issue. Your operating system may be installed but an important file like BOOTMGR or winload.exe is corrupted or deleted. Without those critical system files, the OS cannot fully load.
Misconfigured BIOS/UEFI Settings
Your computer’s BIOS or UEFI firmware settings may have become misconfigured, preventing the system from finding the right boot path.
For example, the boot order could be jumbled, causing the computer to look for a bootable disk before checking the hard drive where Windows is installed. Disabling secure boot or changing from legacy BIOS to UEFI or vice versa without properly configuring settings can also lead to boot issues.
Hardware Failures
Faulty or failing hardware could also be at the root of the “insert boot disk” error. Potential hardware issues include:
– Hard drive failures – If your hard drive crashes or becomes corrupted, the system would be unable to access the OS to boot.
– Memory/RAM failures – Damaged memory modules can lead to boot issues and prevent the OS from loading properly.
– Motherboard component failures – Problems with the CPU, motherboard, or other vital components can prevent successful booting.
Boot Order Not Set Properly
If you have multiple disks or partitions on your system, the computer looks to the boot order to determine which one to load first. If this configuration is not set properly, you may get the “insert boot disk” message when trying to boot from the wrong device or disk.
For example, you might have accidentally set an external USB drive first in the boot order rather than your primary hard drive that contains Windows. This would lead to a missing operating system error.
Disconnected or Damaged Disk
In some cases, you may get this error message because the physical hard drive containing your OS has become disconnected or damaged.
For laptops, reseating the drive or checking the SATA connections can sometimes resolve OS detection issues on boot. With desktops, it is important to ensure the power and data cables are properly plugged into the storage device.
Corrupted System Recovery Partition
On some manufacturer computers, the recovery partition can become corrupted. This prevents the system from booting into the OS recovery environment from that partition when needed. Deleting or improperly modifying this recovery partition could also lead to boot problems.
Physically Damaged BIOS Chip
In rare cases, the BIOS chip itself may be physically damaged, making it impossible to properly detect boot devices or boot into the OS. This is an uncommon occurrence, usually only seen in older systems. Damage is typically caused by overheating, power surges, or direct physical damage to the motherboard.
How to Fix “Insert System Disk and Press Enter” in Windows
If you are encountering the “insert system disk” error on a Windows PC, there are a several troubleshooting steps you can take:
Try Restarting Your Computer
The first step is to simply restart your computer and see if the problem resolves itself on reboot. Sometimes restarting can clear any temporary glitches causing boot issues.
Power down your system fully, wait a few minutes, then power it back on and attempt to boot normally. If the error persists, move on to the other solutions.
Boot from the Windows Recovery Environment
The Windows Recovery Environment (WinRE) is a hidden partition that can be used to troubleshoot and fix problems even when Windows won’t boot properly. To access this:
– On a desktop, repeatedly press F8 as soon as you power on the system. On a laptop, try tapping the F8 key.
– This should bring up the Advanced Boot Options menu. Select the “Repair Your Computer” option.
– Alternatively, insert your Windows installation disk or bootable USB drive and select Repair at the first screen.
Once in the Recovery Environment, you can access various system recovery and repair tools. From here, you can use the Startup Repair tool to automatically diagnose and fix boot issues. You can also access the Command Prompt to run bootrec commands for further troubleshooting.
Check Disk and System File Integrity
Once in the Recovery Environment Command Prompt, you can check your hard disk for errors using the CHKDSK command like so:
chkdsk C: /f
Replace C: with the letter of the drive you want to scan. The /f flag fixes any file system errors found.
You can also verify the integrity of core Windows system files using the System File Checker (SFC) tool:
SFC /scannow
This scans Windows system files for corruption and attempts to restore them to their proper state.
Use Bootrec Commands
The bootrec tool contains several commands to help rebuild and repair the boot configuration:
– bootrec /fixmbr – Repairs the master boot record
– bootrec /fixboot – Writes a new boot sector
– bootrec /scanos – Scans for any existing Windows installations
– bootrec /rebuildbcd – Rebuilds the BCD boot store
Run the appropriate bootrec commands to repair the master boot record, boot sector, or BCD store as needed.
Check Drive Connections and Cables
Make sure all of your hard drive SATA data and power cables are properly plugged in. Reseat the cables and connectors. Inspect for any damage or worn out cables.
If you have an M.2 solid state drive, ensure it is properly seated in the slot. Take it out and reinsert it.
This helps rule out any loose connections causing detection issues.
Change BIOS/UEFI Settings
Enter into your system BIOS or UEFI firmware settings to verify the boot order and configurations are correct:
– Check the boot device priority and make sure the disk with Windows is first.
– Confirm the boot mode is properly set to either UEFI or legacy BIOS, depending on your Windows installation.
– Disable secure boot if it is causing conflicts.
– Reset BIOS to default settings if needed.
Save changes and exit BIOS to see if the adjustments fixed the booting issue.
Try a Startup Repair With Installation Media
If the built-in Windows recovery tools cannot automatically fix the problem, try a Startup Repair using your Windows installation media.
Boot from the DVD or USB installation disk, select your language and click “Next.” Go to “Repair your computer” in the bottom left corner. Choose “Troubleshoot” followed by “Advanced options” and then “Startup Repair.”
This runs a more comprehensive diagnostics check and repair process which may be able to identify and fix the boot issue if the built-in WinRE tools failed.
Reinstall or Refresh Windows
If no other solutions work, you may need to either reinstall Windows or refresh the OS.
Reinstalling completely erases Windows and starts fresh. Refreshing reinstalls Windows while keeping your personal files and applications.
To refresh, boot from installation media, go to Repair > Troubleshoot > Advanced Options > System Restore. Choose your OS drive and click Next.
For a full reinstall, boot from the media, delete all existing partitions during setup, and then install Windows to the now “unallocated” space.
Fixing “Insert Boot Disk” on Mac
On Mac systems, there are also a few steps you can take to troubleshoot the “insert boot disk” error:
Restart Your Mac
First, try restarting your Mac from the Apple menu and holding down the Option key on reboot. This opens the boot manager so you can select the startup disk.
Reset NVRAM/PRAM
Resetting the Mac’s NVRAM/PRAM can clear out minor glitches causing boot issues:
– Shut down your Mac fully then power it back on.
– Immediately press and hold Command + Option + P + R together.
– Keep holding until you see the Apple logo appear and hear the reboot sound a second time.
Start Up From macOS Recovery
Enter macOS Recovery Mode by rebooting and holding Command + R. This loads recovery tools from a hidden recovery partition:
– Use Disk Utility to check for disk errors and fix them.
– Reinstall macOS to refresh the operating system without losing data.
– Restore from a Time Machine backup.
Start Up From macOS Installer
If macOS Recovery fails, boot from the startup disk created from the macOS installer:
– Insert the USB or DVD installer disk created on another working Mac.
– Boot the system while holding the Option key to access Startup Manager.
– Select the installer disk image.
– Run Disk Utility from the installer to verify/fix any disk, volume, or file system issues.
– Reinstall macOS to fix software issues.
Reset SMC on MacBook/iMac/Mac Mini
For MacBooks, iMacs, and Mac Minis try resetting the SMC controller:
– Shut down and unplug power cable for 15 seconds
– For MacBooks, press and hold Shift + Control + Option + Power button for 10 seconds.
– For iMac/Mini, press and hold Power button for 10 seconds.
– Release keys, plug power back in and turn system on.
How to Fix “Insert Boot Disk” Error on Linux
On a Linux system, you can take the following steps to address the missing boot disk error:
Restart and Select Another Kernel
When booting, press and hold Shift to open the GRUB menu. Try booting using an older kernel version. A kernel update may have caused issues with the current one.
Boot Into Root Shell
From the GRUB menu, select the menu entry ending with (recovery mode) and choose root shell. This boots you to a root command prompt.
From here, you can run fsck to check disk file systems for errors:
fsck -y /dev/sda1
Use the appropriate device name for your Linux distro. If errors are found, reboot and fsck will automatically run to fix them.
Reinstall GRUB Bootloader
If the GRUB bootloader becomes corrupted, use these commands to reinstall it:
mount /dev/sda1 /mnt
grub-install --target=i386-pc /dev/sda
grub-mkconfig -o /boot/grub/grub.cfg
Replace sda and sda1 with your disk and root partition device names.
Reset BIOS/UEFI Settings
Just like on Windows, misconfigured firmware settings can prevent Linux from booting. Enter your BIOS/UEFI and check that:
– The disk with Linux is first in the boot order
– Secure boot is disabled if causing conflicts
– Boot mode is properly set to either UEFI or legacy BIOS
Refresh Linux System With Reinstall
If software issues are causing boot problems, refresh your Linux OS using installation media:
– Boot from DVD or USB installer in live mode.
– Choose to install and retain data partitions.
This reinstalls the operating system while preserving your /home directory with your user accounts and data.
Preventing “Insert Boot Disk” Errors
Once you have resolved the immediate error, take steps to prevent this issue from occurring again:
Update Your Operating System and Software
Keep your OS, drivers, and firmware updated to the latest stable versions. Updates frequently patch bugs that could lead to boot issues.
Backup Your Data Regularly
With regular backups, you can easily restore your system if boot issues occur again. Back up to an external drive or cloud storage.
Check Disk Health
Periodically verify disk health using built in disk utilities like CHKDSK or fsck. Replace any failing or damaged drives.
Watch for Overheating Issues
Monitor system temperatures to check for overheating. Excessive heat can damage BIOS chips and other components.
Clean dust, ensure proper airflow, and reapply thermal paste if needed.
Use a Surge Protector
Protect your computer against sudden power surges and fluctuations with a good surge protector. This helps safeguard your hardware from electrical damage.
Careful When Reconfiguring BIOS/UEFI
Take care when making firmware changes that could affect the boot configuration like boot order, secure boot, boot mode switching, etc.
Conclusion
Seeing the “insert boot disk and press any key” message can be worrying but is rarely unsolvable. In most cases it comes down to software failures, misconfigured BIOS/UEFI, or connection issues with the boot drive.
By following the step-by-step troubleshooting guides outlined, you should be able to identify and repair whatever is causing your missing boot disk error. Just take it slow, work methodically through each verification step, and avoid rushing.
With the right disk utilities and recovery tools, you can almost always get a system experiencing this issue to successfully boot again. Just stay calm, create backups before making major changes, and be careful when altering low-level system settings.