Quick Answers
There are a few common reasons why iTunes may not connect to an iPhone:
- Outdated iTunes version – Make sure you have the latest version of iTunes installed
- Outdated iOS version – Update your iPhone to the latest iOS version
- Corrupt iTunes library – Rebuild your iTunes library to fix errors
- Damaged Lightning cable – Try a different Lightning cable to connect your iPhone
- Disabled USB ports – Make sure the USB ports on your computer are enabled
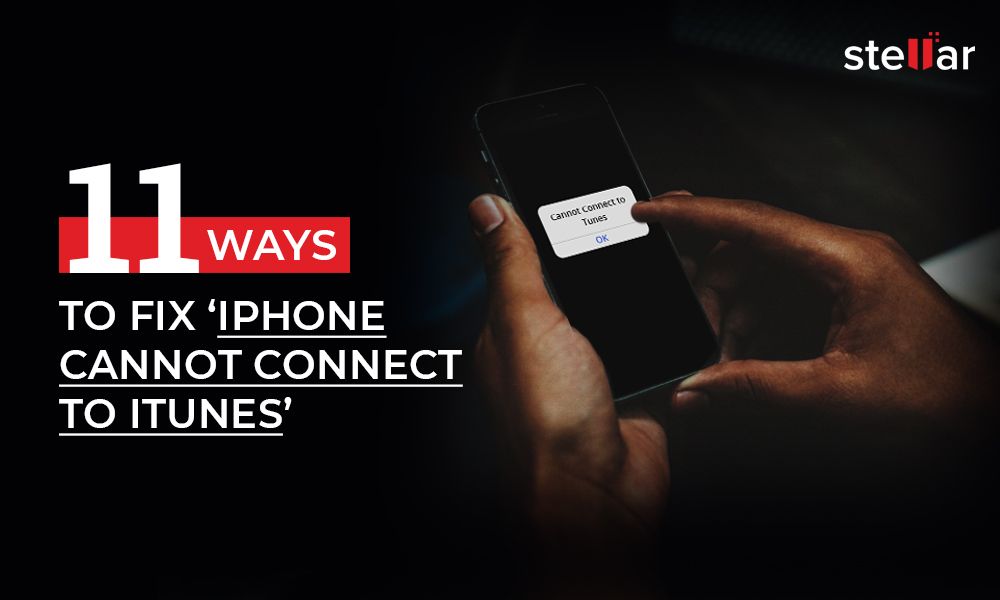
Connecting an iPhone to a computer via iTunes is necessary for many tasks like backing up the device, syncing media contents, updating to the latest iOS version, and restoring from a backup. However, sometimes iTunes fails to recognize or connect to an iPhone properly. If you see error messages like “iTunes could not connect to this iPhone”, “This iPhone is linked to an Apple ID that does not match yours”, etc. when trying to connect, there are several troubleshooting steps you can take to fix the issue.
Check iTunes Version
One of the most common reasons for iTunes connection issues is having an outdated version of iTunes installed on your computer. Apple is constantly updating iTunes with bug fixes and improvements. If you do not keep iTunes updated, you may miss out on critical fixes needed for proper iPhone connectivity.
To check your iTunes version on a Windows PC, open iTunes and click Help > About iTunes. On a Mac, click iTunes > About iTunes. This will display the version number. You can then go to Apple’s website to download the latest iTunes installer for your operating system.
After installing the iTunes update, try connecting your iPhone again. Often times, this will resolve many connectivity problems.
Updating iTunes on Windows
Follow these steps to update iTunes on a Windows PC:
- Open iTunes on your computer
- Click Help > Check for Updates
- If an update is available, iTunes will prompt you to download and install it. Follow the onscreen instructions.
- Once the latest version is installed, restart your computer
Updating iTunes on Mac
To update iTunes on a Mac:
- Open the App Store application
- Click Updates in the toolbar
- If an iTunes update is listed, click Update next to it to install the newest version
- Once installed, restart your Mac
Keeping iTunes up to date can prevent many connectivity issues with your iPhone. Be sure to periodically check for updates to ensure optimal performance.
Verify iOS Version on iPhone
In addition to iTunes, you should also make sure your iPhone is running the latest iOS firmware version. Apple releases regular iOS updates with bug fixes, improvements, and enhanced stability. Updating to the newest iOS provides better compatibility with the current iTunes release.
To check your iPhone’s iOS version go to Settings > General > Software Update. This will display the current iOS version installed. If an update is available, you can tap Download and Install to get the latest firmware.
It is recommended to always update to the newest iOS version as soon as possible. This ensures your iPhone has all the latest security patches, fixes, enhancements and improves connectivity with iTunes.
Updating iOS via iTunes
If your iPhone cannot access the internet due to connectivity issues, you can also update iOS by connecting to iTunes. Follow these steps:
- Connect your iPhone to your computer using the Lightning cable
- Open iTunes on your computer
- Select your iPhone from the menu
- Under Summary, click Check for Update
- iTunes will prompt you to download and install the latest iOS update if available
Updating to the newest iOS firmware can often resolve many iTunes connectivity problems. Keep both iTunes and iOS up to date for optimal performance.
Rebuild iTunes Library
In some cases, errors and inconsistencies in the iTunes library database can prevent proper connectivity with the iPhone. If iTunes is up to date and your iPhone is running the latest iOS, rebuilding your iTunes library can help resolve issues.
Rebuilding recreates the iTunes library database from scratch, clearing out any corrupted data and re-organizing all media content. Here are the steps to rebuild your iTunes library on Windows or Mac:
Windows Instructions
- Close iTunes on your computer
- Navigate to the following folder path:
- Windows 10/8/7: \Users\Username\Music\iTunes\iTunes Media\
- Windows XP: \Documents and Settings\Username\My Documents\My Music\
- Find the iTunes Library.itl file and rename it to iTunes Library_old.itl or OldLibrary.itl
- Open iTunes – this will prompt creation of a new iTunes Library
- Go to Edit > Preferences > Advanced and ensure the iTunes Media folder location points to your Music folder
- Import all media content back into the new library
Mac Instructions
- Quit iTunes
- Hold Option (or Alt) key and launch iTunes
- In the prompt, click Create Library
- Name the new library iTunes Library New or something similar
- Import your media back into the new library
Rebuilding the library can resolve many odd connectivity issues by resetting all iTunes media database content. Be sure to import your music, videos, etc back after the new library is created.
Try a Different Lightning Cable
One simple hardware fix to try is using a different Lightning cable to connect your iPhone to your computer. Faulty or damaged cables are often the cause of connectivity issues.
Lightning cables wear out over time and can develop breaks in wiring, leading to syncing and charging problems. Try swapping the current cable with a different certified Apple Lightning cable.
Use an MFi (Made for iPhone/iPad/iPod) certified Lightning cable from Apple or authorized third-party accessory makers. Avoid cheap generic cables that are not Apple certified. Using the right cable ensures proper connectivity and charging.
Test connecting your iPhone with the new cable. Often times the new cable will fix many sync and connection issues with iTunes. Lightning cables are prone to damage with regular use over time. Periodically inspect your cable for breaks, fraying or bent connectors. Swap damaged cables immediately to maintain proper connectivity.
Inspecting Lightning Cable
Follow these tips when inspecting a Lightning cable:
- Check connectors on both ends for damage or bent pins
- Look for fraying, exposed wires or cuts along the cable length
- Watch for any kinks or knots in the cable
- Wiggle the connectors to check for internal damage
- Check cable labeling for MFi certification
Damaged cables can disrupt the transfer of power and data. Replace immediately if you see any physical cable damage during inspection.
Enable Disabled USB Ports
If you are connecting your iPhone to your computer via USB, make sure the USB ports are actually enabled. Sometimes the USB controller or individual ports can become disabled in Windows Device Manager, preventing proper iPhone connectivity.
To check, open Windows Device Manager and expand the Universal Serial Bus controllers section. If you see any devices with yellow exclamation icons, it indicates disabled ports.
Right-click each disabled device and select Enable to re-enable each USB controller and port. Reconnect your iPhone and this should resolve many connectivity issues caused by disabled USB drivers.
You can also try connecting your iPhone to different USB ports on your computer. Use the USB ports directly on your computer if connecting through external hubs and docking stations.
Enabling USB in Device Manager
Follow these specific steps to re-enable USB ports in Windows Device Manager:
- Open Device Manager in Windows
- Expand the Universal Serial Bus controllers section
- Look for any devices with yellow exclamation icons and right-click
- Select Enable from the menu
- Repeat steps for each disabled device
This will re-establish connections to any disabled USB ports and controllers. Always connect your iPhone directly to your computer if possible when syncing and backing up.
Conclusion
Troubleshooting iTunes connection issues with an iPhone involves several steps like updating iTunes and iOS versions, rebuilding your library, using proper cables and enabling USB ports. Following a systematic approach can help identify and resolve any potential connectivity problems.
Keep iTunes updated to the latest version available from Apple. Make sure your iPhone is also running the most current iOS firmware and update immediately if prompted. Damaged Lightning cables are a very common cause of syncing errors, so substitute suspect cables with new MFi-certified ones.
If basic troubleshooting does not solve the issues, rebuilding your iTunes library can reset many complex problems caused by inconsistencies in the database. Problems on the hardware side with disabled USB ports and controllers can also prevent proper iPhone connections. Enabling any disabled devices in Windows Device Manager is an important step.
Persisting connection issues may require professional support or service to identify any underlying software corruption or hardware faults causing interference. Overall, methodically verifying your software is up to date, troubleshooting cables, resetting iTunes and checking USB connectivity can resolve most sync and connection issues with your iPhone and iTunes.