When deleting files on a Mac, they may not be permanently erased right away. Instead, they are moved to the Trash. The files remain there until the Trash is emptied, either manually or automatically after a set period of time. While this provides users a way to recover recently deleted files if needed, it also means sensitive files are not immediately wiped from the system.
For Mac users that handle private, financial, or other confidential data, the ability to permanently and irreversibly remove files from a Mac is crucial. Ways hackers or data recovery tools could restore deleted files is a serious concern. That’s why understanding how to securely and completely erase files on a Mac is an important skill.
How Deletion Works on Mac
When you delete a file on a Mac, it is not immediately erased from your hard drive. Instead, the file is moved to the Trash folder, which serves as a temporary holding place for deleted files (Source: https://watcher.guru/news/can-i-recover-deleted-files-in-recycle-bin-macbook). The Trash allows you to easily recover and restore files if you accidentally delete something important.
Files that are moved to the Trash remain there until you actively choose to empty the Trash. At that point, the files are designated to be permanently deleted and overwritten by new data. But even emptying the Trash does not necessarily render files unrecoverable, as traces of the deleted data may still exist on the drive (Source: https://excel-dashboards.com/blogs/blog/excel-tutorial-recover-deleted-excel-files-mac).
So in summary, deleting files on a Mac typically just sends them to the Trash folder where they remain recoverable. Only emptying the Trash starts the process of permanently removing the files.
Recovering Deleted Files
If you recently deleted files on your Mac and haven’t yet emptied the Trash, you may be able to easily recover them using the Time Machine backup utility that comes built-in on Macs. Time Machine continuously saves versions of your files, so you can restore deleted files if needed. To recover deleted files with Time Machine:
1. Open the Time Machine app from your Applications folder or Spotlight search.
2. Navigate to the Time Machine interface and browse through older versions of your files to find the deleted item(s).
3. Select a deleted file and click Restore to retrieve it.
If you already emptied the Trash, Time Machine can still help recover deleted files as long as System Protection was enabled before they were deleted. Time Machine saves hourly backups for the past 24 hours, daily backups for the past month, and weekly backups for everything older when disk space is available.
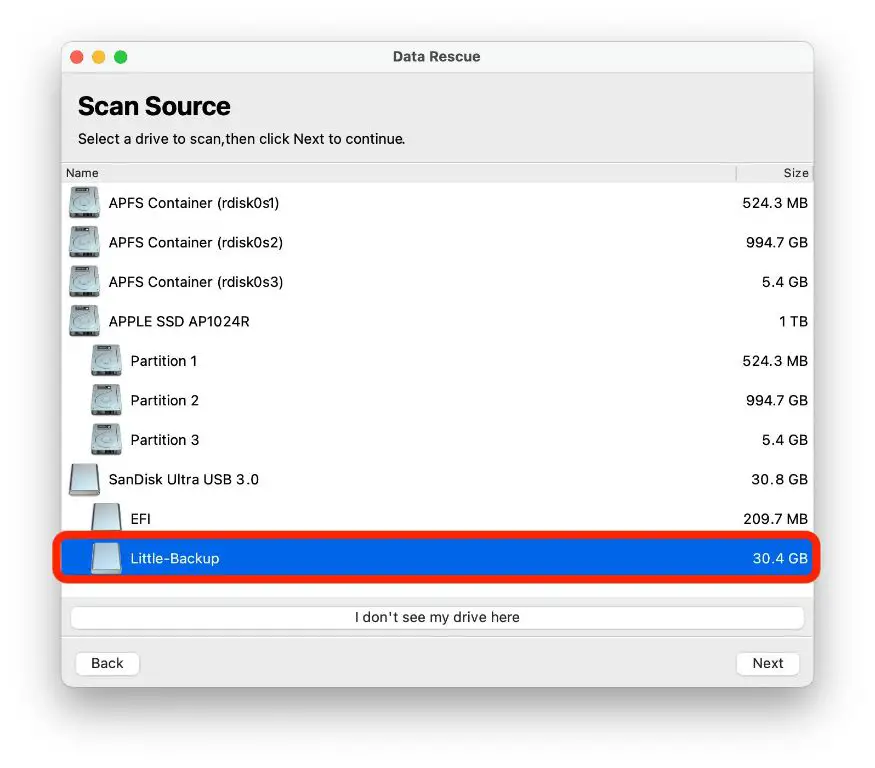
If Time Machine recovery fails, third-party data recovery software offers more advanced options to scan your drive and recover deleted files. Some top-rated utilities include Disk Drill, TestDisk, and EaseUS Data Recovery Wizard. These tools can recover deleted files even after emptying the Trash and help recover from disk corruption or OS crashes.
Securely Emptying the Trash
When you delete files on your Mac, they get moved to the Trash folder. Emptying the Trash doesn’t permanently delete the files right away. Instead, it simply marks the space those files took up as available to be written over. Until that space is used again, data recovery software can scan the drive and recover the “deleted” files.
To prevent this type of file recovery, you need to securely empty the Trash. This overwrites the disk space used by the deleted files with random data before freeing it up. Here are a couple ways to securely empty the Trash on a Mac:
You can enable “Securely remove Trash” in the Finder preferences. This will overwrite deleted files 7 times meeting Department of Defense standards before emptying the Trash. Open Finder > Preferences > Advanced and check the box for “Securely remove Trash.” [1]
For even more secure deletion, you can use the “srm” command in the Terminal app. Running “srm -s” overwrites the freed up space 35 times meeting Department of Defense standards. Make sure to empty the Trash first before running this command. [2]
Bypassing the Trash
One way to permanently delete files on a Mac without sending them to the Trash first is to use keyboard shortcuts that bypass the Trash entirely. The main shortcut for this is Command+Shift+Delete. When you select a file or folder and use this keyboard shortcut, you’ll get a prompt asking if you really want to permanently delete the item. If you confirm, the file or folder will be immediately and permanently erased without a stop in the Trash (Source).
This keyboard shortcut works in Finder windows and on the desktop. It’s a fast way to securely erase files without having to open the Trash. Some other similar keyboard shortcuts include Option+Command+Delete and Control+Option+Command+Delete, which also delete items immediately while bypassing the Trash. These shortcuts are useful when you need to make sure a file can’t be recovered.
File Shredding Software
If you want an added layer of security when permanently deleting files on your Mac, dedicated file shredding utilities are an option. These programs are designed to completely overwrite deleted data to prevent any chance of recovery.
Some popular file shredding software options for Mac include:
– Eraser – Overwrites data up to 35 times to meet Department of Defense standards.
– Permanent Eraser – Allows overwriting data with random data patterns.
– ShredIt X – Secures erasure of individual files, disks, or full drives.
These utilities work by overwriting the space where your deleted files were stored with random meaningless data. This prevents recovery tools from being able to retrieve the original contents.
Erasing Free Space
When a file is deleted on a Mac, the space it previously occupied is marked as free and available for new data. However, the actual contents of the deleted file remain on the hard drive until that section of the free space is overwritten by new files. This means deleted files can often be recovered using data recovery software until the free space is reused.
To prevent recovery, it’s necessary to completely overwrite the free space on the drive. macOS includes secure erase utilities that can wipe the free space by overwriting it with random data. For example, Disk Utility’s Erase Free Space function fills the free space with zeros to prevent file recovery. Third party tools like DoYourData offer more advanced options to overwrite free space multiple times using various data patterns.
Erasing the free space ensures previously deleted files are unrecoverable by removing their residual data. It’s an important step for permanently deleting confidential data and preventing it from falling into the wrong hands if a Mac is lost, stolen or sold.
Reformatting the Drive
One of the most thorough ways to permanently delete files on a Mac is to reformat the entire drive (Apple Support). Using Disk Utility, you can erase the drive and install a new file system, effectively wiping all existing data. This is an option for users who want to completely wipe their Mac and start fresh with a clean install. However, reformatting the drive is overkill if you just want to delete a few files or folders.
To reformat, launch Disk Utility, select the drive, click “Erase”, choose a name and format like APFS or Mac OS Extended, then click “Erase” (Apple Support). This will permanently destroy all data by overwriting the entire drive. While thorough, most average users don’t need to reformat their drive to delete files. There are easier methods to selectively and permanently delete data.
Extra Tips for Permanent Deletion
Here are some extra tips to ensure files are permanently deleted from your Mac:
Delete old Time Machine backups – Time Machine keeps hourly backups for the past 24 hours, daily backups for the past month, and weekly backups until your backup drive is full. You can delete old backups by entering Time Machine, navigating to the backup you want to delete, right-clicking on it, and selecting ‘Delete Backup’. This will permanently remove those backup files.
Clear caches – Application caches, web browser caches, and system caches store temporary files that can contain deleted file data. Periodically clearing out these caches can remove any lingering deleted files. Use the Finder menu to clear system caches, browser settings to clear browser caches, and application settings for app caches.
Remove related apps – Some apps keep their own backups or caches that may retain deleted files, like cloud storage apps. Deleting those related apps and their associated files can remove any traces of deleted files.
Scrub metadata – Metadata such as creation/modification times and geotags could still remain on files even after deletion. Use a metadata removal tool to scrub all metadata from your files and reduce recoverability.
Conclusion
In summary, while files dragged to the Trash may seem deleted on a Mac, the data is still recoverable until the Trash is emptied. To ensure permanent deletion, users should manually empty the Trash, then use third party software to shred files and overwrite free space. There are also options to securely erase or reformat the entire drive for maximum guaranteed data erasure. But with standard deletion methods, files can likely be recovered unless overwritten. So for fully permanent deletion of sensitive data on a Mac, overwriting the data is required.