At some point, your Windows 7 operating system may encounter issues that prevent it from working properly. Windows repair allows you to fix problems with Windows 7 and restore functionality without having to completely reinstall the operating system.
You may need to repair Windows 7 if you experience issues like system crashes, freezing, blue screens, corrupted system files, malware infections, or problems after a Windows update. Repairing can help resolve these problems quickly without losing your files or settings.
While the Windows 7 installation disc provides a built-in repair option, you can also repair Windows without the disc in several ways. This guide will walk through the requirements, options, and steps for repairing your Windows 7 system without the original installation media.
Why Repair Windows 7?
Windows 7 is a robust operating system that has served many users well over the years. However, like any complex software, Windows 7 can develop issues over time that degrade the user experience and require repair to restore proper functionality.
Some common issues that may necessitate repairing Windows 7 include:
- Corrupted system files – Critical Windows files like dlls and exes can become corrupted, preventing programs and features from working properly.
- Software bugs – Bugs that occur after Windows updates or software installations may cause crashes or other instability.
- Hard drive errors – Problems with the hard drive like bad sectors can lead to crashes and data loss.
- Virus/malware infections – Malicious software can modify Windows in ways that damage the OS.
- Registry errors – The Windows registry can become cluttered leading to slow performance and system instability.
- Boot failures – An inability to properly boot into Windows, often with inscrutable error messages.
- Hardware incompatibilities – Conflicts with drivers, BIOS settings, or peripherals may require repairing Windows.
Repairing Windows 7 can clear up these common problems and restore smooth system performance. With the end of support for Windows 7 in 2020, users have an incentive to repair rather than replace their operating system to extend its usable lifespan. Proper repairs allow users to continue enjoying Windows 7’s familiar interface and stability while avoiding costly upgrades.
According to window preservation experts, repairing an older operating system like Windows 7 often makes more sense than replacing it since users are already accustomed to its unique quirks and features.
Requirements for Repairing Windows 7
To successfully repair and reinstall Windows 7 without the original installation media, there are a few key requirements:
First, you need a valid Windows 7 license key. The product key allows you to reactivate Windows after reinstalling it. Without a legitimate license key, you won’t be able to complete the repair or reinstallation process.
Second, you’ll need access to the Windows 7 installation files. There are a couple options to obtain these:
- Use the Recovery Partition if your PC manufacturer included one. This allows you to restore Windows to factory settings.
- Create bootable installation media on a USB drive or DVD. You can download the files directly from Microsoft.
Having a Recovery Partition or installation media will provide the necessary files to repair, reinstall, or restore Windows 7.
Meeting these requirements allows you to refresh your Windows 7 operating system even without the original discs. Just be sure you have that valid license key and access to the installation files through one of the methods mentioned.
Options for Repairing without Installation CD
There are a few options for repairing Windows 7 without the original installation CD:
Using the Recovery Partition
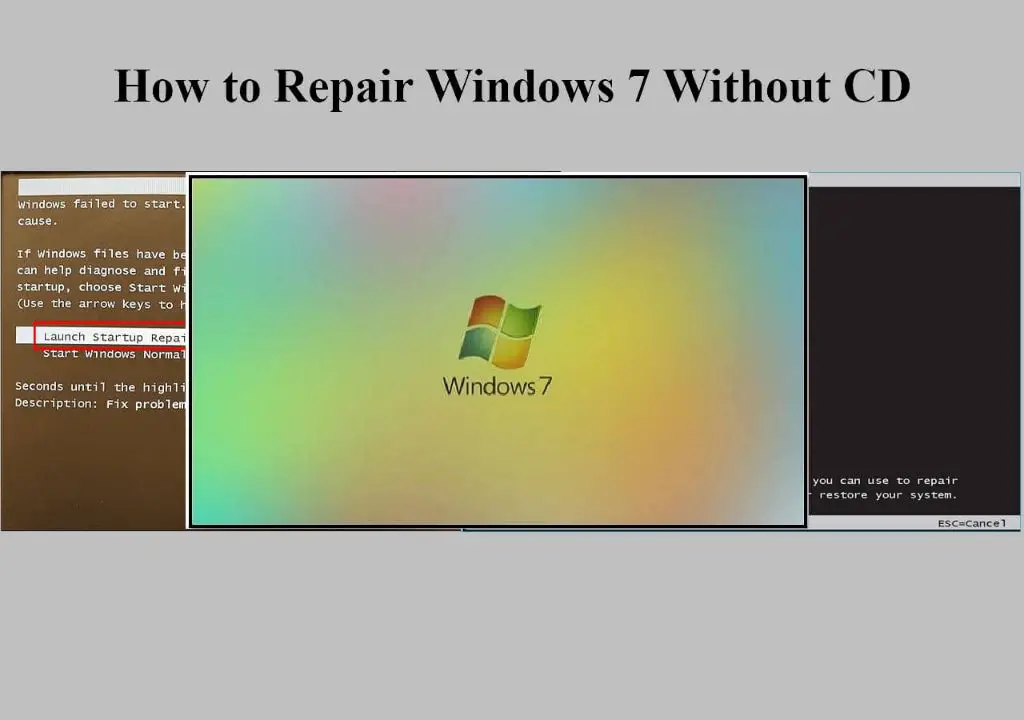
Most Windows 7 computers come with a hidden recovery partition that contains the files needed to restore Windows to its original factory settings. You can access this recovery partition by rebooting your computer and pressing F8 to enter the Advanced Boot Options menu. From there, choose “Repair Your Computer” to launch the Startup Repair tool which can scan and fix many common issues automatically using the recovery partition.
Source
Creating a System Repair Disc
The System Repair Disc is a bootable CD or DVD that contains a set of system recovery tools. To create one in Windows 7, search for “Create a System Repair Disc” and insert a blank disc. This can then be used to access the Startup Repair tool without needing the original Windows 7 installation media.
Source
Creating Installation Media on USB
You can create a bootable Windows 7 USB drive even without the original installation disc. Microsoft provides a tool to allow this by downloading the official ISO. The USB can then be used to access Startup Repair and advanced recovery options. Just make sure Secure Boot is disabled in BIOS first if booting from USB.
Source
Creating a System Repair Disc
The System Repair Disc is a bootable CD or DVD that allows you to access system recovery tools in order to repair Windows 7 (How to Create System Repair Disc on Windows 7, 8, And …). To create a System Repair Disc:
1. Open the Control Panel, either by searching for it or going to Start > Control Panel.
2. Under System and Security, click on “Backup and Restore”.
3. On the Backup and Restore screen, click “Create a system repair disc” in the bottom left corner.
4. Insert a blank CD or DVD into your disc drive when prompted.
5. The tool will then burn the system recovery tools and files to the disc. This may take several minutes.
6. When complete, you will have a bootable System Repair Disc that can be used to access system recovery options if Windows 7 encounters problems or fails to start (How to Create a System Repair Disk in Windows 7).
If the tool encounters errors creating the System Repair Disc, make sure there is a working optical disc drive with a blank CD/DVD inserted and try again. Troubleshooting steps may be required if errors persist (Windows 7 cannot create system repair disc).
Repair Install Using Recovery Partition
Many Windows 7 computers come with a recovery partition pre-installed by the manufacturer. This partition contains the files needed to restore Windows 7 to the original factory settings.
To perform a repair install using the recovery partition, follow these steps:
- Restart your computer and press the appropriate key during bootup to access the Boot Options menu. This is usually F11 or F12, but may vary by manufacturer.
- Select the recovery partition boot option.
- This will boot your computer into the recovery environment. Follow the on-screen prompts to choose the Repair option.
- The Startup Repair tool will scan your system and attempt to fix any issues. If this doesn’t work, continue to the advanced options.
- Select “System Restore” and choose a restore point prior to when issues began occurring. Test if this resolves the problem.
- If system restore does not work, select the “System Image Recovery” option to revert your Windows 7 installation back to factory default.
- Follow the prompts to complete the recovery process. Your PC will be restored to its original settings.
For step-by-step visual instructions, refer to this guide: Re-Install Windows 7 from recovery Partition
Creating Installation Media on USB
If you need to reinstall Windows 7 but don’t have the original installation disc, you can create a bootable USB installer drive instead. This allows you to perform a clean install of Windows 7 using the files from the USB drive.
To create a Windows 7 installer on a USB drive, you will need:
- A USB drive with at least 4GB of space
- Access to a Windows 7 ISO file or files from the installation DVD
- USB tool software like Windows 7 USB/DVD Download Tool or Rufus
The steps are:
- Insert your USB drive into your computer.
- Launch the USB tool and select your USB drive.
- Point the tool to your Windows 7 ISO file or files.
- The tool will download the necessary files and make the USB bootable.
- Once complete, insert the USB drive into the computer you want to install Windows on.
- Boot from the USB drive and follow the on-screen prompts to install Windows 7.
This allows you to perform a clean install and repair your Windows 7 operating system without needing the original install disc. Just be sure to backup your data first!
Performing Startup Repair
Startup Repair is a recovery tool in Windows 7 that can automatically diagnose and fix certain system problems that may be preventing Windows from starting properly. To perform Startup Repair:
- Restart your computer and press F8 during the initial boot process to access the Advanced Boot Options menu.
- Select “Repair Your Computer” from the menu.
- This will load the System Recovery Options menu. Select “Startup Repair” to begin the automated repair process.
- Startup Repair will scan your system and attempt to automatically fix the issues preventing startup. It may ask to restore system files or roll back changes.
- After completing the scan and repairs, you will have the option to restart your computer normally or see a summary of the repairs performed. Restart to boot back into Windows.
The Startup Repair tool can fix issues like missing or corrupt system files preventing Windows from loading. However, it may not be able to repair more complex software issues. It’s a good first step before trying more advanced system recovery options. For a visual walkthrough, see this Startup Repair tutorial video.
Reinstalling Windows 7
If repairing Windows 7 using the methods above are unsuccessful, you may need to perform a full reinstallation of Windows 7. This will completely wipe your hard drive and do a clean install of the operating system.
To reinstall Windows 7, you will need a Windows 7 installation disc or bootable USB drive. If you don’t have one, you can create bootable installation media using the Windows 7 ISO file and a tool like Rufus [1].
The full process to reinstall Windows 7 is:
- Boot from the Windows 7 installation media
- Select your language, time/currency format and keyboard input
- Click “Install Now”
- Enter your product key if prompted and accept the license terms
- Choose “Custom (Advanced)” for the type of installation
- Select the partition where you want to install Windows and click “Drive options” > “Format”
- Click “Next” to begin the installation
- Once complete, Windows will reboot and finish configuring the OS
- Go through the initial customization like setting up your account
Reinstalling Windows 7 completely wipes the hard drive and reverts the PC back to a clean Windows install. Make sure to backup any important data first. If the reinstall fails, the hard drive itself may be faulty.
Conclusion
In summary, there are a few options for repairing Windows 7 without the original installation CD. The easiest is to use the built-in System Repair Disc tool to create a bootable disc that can run diagnostics and fix issues. You can also try to repair from the recovery partition if it still exists. Otherwise, creating installation media on a USB drive is the best option, which will allow you to access the Startup Repair tool and restore Windows to a working state.
The most thorough option that often fixes even serious issues is to reinstall Windows 7 completely. Back up any important data first, then you can install a fresh copy of Windows with the proper product key. Just be sure to download a legitimate .iso file if you don’t have the original discs.
Overall, with some technical know-how, it’s definitely possible to repair and reinstall Windows 7 without the original CD. The built-in recovery tools from Microsoft make it straightforward to troubleshoot and fix issues. Just be cautious with any major system changes, back up data, and research the process thoroughly before getting started.