Quick Answer
It is possible to replace the printed circuit board (PCB) on a hard drive, but it requires advanced technical skills and specialized equipment. The process involves carefully removing the drive’s original PCB and replacing it with a matching replacement board. Successfully swapping the PCB can potentially allow data recovery from a failed drive. However, there are risks involved that could further damage the drive if not done properly.
What is a Hard Drive Printed Circuit Board?
Inside every hard disk drive is a small printed circuit board, commonly abbreviated as a PCB or HDD PCB. This board serves several key functions:
- It provides the electrical connections between the drive and the computer it is installed in.
- It controls the motor that spins the hard drive platters.
- It operates the drive heads that read and write data.
- It contains the drive’s onboard cache and controller circuitry.
The PCB is custom designed for each make and model of hard drive. It contains chips that have firmware coded specifically for that particular drive.
Common Hard Drive PCB Failures
There are a few common failure modes that can occur with a hard drive PCB:
- Electrical short/open on the board
- Failed drive controller chip
- Corrupted firmware
- Physical damage from a drop or shock
Any of these PCB failures can result in the drive not being detected, not spinning up, or not allowing access to the stored data.
Why Replace a Hard Drive PCB?
When a hard drive PCB fails, the drive will typically not be accessible. However, the actual platters and heads inside the drive that store the data are likely still intact and functional. By replacing the defective PCB with a working equivalent circuit board, the drive can often be restored to a usable state allowing recovery of its data.
Some common reasons for replacing a hard drive PCB include:
- Gain access to data on a drive with a failed PCB
- Fix an drive that is not detected or spinning
- Resolve logical failures such as corruption errors
- Revive a drive deemed dead due to PCB issues
Requirements for Hard Drive PCB Swap
For the PCB replacement to have a chance of success, a few requirements must be met:
- A replacement PCB that exactly matches the original model and revision is needed.
- The drive’s internal platters and heads must be in good condition.
- The original fault was limited to just the PCB.
- Specialized tools and a cleanroom environment are needed.
Meeting these requirements provides the best probability of fully restoring the drive by simply replacing its electronics board. But risks still exist that mechanical or platter problems could also be present.
Precautions When Replacing Hard Drive PCB
Swapping the printed circuit board on a hard drive is an extremely delicate operation with little room for error. Some important precautions include:
- Use an identical PCB – Any mismatch will likely result in total failure.
- ESD prevention is critical – one zap can ruin the drive beyond repair.
- A cleanroom is ideal – even microscopic dust can destroy the drive.
- Specialized small tools are required.
- A single bent pin will likely brick the drive permanently.
- Carefully document location of all connectors before unplugging.
Rushing through the PCB swap or ignoring these precautions often leads to slipping up and completely destroying the drive. Patience and care is required.
How to Replace Hard Drive PCB
With the right skills, tools, and environment, these are the basic steps for replacing a hard drive PCB:
1. Match the Replacement PCB
Verify the replacement board exactly matches the original model drive. Even slight variations can cause problems. The part number, revision, firmware, and connectors must all align.
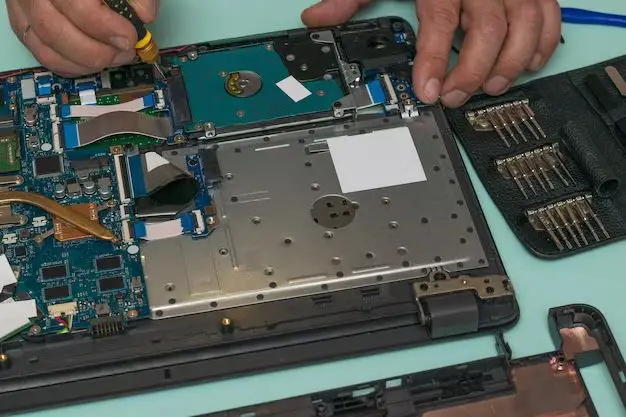
2. Remove the Drive’s Outer Case
Carefully open the hard drive’s metal casing, usually by unscrewing the top cover plate. Avoid touching or damaging the internal components.
3. Disconnect Connectors and Cables
Gently unplug all cables and connectors attaching the PCB to the drive motor, heads, and internal electronics. Note their locations.
4. Detach the Circuit Board
Release any locking clips or screws securing the PCB to detach it from the drive housing. Be extremely careful of any adapter boards.
5. Install Replacement PCB
Align the replacement PCB over the correct connectors and carefully press into place. Reattach any clips or screws.
6. Reconnect Cables and Closing Housing
Plug all drive connectors back into the replacement PCB. Double check alignments. Reseal the metal housing.
7. Test Drive Functionality
Reinstall the drive and power it on. Hopefully it spins up and gets detected allowing data recovery attempts.
Dangers and Risks
While a PCB swap can often revive a dead drive, there are serious dangers that can quickly result in catastrophic failure:
- Any ESD zap directly to the platters will destroy the drive.
- Heads rely on extremely precise alignments – even minor touches can knock them out of position.
- Extremely tiny dust particles can seize up the heads.
- Any damage to the fragile read/write heads will lead to permanent data loss.
- Failed drives often have existing mechanical problems that get aggravated.
With these significant risks, PCB replacements on hard drives with valuable data should only be attempted by data recovery experts with proper tools and cleanroom. Otherwise, the likelihood of a mistake permanently destroying the drive is quite high for an amateur.
Alternative Options
For non-technical users with a failed hard drive, a DIY PCB swap is not recommended. Safer alternatives options include:
Professional Data Recovery Service
Reputable data recovery labs have access to cleanrooms, specialized tools, and PCB inventories. This gives them the best chance of successfully repairing the drive and recovering the data. However, costs often start around $400+.
Send Drive Back to Manufacturer
If the drive is under warranty, the manufacturer may replace the PCB or entire drive for free. But any data will likely be lost in this process.
Replace the Hard Drive
In some cases, it may be simpler, safer, and more cost-effective to just replace the faulty hard drive with a new, compatible model and reinstall the OS and data from backups.
Conclusion
Replacing a hard drive PCB circuit board is possible for expert specialists but extremely risky for amateurs. The delicate components are easily damaged if proper environment, tools and techniques are not utilized. For anyone without extensive data recovery experience, it is safer and wiser to use a professional service in the case of a faulty drive with valuable data instead of attempting this delicate operation themselves. But for those with expertise and the right equipment, a PCB swap can sometimes resurrect a dead drive.
