Formatting a write-protected hard drive can be challenging, but it is possible in some cases. The write-protection is usually in place to prevent accidental deletion or overwriting of data. However, there may be times when you need to reformat a write-protected drive, such as when selling or repurposing the drive. This article will explain what write protection is, the different types, when you can and can’t format a protected drive, and steps for removing software-based write protection to successfully format the drive.
What is Write Protection?
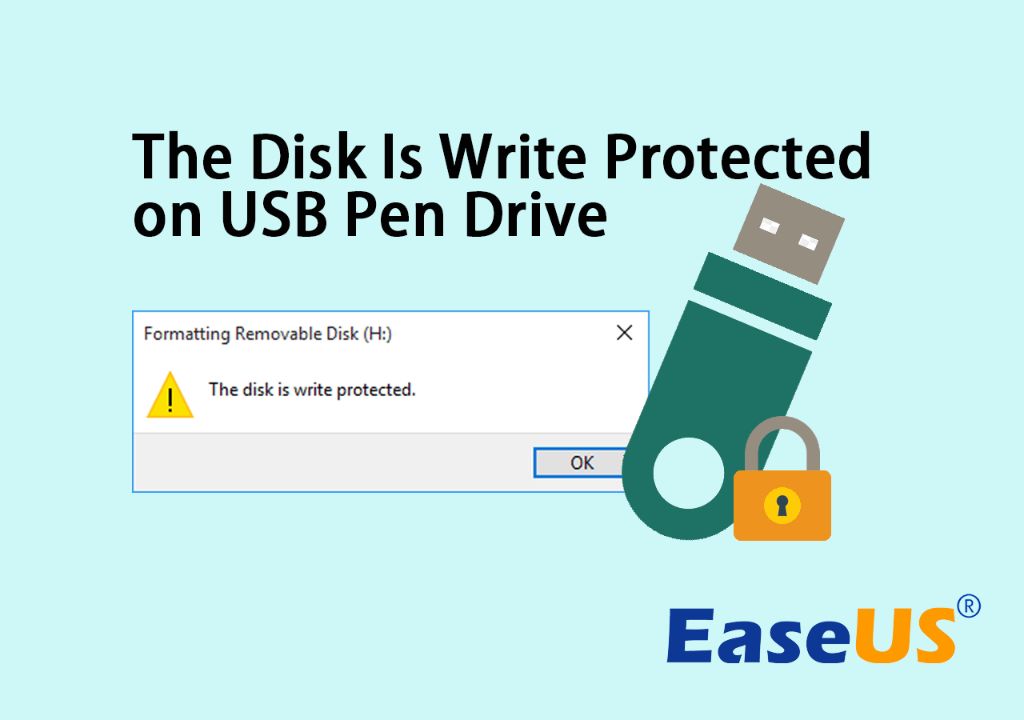
Write protection refers to methods that prevent data on a hard drive from being modified, overwritten, or deleted. It makes the drive “read-only” to protect against unintentional changes.
There are two main types of write protection:
Physical – This involves a physical switch or tab on the drive enclosure. Sliding the switch into the “lock” position enables write protection. This protects the entire drive and cannot be bypassed with software tools.
Software-based – The drive has configuration options set through software to make it read-only. For example, Windows BitLocker, Apple FileVault, and third-party encryption tools can write-protect drives. Some external drives also come with their own software locking utilities.
Write protection is commonly used on:
– Archival or backup drives to prevent data corruption
– Drives containing sensitive information like financial records or medical data
– Forensic analysis drives to preserve evidence
– USB flash drives given out at trade shows or conferences
– Public computer drives to stop viruses and malware
Can You Format a Write-Protected Hard Drive?
Whether a protected hard drive can be formatted depends on the type of write protection in use:
Physically write-protected – If the drive has a physical lock switch, formatting is completely disabled. The hardware barrier prevents any operations that modify data, including formatting. To format, the physical lock must be disabled first.
Software-protected – If the protection is set through software, formatting may be possible after removing the write protection settings through configuration changes. For example, turning off BitLocker encryption on a Windows drive would allow formatting.
However, some software protections are implemented immutably at the factory level and cannot be altered. For example, some secure USB drives come pre-configured in read-only mode with no option to enable writing. These drives cannot be formatted as long as the hardware-based protection remains in place.
In general, formatting should only be attempted on a protected drive if you are certain the specific write protection method allows it. Otherwise, errors will occur as the system tries to write data during the formatting process.
Reasons to Format a Write-Protected Drive
There are a few valid reasons you may need to format a protected hard drive:
Repurposing the Drive – If you want to use the drive for a different purpose, a full format will wipe it clean for the new data. For example, converting an old backup drive to general storage use.
Removing Sensitive Data – Formatting overwrites all existing data with blank spaces. This is a way to permanently erase sensitive financial records, medical info, or other private data when retiring a protected drive.
Resolving Corruption Issues – If a protected drive begins exhibiting signs of corruption like crashes or read errors, formatting may fix underlying file system problems. The process rebuilds the structure from scratch.
Preparing for Sale or Donation – Used drives are often sold or donated still containing personal data. A format guarantees everything is erased before the drive changes hands.
Installing a New OS – Operating system upgrades or full reinstalls require formatting the drive to create fresh system partitions. This applies to protected drives like BitLocker-encrypted Windows boot drives.
Formatting should only be performed when absolutely necessary. More targeted methods like deleting individual files or folders may work instead.
Steps to Format a Software-Protected Hard Drive
If you have confirmed the write protection on a drive is software-based, you can try removing the protection settings to enable formatting. Here are the general steps:
1. Identify and disable write protection – This depends on the software controlling the behavior. Consult documentation for your specific tool. For example, turning off BitLocker encryption in Windows.
2. Reboot the computer – In some cases, a reboot is required for changes to take effect.
3. Connect the drive to the computer – Use the same physical SATA, USB, or other connection interface as before.
4. Launch disk management – On Windows, press Windows+R and enter “diskmgmt.msc” to launch the Disk Management console. On Mac, use Disk Utility.
5. Right-click on the drive and select “Format” – This will open a formatting tool specific to your OS.
6. Adjust formatting options – Choose the file system (NTFS, exFAT, etc.) and allocation unit size. Give the drive a label if desired.
7. Start the formatting process – This will permanently erase all data and overwrite it with the new blank file system.
8. Re-enable write protection (optional) – If you wish to make the drive read-only again after formatting, re-enable your software write protection tools.
This allows a protected drive to be safely formatted while avoiding any data corruption. Be absolutely certain formatting is needed, as the process is not reversible. Have backups of any important data before proceeding.
Trying to Format Without Removing Write Protection
Attempting to format a write-protected drive without first removing the protection will result in errors. With physical hardware write protection, it’s impossible to start formatting at all. The hardware barrier prevents any write operations.
On software-protected drives, the OS may begin formatting before encountering read-only access restrictions. For example:
– On Windows, you may see “Access is denied” or similar permissions errors
– On Mac, Disk Utility will state “Unable to write to last block of device”
– Formatting tools can crash or freeze part way through the process
The system is attempting to write formatting data but cannot due to the write protection limitations. This will result in a corrupted drive that is neither properly formatted nor retains the old data. Do not force the process if write access is not possible.
Instead, remove the write protection as outlined above before attempting to format again. If the drive has physical protection that cannot be disabled, formatting simply isn’t possible with the current hardware configuration.
Secure Erase Tools for Well-Protected Drives
Some software protections like BitLocker allow formatting but still retain traces of old data in hidden sectors. For well-protected drives containing sensitive information, more advanced “secure erase” tools may be required to fully overwrite all data remnants during formatting.
These tools directly interface with the hard drive controller to send low-level sanitize commands. Examples include:
Hdparm (Linux) – Open source command line utility that supports secure erase options.
Parted Magic (Toolkit) – Contains a “Erase Disk” tool with multiple overwrite algorithms to choose from.
Active@ KillDisk – Secures erasure across the entire drive on all operating systems. Supports advanced wiping methods.
Darik’s Boot and Nuke (DBAN) – Designed to completely and irreversibly erase drive contents. Boots from a CD/DVD/USB.
These tools ensure maximum data destruction by overwriting all sectors, hidden areas, and remapping damaged blocks. Use them when formatting failed protected drives containing highly sensitive data.
Preventing Accidental Formatting of Protected Drives
To avoid the risk of accidentally formatting a protected drive and losing data, some best practices include:
– Clearly label protected archival drives as “Read Only”
– Store backup and archive drives safely off-system when not in use
– Enable permissions/user access restrictions on sensitive drives
– Separate removable write protected media like SD cards or USB sticks
– Disable auto-run actions on protected drives
– Use drive letter exceptions to hide protected volumes from Windows Explorer
Proper IT protocols for asset management and drive handling also limit mistakes. If different operating systems are dual booted, be cautious when crossing between them while protected drives are mounted.
When to Format a Write-Protected Drive
– Repurposing for new storage needs
– Permanently erasing sensitive information
– Troubleshooting corruption issues
– Preparing for sale or donation
– Installing operating systems
Conclusion
While write-protected hard drives are designed to prevent data loss, there are times when formatting is required. Physically protected drives must have the hardware lock disabled before formatting is possible. Software-protected drives can be formatted by removing the write protection settings through configuration changes.
Secure erase tools may be required to fully overwrite sensitive data remnants during the formatting process. Only attempt to format a protected drive if you are certain the write protection method allows it. Forcing the process on a physically or permanently software-protected drive will lead to corruption and data loss. With proper precautions, removing software write protection allows a protected hard drive to be safely reformatted when necessary.