What Kinds of External Drives Work with Chromebooks
Chromebooks support connecting various types of external drives for additional storage and data transfer.
External hard disk drives (HDDs) can be connected to Chromebooks via USB ports or USB-C ports, depending on the model. Popular external HDD brands like Seagate, Toshiba, and Western Digital are generally compatible. HDDs need to be formatted with supported file systems like FAT, FAT32, exFAT, or NTFS to work properly with a Chromebook.
External solid state drives (SSDs) also work reliably with Chromebooks and offer faster data transfer speeds and better durability compared to HDDs. Top options include the Samsung T7 Portable SSD, SanDisk Extreme Portable SSD, and Western Digital My Passport SSD.
USB flash drives are a convenient way to add more storage and transfer files between other devices. Most standard USB flash drives will be detected automatically when plugged into a Chromebook’s USB port.
Chromebooks also support SD cards for expanded storage. SD cards need to be formatted with FAT, FAT32, or exFAT filesystems to be fully readable and writeable by the Chrome OS. High capacity SD cards above 32GB may need to be formatted before use.
Connecting an External Drive
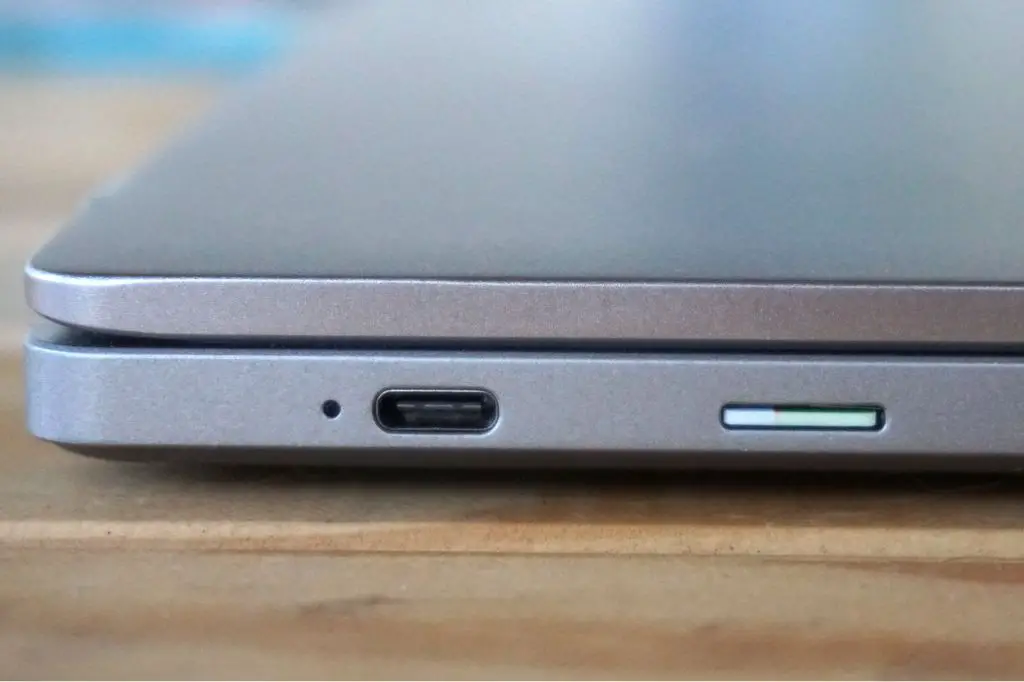
Connecting an external drive to a Chromebook is easy – simply plug the drive into an available USB port, USB-C port, or Thunderbolt port using the appropriate cable. Chromebooks support external drives connected via USB 3.0, USB 2.0, USB-C or Thunderbolt ports. Most external drives today use a USB connection. USB-C is gaining wider adoption and offers the fastest transfer speeds. Thunderbolt also provides excellent speeds but is less common. Just make sure your Chromebook has the required port available to match your external drive.
Once plugged in, the Chromebook should auto-detect the external drive. You’ll see a notification that the drive was recognized and it will be available in the files app. Some older Chromebooks may require you to enable external media in settings before external drives can be used. If your drive doesn’t auto-mount, try enabling this setting first.
According to CNET, you may need to format a new external drive to a compatible file system before the Chromebook can access and mount it. If your drive isn’t recognized, formatting it may help.
File Systems Supported
Chromebooks support a variety of file systems for external drives, allowing compatibility with drives formatted on Windows, Mac, and Linux systems. The main file systems supported include:
- FAT32 – This is the most compatible file system for external drives on Chromebooks. It has a maximum individual file size of 4GB.
- exFAT – This file system does not have the 4GB file size limit of FAT32. It allows individual files larger than 4GB.
- NTFS – The standard Windows file system. Chromebooks have read/write support for NTFS drives.
Chrome OS cannot boot from NTFS formatted drives, so NTFS is mostly useful for data storage and accessing files from Windows systems. FAT32 or exFAT are recommended for full Chromebook compatibility. To ensure maximum compatibility with Chromebooks, reformatting external drives to FAT32 or exFAT file systems is advised.
Sources:
[1] https://support.google.com/chromebook/answer/183093?hl=en
Data Transfer Speeds
The speed at which data can be transferred to an external drive depends on the USB standard supported by the Chromebook. Most Chromebooks support USB 2.0 and USB 3.0.
USB 2.0 has a maximum transfer speed of 480 Mbps. This is sufficient for basic storage needs but can result in long transfer times for large files. According to users on Reddit, USB 2.0 speeds on Chromebooks can vary and may be slower than expected (source).
USB 3.0 significantly increases the maximum bandwidth to 5 Gbps. This is over 10 times faster than USB 2.0. With USB 3.0, large files and batches of files will transfer much quicker. Most modern external SSD and hard drives utilize the faster USB 3.0 standard.
Therefore, for fastest transfer speeds, choose an external drive that supports USB 3.0 and connect it to a USB 3.0 port on the Chromebook, if available. Avoid using USB 2.0 unless transfer speed is not a major concern.
Using External Drives for Storage
One of the most common reasons to use an external drive with a Chromebook is for additional storage space. The onboard storage on Chromebooks tends to be limited, with some models offering as little as 16GB. Connecting an external drive allows you to store more files, media, backups, and other data.
When you connect a compatible external drive to your Chromebook, you’ll be able to access it through the Files app. You can view, open, edit, move, and manage files on the external drive similar to how you would on the Chromebook’s downloads folder or Google Drive.
An external drive gives you a local backup option for your important files and documents. Rather than relying solely on cloud storage like Google Drive or Dropbox, you can manually copy files to the external drive for safekeeping. This provides redundancy in case you ever lose internet access or your cloud storage is disrupted.
You can store entire music, photo, and video libraries on a spacious external hard drive. Chromebooks have limited onboard media storage, so being able to keep your media files on an external drive frees up local space. This allows you to bring tons of media with you everywhere you take your Chromebook.
While Chromebook’s built-in protection against malware makes them very secure, connecting external drives from other computers could potentially expose you to malware. So it’s important to scan any new drives you connect with antivirus software before fully trusting them.
Using External Drives for Booting Other OS
One popular use of external drives with Chromebooks is booting other operating systems like Linux or Windows. This allows you to run programs and tools not available on ChromeOS without fully replacing the native operating system.
To boot an external OS, the drive must be formatted correctly and ChromeOS must be put into Developer Mode. The external drive needs a Linux-compatible file system like EXT4 or FAT32. Windows can only be booted from an NTFS-formatted drive.1
With Developer Mode enabled, press Ctrl + U during boot to launch the external OS. The Chromebook will scan connected drives and boot any viable OS it finds.2 This makes it easy to alternate between ChromeOS and other operating systems on an as-needed basis.
Do note that booting externally does not install or replace the ChromeOS. And exiting the session will return you to ChromeOS. The external OS will need to be booted each time it is to be used.
Encryption and Partitions
Chromebooks support encrypting external hard drives and USB flash drives to protect sensitive data. The standard file encryption methods used on Windows and Mac aren’t compatible, but there are some solutions.
Veracrypt is an open-source encryption tool that works on Chromebooks. To use it, download and install the Veracrypt Chrome app. Then, encrypt your external drive by following the Veracrypt instructions. This will password-protect your drive’s contents across platforms [1].
Chrome OS also supports encrypting SD cards and flash drives using the ‘Encrypt contents’ option in the Files app. This uses your Google login to encrypt the drive’s contents [2].
For multiple partitions, Chromebooks recognize primary and logical partitions on external drives. This allows segmenting your drive for different operating systems or to keep some partitions encrypted while others aren’t. Use disk utility tools like GParted to manage partitions.
Auto-Mounting Drives
ChromeOS has the ability to automatically mount external drives when they are connected via USB (Source). This allows easy access to files and data without needing to manually mount the drives.
When an external drive is connected to a Chromebook, ChromeOS will immediately recognize it and mount it under the Files app. The drive will show up in the sidebar navigation along with any other mounted drives and Google Drive folders.
Chromebooks will even auto-mount drives that are connected while the device is asleep or locked. As soon as the Chromebook is unlocked, the external drive will be mounted and accessible. This makes it very convenient to quickly access files from external drives without any setup.
Some key things to note about auto-mounting in ChromeOS:
- Drives are mounted under /media/removable.
- Read/write permissions are set automatically based on the ChromeOS user account.
- Drives will unmount automatically if inactive after a timeout period.
- Auto-mount can be disabled through chrome://flags if desired.
Overall, the auto-mount capabilities make external drives on Chromebooks a plug-and-play experience for basic file storage and access needs.
Supported File Systems for Boot
When booting a Chromebook from an external drive, the drive must be properly formatted and partitioned. The supported file systems for booting are FAT16, FAT32, exFAT, and HFS+ (read-only). For best results, it’s recommended to format the external drive with FAT32 and create a single primary partition.
FAT32 is widely compatible, stable, and provides the best performance for booting compared to other FAT formats. A single partition is advised over multiple partitions, as this avoids potential issues with the Chromebook detecting the correct bootable partition.
Before formatting, make sure to back up any data on the drive. Formatting will erase all data. Use a utility like Rufus to quickly format and create a FAT32 partition optimized for booting purposes.
Tips for Using External Drives
Using an external drive with your Chromebook can boost your storage capacity and allow you to transfer files between devices more easily. However, there are some tips to keep in mind for optimal performance and compatibility:
Choose an external drive that uses USB-C or USB 3.0 for faster transfer speeds. USB 2.0 will work, but copy and transfer of large files will be significantly slower. Popular portable external drives like the WD My Passport HDD and Seagate Backup Plus Hard Drive lines come in USB-C and USB 3.0 versions.
Reformatting an NTFS formatted external drive to EXT4 or exFAT format will provide wider compatibility with Chrome OS. NTFS drives are read only by default, so you’ll want to reformat to write files. Back up any data first!
Chrome OS may struggle with very large external drives, so a drive around 1-2TB is recommended for best performance. Larger archival drives are better used for backup rather than active storage and access.
Make sure to safely eject the external drive before unplugging it from your Chromebook to avoid any potential data loss or corruption issues.
Consider a rugged, shock-resistant portable external drive if you plan to travel or take your Chromebook on the go frequently. Models like the SanDisk Professional ArmorATD provide extra protection.
Always keep backups of your important data, whether stored locally on your Chromebook or on an external drive. Online cloud backup services like Google One or IDrive provide an extra layer of data protection and access.