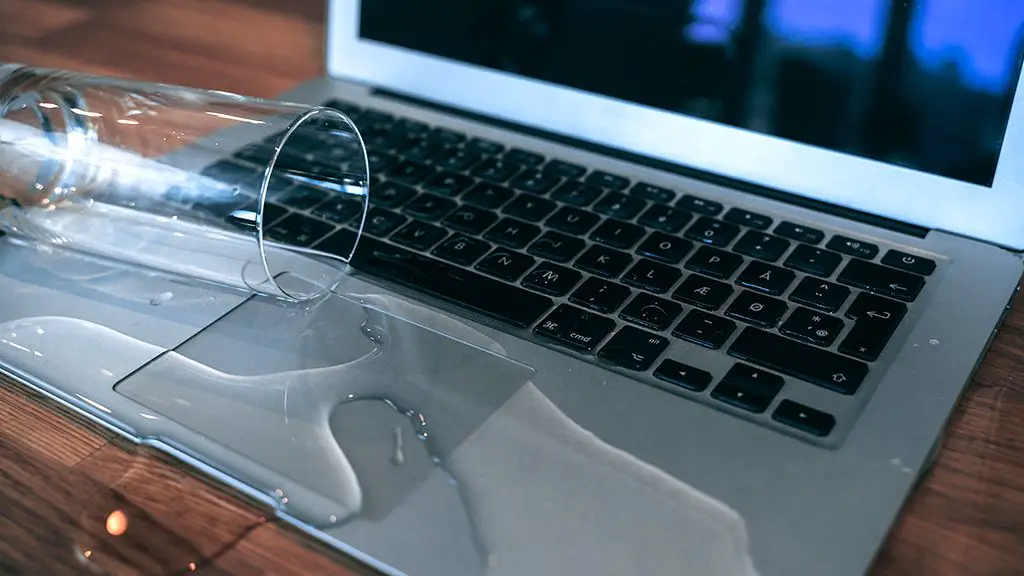
Spilling liquid on your MacBook Air keyboard can be a nightmare, but with some quick action you can often salvage the keyboard and avoid expensive repairs. In this 5000 word guide, we’ll walk you through the step-by-step process to clean and save your MacBook keyboard.
What you’ll need
Before you start disassembling your MacBook Air and cleaning the keyboard, make sure you have the proper supplies on hand:
- Tweezers
- Cotton swabs
- Isopropyl alcohol (90% or greater)
- Distilled water
- Compressed air canister
- Soft toothbrush
Step 1: Power down and disconnect
As soon as you spill liquid on your MacBook keyboard, your first move should be to power the machine down. This helps prevent shorts and further damage from occurring while you work on cleaning the laptop. After shutting down, unplug the power adapter and any other connected accessories or cables.
Step 2: Drain excess liquid
With the MacBook powered off, turn it upside down to let any excess liquid drain out through the keyboard and ports. Tilt the laptop gently back and forth to help Dislodge any trapped liquid pooled under the keys. Be patient and allow as much liquid as possible to drain out.
Step 3: Document keyboard damage
Before going any further, inspect your MacBook’s keyboard for any apparent damage. Look for keys that appear stuck, malformed, or missing entirely. Make notes on which keys are affected – this will help you test keyboard function later. Snapping some photos with your phone also helps document any keyboard issues.
Step 4: Remove bottom case
To really clean your MacBook Air’s keyboard, you will need to remove the bottom case to access the internals. Follow these steps:
- Use a P5 pentalobe screwdriver to remove the 10 screws holding the bottom case in place. There are 6 along the edges and 4 under the back feet.
- Wedge a plastic spudger or your fingernail into the small gap along the front edge of the bottom case and gently pry up to pop the clips free.
- Work your way around the perimeter, releasing the rest of the clip connections until the bottom case lifts off.
- Disconnect the battery cable to prevent accidental shorts while you work on cleaning the keyboard.
Step 5: Wipe down components
With the bottom case removed, you’ll have access to the main logic board and keyboardcomponents. Use tweezers and cotton swabs soaked in isopropyl alcohol (90% or greater) to gently clean any areas that got wet. Be very careful not to leave any cotton fibers behind.
You can also use compressed air to help blow out any droplets under keys or around components. Go slowly and be very gentle, as excessive air pressure could damage cables or blow liquid further into crevices.
Step 6: Flush the keyboard
The next step is flushing the keyboard to remove any trapped liquid or sticky residues. Create a cleaning solution by mixing distilled water and isopropyl alcohol in a 60/40 ratio. Pour some of this solution onto the top of the keyboard, letting it run down between the keys.
Use a toothbrush and/or tweezers to gently scrub between and underneath the keys. The goal is to dislodge any trapped liquids or dirt. Avoid scrubbing too vigorously, as you could break internal keyboard components.
When the cleaning solution stops dripping from inside the case, pour more onto the keyboard surface while holding the laptop at an angle. Keep flushing until the liquid runs clear and clean through the case.
Step 7: Dry out the keyboard
After thoroughly flushing the keyboard, it’s time to dry everything out. Use compressed air to blow out any remaining moisture from between and under the keys. Tilt the MacBook Air as needed to help dislodge droplets.
You can place the laptop in front of a fan or position it upside down to let gravity drain away residual moisture. Allow the keyboard components to air dry for at least 24 hours before reassembly.
Step 8: Check for functionality
Before putting your MacBook Air back together, reconnect the battery and power it on temporarily to test keyboard functions. Check that every key presses down properly without sticking. Pay particular attention to any damaged or flawed keys you noted earlier.
If certain keys feel crunchy or loose, you may need to replace the scissor mechanism under those keys. Make notes on any remaining keyboard issues.
Step 9: Reassemble the case
Once satisfied with the keyboard functionality after cleaning and drying, you can reassemble your MacBook Air:
- Reconnect the battery cable.
- Align the bottom case over the frame and press down firmly around the edges to reseat the clips.
- Replace the 10 case screws using a P5 pentalobe screwdriver.
- Reconnect any accessories like the power adapter.
Power up your MacBook Air and test the keyboard thoroughly after reassembly. If keys feel sticky or damaged, you may need to open it back up for more cleaning.
Doing a test
To test out the keyboard, open a document and try typing with every key. Make sure no keys are unresponsive or sticking. Also check that the keyboard feels firm and responsive; loose keys could indicate damaged scissor mechanisms underneath.
Don’t forget to test keyboard shortcuts and special function keys as well. On a MacBook Air, this includes things like the power button, volume controls, brightness keys, and Touch ID sensor.
When to get professional help
While cleaning your MacBook Air keyboard at home can often fix minor spills and return functionality, it’s best to take it into an Apple service center or authorized repair shop for:
- Major liquid damage like soda, wine, or coffee spills
- Visible corrosion on electronic components
- Keys not working after cleaning and drying
- Cracked or punctured internal cables
- Missing keycaps or broken scissor mechanisms
Attempting advanced component-level repairs on your own could cause irreparable damage if not done properly. The pros have the parts, tools, and training to fully restore your MacBook Air after major keyboard liquid damage.
Preventing future keyboard liquid damage
While cleaning up an accidental spill on your MacBook Air isn’t fun, you can take steps to avoid repeat incidents:
- Never eat or drink over your laptop.
- Install a keyboard cover to help block splashes and spills.
- Don’t use your laptop around bodies of water like pools or bathtubs.
- Carry your MacBook Air in a protective case when traveling.
- Keep liquids sealed in bottles and cups with lids while working.
- Close your laptop when not in use to block sudden spills.
Accidents happen, but being mindful of your MacBook Air’s proximity to liquids can go a long way towards avoiding damaged keyboards in the future.
Replacing a damaged MacBook Air keyboard
If cleaning doesn’t restore your MacBook Air’s keyboard functionality after a spill, then replacement may be necessary. Here’s what you need to know about the process:
Keyboard replacement cost
The cost to replace a damaged MacBook Air keyboard varies depending on the model, but generally ranges from $200 – $400. Apple charges around $300 for the repair work.
Is it worth replacing the keyboard?
Given the high cost of a full MacBook Air replacement (over $1,000), paying several hundred dollars to replace just the damaged keyboard is often worth it. However, very old models with other worn components may not justify the cost.
Increase value after replacement
Installing a new factory keyboard can increase the value and selling price if you choose to upgrade your MacBook later. Models with worn or sticky keyboards have less resale value.
Use OEM Apple replacement keyboards
For the highest quality and reliability, always go with a genuine Apple OEM keyboard as a replacement part. Third party keyboards often don’t fit right and can have issues with keys sticking or breaking.
Consider a professional repair shop
While keyboard replacement on a MacBook Air is possible as a DIY repair, the process is very labor intensive. Small plastic clips and screws are easy to lose or break. Taking your laptop to an Apple service center or reputable Mac repair shop is recommended.
Back up your Mac before proceeding
Before attempting any major repair or replacement job on your MacBook Air, be sure to fully back up your hard drive. The last thing you want is to lose your files and data if something goes wrong during the repair process.
Use Time Machine to backup locally or a cloud storage service like iCloud to create a mirror copy of your drive. Test the backup to make sure it was successful before proceeding.
Conclusion
Spilling liquid onto your MacBook Air keyboard can seem disastrous, but there’s a good chance it can be repaired with some quick action. Follow these steps to help salvage your laptop:
- Power down immediately and drain excess liquid.
- Document keyboard issues and remove bottom case.
- Clean logic board and keyboard internals.
- Flush the keyboard multiple times.
- Allow a minimum 24 hours to thoroughly dry out.
- Test keys before reassembling.
- Consider professional repair for major damage.
With some care and patience, you can often save your MacBook Air from liquid damage on the keyboard. Just be sure to work slowly and cautiously during the cleaning process.