A clean reinstall of macOS refers to wiping your Mac’s drive completely and installing the operating system from scratch. This is different from simply installing the latest OS update, which just upgrades your existing files and settings. There are a few key reasons why you may want to do a clean reinstall of macOS:
Remove clutter and free up space – Over time, unused files, apps, and settings can build up and take up precious drive space. A clean install gives you a blank slate.
Fix software issues or crashes – If you’re experiencing bugs, crashes, or poor performance, it could be caused by corrupt files or settings. Reinstalling macOS can fix these problems.
Upgrade to a newer macOS version – Doing a clean install allows you to wipe your drive and install the latest macOS version, rather than just upgrading the existing OS.
Start fresh – If your Mac has accumulated years of data, a clean install gives you a chance to clear out the old and start anew.
Bottom line – A clean reinstall of macOS allows you to fix problems, reclaim drive space, upgrade the OS, and get your Mac running like new again.
Back Up Your Data
Backing up your data is an absolutely critical first step before attempting to reinstall macOS Monterey or reset your Mac to factory settings. Reinstalling the operating system will completely erase the current macOS installation along with all your files, settings, and applications. Without a proper backup, you risk permanent data loss.
According to Apple Support, “Use a backup to restore your files, even after the original files are deleted from your Mac.” (https://support.apple.com/mac-backup). Time Machine is the built-in backup utility in macOS that can create periodic, incremental backups of your entire system to an external drive. This allows you to restore your Mac to a previous state if anything goes wrong during reinstallation.
Before reinstalling, force Time Machine to run a full backup of your system by going to System Preferences > Time Machine and selecting “Back Up Now.” You can also manually backup important files by copying them to an external drive. As noted on Quora, running a Time Machine backup ensures you have everything protected before a factory reset (source).
Backing up is not just recommended – it’s essential. Don’t skip this step before reinstalling macOS if you want to avoid losing your data.
Create a Bootable Installer
The first step to cleanly reinstall macOS Monterey is to create a bootable USB installer. This allows your Mac to boot from the USB drive and launch the macOS installer.
To create a bootable USB installer for macOS Monterey:
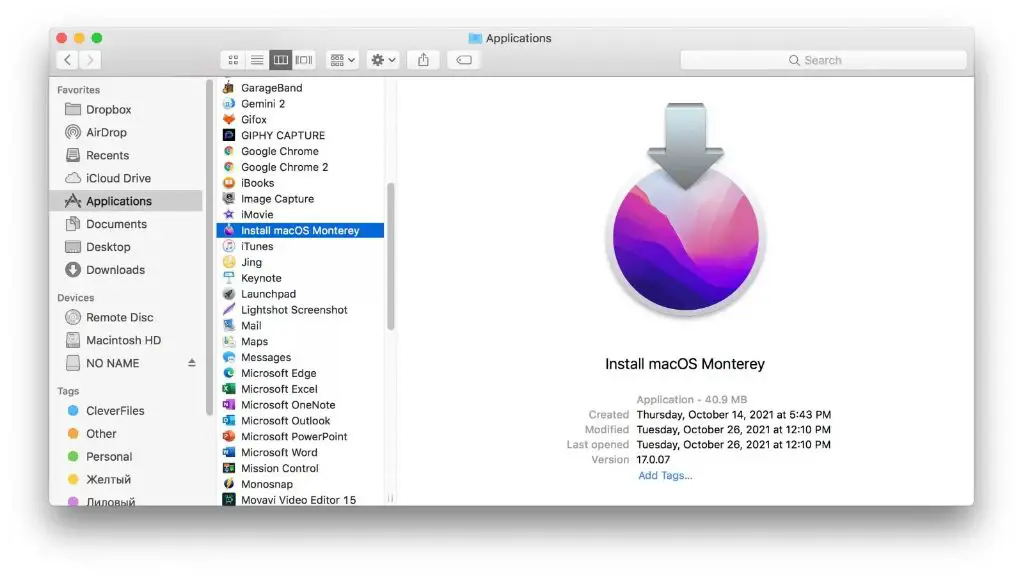
- Download the macOS Monterey installer from the App Store on your Mac. The installer will be in your Applications folder.
- Insert a USB flash drive that is at least 12GB into your Mac. This will be erased, so make sure it doesn’t contain any important files.
- Launch Terminal, which is located in /Applications/Utilities/
- Enter the following command in Terminal (replace “MyVolume” with the name of your USB drive):
sudo /Applications/Install\\ macOS\\ Monterey.app/Contents/Resources/createinstallmedia --volume /Volumes/MyVolume - You’ll be prompted for your administrator password to grant sudo privileges. Enter your password.
- The bootable installer will then be created on the USB drive. This may take some time to complete.
- When done, you’ll see a message that the installer was successfully created.
- Eject the USB drive.
You now have a bootable USB installer for macOS Monterey that can be used to cleanly reinstall the operating system.[1] Make sure to back up your data before erasing your Mac and reinstalling.
Erase Your Drive
Before reinstalling macOS, you’ll need to erase your drive. This removes all files, apps, and settings, leaving your Mac ready for a fresh installation.
To erase your drive:
- Restart your Mac and immediately press and hold Command-R to boot into Recovery mode.
- Select Disk Utility from the utilities window and click Continue.
- Select your startup disk and click the Erase button.
- Enter a name for the disk, select Mac OS Extended (Journaled) as the format, and click Erase.
- After the disk is erased, quit Disk Utility.
Erasing the drive completely wipes it clean and prepares it for a fresh install of macOS with no leftover data or settings. This ensures you are starting from scratch with the reinstallation. See Apple’s guide for more details on these steps.
Reinstall macOS
Once you have erased your Mac’s drive and created a bootable USB installer for macOS Monterey, you are ready to reinstall the operating system. Here is a step-by-step guide for installing macOS from bootable media:
- Connect the bootable USB drive to your Mac.
- Restart your Mac and immediately press and hold the Option key after you hear the startup sound. This will bring up the startup manager.
- Select the USB drive in the startup manager, then click the up arrow or press Return.
- When the macOS Utilities window appears, click Reinstall macOS.
- Follow the onscreen instructions to reinstall macOS. The process may take 15-30 minutes.
- After installation, you will be guided through the setup assistant to customize your Mac.
- Once setup is complete, you will be on a fresh install of macOS Monterey!
For a detailed guide with images, refer to this step-by-step tutorial.
Restore From Backup
Once you have reinstalled macOS, you can restore your apps, settings, and files from your Time Machine backup. To do this:
- Make sure your Time Machine backup drive is connected to your Mac and turned on.
- Open the Migration Assistant application which can be found in /Applications/Utilities/.
- Click “Continue” and select the Time Machine backup you want to restore from. Migration Assistant will scan the backup and present a list of apps, files, and settings that can be restored.
- Select the items you want to restore and click “Continue”. Migration Assistant will walk you through the process of restoring your data.
According to Apple support, Migration Assistant can restore user accounts, network settings, apps, Safari bookmarks and settings, mail accounts and messages. It will also migrate keychain passwords and some preferences (1).
If there are any issues with restoring from your Time Machine backup, you may need to reinstall macOS before trying again. Make sure your backup drive is properly connected and formatted before proceeding.
Reinstall Apps
After reinstalling macOS, you will need to reinstall the apps you had before. Here are some tips for redownloading apps and licenses:
If the apps are associated with your Apple ID, you can log into the Mac App Store with your Apple ID, go to the Purchases tab, and redownload them. For example:
“If they’re associated with an Apple ID, log into the Mac App Store with it, click on the Purchases tab, and redownload them.”
For apps not associated with your Apple ID, you can use the Migration Assistant app before reinstalling macOS to preserve a list apps, licenses, and preferences. Then redownload the apps after reinstalling. For example:
“OS X has an App called “Migration Assistant” that is located in “/Applications/Utilities/Migration Assistant.app”, this can be used to migrate Apps, Settings and other User data from one mac to another.”
You can also manually search for and redownload apps from their official websites. For apps purchased from the Mac App Store, go to the Purchases tab and redownload them.
Configure Settings
After reinstalling macOS, you may need to reconfigure some settings that get reset. Here are some common settings that may need to be changed again:
Desktop and screen saver preferences – These settings control desktop wallpaper, screen saver selection, and when the screen saver activates. You’ll want to reselect your preferred wallpaper image and screen saver.
Trackpad and mouse settings – Settings like tracking speed, scroll direction, and secondary click may get reset. Re-enter your preferences in System Preferences > Trackpad and Mouse.
Keyboard preferences like key repeat rate and shortcuts can get reset as well. Go to System Preferences > Keyboard to redo customizations.
You may have to re-pair Bluetooth devices like keyboards, mice, headphones, and speakers. Go to System Preferences > Bluetooth and reconnect devices.
Wi-Fi connections are forgotten and will need to be re-joined. Go to System Preferences > Network to reconnect.
Display preferences like resolution, Night Shift schedule, and brightness reset. Go to System Preferences > Displays to reconfigure.
Notifications settings for apps will need to be re-enabled under System Preferences > Notifications & Focus.
Location services permissions need to be re-allowed for apps that use your location. Go to System Preferences > Security & Privacy > Privacy to enable access.
Extensions and account permissions granted to apps are reset and will need to be approved again under System Preferences > Security & Privacy.
Other common settings to check include sound output device selection, sidebar favorites in Finder windows, and default app choices for file types, email, web browsing, and more under System Preferences > General.
Troubleshooting
Here are some common issues that may arise when reinstalling macOS and how to fix them:
If you get an error message like “An error occurred while preparing the installation”, first check your internet connection according to this Apple support article. Reinstalling macOS requires a stable internet connection. If your connection is working, try restarting in safe mode and reinstalling as recommended by Apple.[1]
If reinstalling macOS is still not working, you may need to repair your disk drive before trying again. The EaseUS article provides steps for checking and repairing disk issues using Disk Utility before reattempting the install.[2]
For other problems, like macOS getting stuck while installing, refer to Apple’s troubleshooting guide which covers a variety of common installation issues and their solutions.[3]
If you continue to have trouble, you may need to schedule a Genius Bar appointment at an Apple Store, where an expert can diagnose and hopefully resolve your issue.
[1] https://support.apple.com/en-us/102531
[2] https://www.easeus.com/computer-instruction/reinstall-macos-not-working.html
[3] https://support.apple.com/guide/mac-help/if-macos-installation-fails-mh27903/mac
Conclusion
In summary, doing a clean install of macOS has several benefits over doing an in-place upgrade. A clean install removes any cruft, old files, and settings that may have accumulated over time, giving you a fresh start. It also eliminates any malware or viruses that may be hiding in your system. Additionally, a clean install often resolves software issues and incompatibilities that can occur after major OS upgrades. While it takes more time upfront, a clean install allows your Mac to run faster and more efficiently in the long run. Just be sure to properly back up your files and settings beforehand. Following the steps outlined here for erasing your drive and reinstalling macOS from a bootable drive will result in a fresh, clean installation of the operating system.