iTunes is Apple’s media player software first released in 2001. Over the years, it expanded to include many other functions in addition to playing locally stored media files. A key feature of iTunes is the iTunes library, which stores information about all your media content including songs, movies, TV shows, audiobooks, and more. The iTunes library allows you to easily organize, manage, and sync your media across devices.
There are a few common reasons why someone may want to delete their existing iTunes library and rebuild a new one from scratch:
The library has become corrupted or damaged and is no longer functioning properly. This can happen from app crashes, interruptions during syncs, software bugs, or hardware failures.
There are too many unused or duplicate tracks cluttering the library. It can be easier to start fresh than manually clean up a large disorganized library.
Switching between Mac and Windows platforms can cause library incompatibilities. It may be simpler to rebuild separately for each OS.
A user wants to change the fundamental organization or settings of their library, like restructuring playlists or configuring media file locations. Rebuilding grants a clean slate.
Overall, rebuilding an iTunes library enables cleaning up a messy or damaged library to get a fresh start. This clears out any cruft and creates a streamlined, organized music collection. The process can take some time but ultimately provides for a smoother, more stable iTunes experience going forward.
Back Up iTunes Library
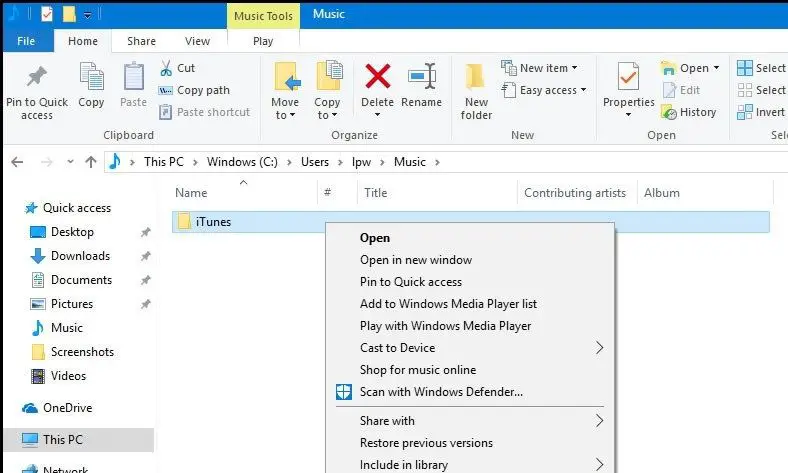
Before deleting your iTunes library, it’s crucial to make a backup copy first. This ensures you have a safe copy of your media files and iTunes library database in case anything goes wrong. To locate your iTunes media folder on Windows:
1. Open iTunes and go to Edit > Preferences > Advanced. The location of your iTunes Media folder will be shown here (default location is ~/My Music/iTunes on Windows).
2. Navigate to this folder location and copy the entire iTunes Media folder to an external hard drive or cloud storage. This folder contains all your iTunes media files.
In addition, you’ll want to back up the iTunes library database file (iTunes Library.itl on Windows), located in ~/Music/iTunes. This file contains all your playlists, play counts, ratings and other library metadata.
For a full backup, copy both the iTunes Media folder and iTunes Library.itl file to external or cloud storage. Popular options include an external hard drive, USB flash drive, Google Drive, iCloud Drive or Dropbox. This provides a redundant backup before rebuilding your library.
Source: Move your iTunes library to another computer
Delete iTunes Library
To delete your iTunes library, you first need to navigate to it within the iTunes app. Open iTunes and go to Edit > Preferences on Windows or iTunes > Preferences on Mac. Click the Advanced tab and you will see the current iTunes Media folder location under ‘iTunes Media folder location’. This is where your iTunes library files are stored on your computer.
To delete the library, simply click the “Delete Library” button and confirm that you want to permanently delete your iTunes library. This will remove the iTunes Library.itl file along with other related files and databases (https://itoolab.com/itunes/how-to-delete-itunes-library/).
After deleting the library, you may want to delete any media files that were stored in the iTunes media folder on your computer. Be careful not to delete any files you want to keep. You can browse to the former iTunes media folder location and delete the contents. This will free up space on your computer by removing your old iTunes media files.
Create New iTunes Library
The next step is to open iTunes and create a new blank library. To do this:
1. Open iTunes. Hold down the Option (or Alt) key while launching iTunes. This will prompt you to choose or create a library.
2. Click Create Library. This will allow you to create a brand new blank iTunes library.
3. Choose the file location for the new library. By default, iTunes will save the new library to the Music folder. However, you can choose a different location if desired, such as an external hard drive.
For more details, see this guide on creating a new iTunes library:
Photos Library Too Large Mac
Add Media to Library
There are a few options for adding your music and movies back to your new iTunes library after deleting the old one:
Re-add from backup: If you backed up your iTunes library before deleting it, you can restore from that backup to add your media files back into the new library.
Re-rip CDs: For any physical CDs you own, you can insert them into your computer and re-rip them to import the tracks into the new iTunes library.
Re-download purchased digital media: If you purchased any movies, TV shows, apps or other digital content through the iTunes store, you can go to the Purchased section and re-download these to the new library.
The key is to make sure you have backups of your existing media before deleting the old library. That makes re-adding your music, movies and other files much easier. See this Apple discussion thread for more details on methods for importing media into iTunes.
Organize Library
After rebuilding your library, the next step is to organize it to make your media collection easy to navigate. Here are some tips for organizing your iTunes library:
Create playlist folders to group similar playlists together:
- In iTunes, go to File > New > Playlist Folder to create a new folder.
- Name the folder something descriptive like “Workout Playlists.”
- Drag and drop relevant playlists into the folder to populate it.
Organize your media by genres or release year:
Use the column browser and playlists to create a folder structure that fits your personal organization style. This makes it easy to navigate a large library and find what you’re looking for.
Configure Settings
There are several settings in iTunes you may want to adjust for your new library. This includes import settings, iCloud Music Library, and general preferences.
For importing CDs or adding new music, be sure to check the import settings under Edit > Preferences. You can set iTunes to import music in Apple Lossless format to preserve audio quality. See this guide for recommended settings: https://www.audionexus.com/music_servers.shtml
If you use iCloud Music Library to sync your music across devices, you may need to enable this again under Account > View My Account after rebuilding your library. This will match any Apple Music songs and re-upload your personal collection.
Finally, review preferences like playback, sharing, devices, and advanced to customize your iTunes experience. For example, under Playback you can choose to automatically fill in missing album info to help organize your library.
Sync With Devices
You can sync your iOS devices like iPhone, iPad, and iPod Touch to your new iTunes library to transfer media. Here are the steps:
First, connect your device to your computer using the USB cable that came with your device. iTunes should automatically detect and connect to the device. You can also connect wirelessly if both your computer and iOS device are on the same WiFi network.
Next, in iTunes, click on your device icon in the top left. Go to the Summary page and make sure “Sync with this [device]” is checked. You can then configure your sync settings and select the media you want to transfer from your iTunes library to the device.
Some key sync settings to configure include:
- Music – Select “Sync music” and “Selected playlists, artists, albums, and genres” to transfer only certain media.
- Movies – Check “Sync movies” and select the films to transfer.
- TV shows – Sync individual shows or entire series.
- Photos – Transfer “Selected albums” and “Selected Events” to manage photos.
Once your sync settings are configured, click the Sync or Apply button in the lower right to start the transfer of media from iTunes to your device. Allow some time for the sync to fully complete. The next time you connect your device, iTunes will only transfer new media since the last sync. You can now enjoy your iTunes content on your iPhone, iPad or iPod!
For more help syncing, refer to Apple’s iTunes sync guide.
Share Library
Sharing your iTunes library with others on your home network can provide convenient access to your music, movies, TV shows, apps, and more. There are a couple main ways to share an iTunes library at home:
Sharing Libraries on a Home Network
You can store your iTunes library on a shared network drive, allowing anyone on your home network to access it. Simply move your iTunes folder to the network drive using File Explorer on Windows or Finder on Mac. Then open iTunes while holding Shift, which will prompt it to create a new library. Select the iTunes folder on the network drive. Now anyone connected to the network can open that iTunes library file and access its contents. However, only one person can access the library at a time. Sharing iTunes library on network drive
Using Home Sharing
Home Sharing allows multiple users to access the same iTunes library simultaneously. Enable Home Sharing on all devices on your home network through the Advanced Preferences in iTunes. Then all users can stream content from the shared library to their device. This allows anyone on the home network to enjoy your iTunes media without needing to copy files. Users can control playback individually too. Home Sharing requires devices to be on the same Wi-Fi network.
Conclusion
To summarize the process of deleting and rebuilding your iTunes library, it is important to first back up your current library, then delete the library and create a new, empty one. You can then add media back into the new library, taking time to carefully organize and configure settings. Devices can be synced to the rebuilt library once it is complete.
Rebuilding your iTunes library from scratch comes with several benefits. It clears out any duplicate tracks, missing album artwork, and other issues that may have built up over time. Your library will be cleaner and better organized according to your current preferences. Playlists and metadata will be up-to-date. Syncing devices to the rebuilt library often solves various issues caused by a damaged or bloated iTunes library.
When rebuilding your library, be patient and don’t rush the process. Correctly organizing your media takes time. It can be helpful to rebuild in stages, focusing on one section like music or movies at a time. Always maintain a backup of your original library in case needed. Rebuilding the iTunes library helps refresh the digital media experience and can extend the useful lifespan of the app.