Transferring your music library from one computer to another can seem daunting, especially if you have spent years curating your collection. The good news is that with iTunes and iCloud, transferring everything from iTunes purchases to playlists and ratings is relatively painless. Here’s a step-by-step guide to downloading all your music from iTunes on an old computer and uploading it to a new one.
Back Up Your Library
The first step is making sure everything in your iTunes library is backed up properly. The easiest way to do this is by syncing your iPhone, iPad or iPod Touch to your computer. Connect your device to your computer, open iTunes, select the device and check ‘Sync Music’ in the Summary tab. Click ‘Apply’ and this will ensure any new music purchases or playlists are copied from iTunes onto your device.
You can also backup your library manually by going to the iTunes menu and selecting ‘Library > Back Up to my Library’. This will save a copy of your entire music library including playlists and play counts. Depending on how large your library is, this backup file can be very large so make sure you have enough free disk space.
Consolidate Your Library
Before transferring your music, it’s a good idea to consolidate your library so that any music files are copied into the iTunes Media folder rather than sitting in various places on your computer. To do this, go to the iTunes Advanced menu and select ‘Consolidate Library’. This will copy any files that reside outside the iTunes Media folder into that folder. Once consolidated, your whole music library will reside in one place and be easier to transfer.
Transfer Your iTunes Media Folder
With your library backed up and consolidated, you can now transfer your iTunes Media folder to your new computer. The iTunes Media folder is usually located in Music/iTunes but you can check the location by going to iTunes > Preferences > Advanced and looking at the current iTunes Media folder path.
Once you have located your iTunes Media folder, copy it to an external hard drive, USB stick or Mac’s AirDrop. Then plug the external device into your new computer, locate the iTunes Media folder and copy it across to the new computer, keeping the folder name the same.
On Windows
On Windows, the default location for the iTunes Media folder is:
C:\Users\YourName\Music\iTunes\iTunes Media
On Mac
On a Mac, the default location is:
/Users/YourName/Music/iTunes/iTunes Media
Transfer Playlists & Library XML File
In addition to the iTunes Media folder, you will also need to transfer any playlists you have created. These are stored in an iTunes library XML file. To copy this file, locate the iTunes folder on your original computer:
On Windows
C:\Users\YourName\Music\iTunes
On Mac
/Users/YourName/Music/iTunes
In this folder look for a file called ‘iTunes Library.xml’ and copy this to your new computer, keeping the file name exactly the same.
Transfer Purchases & iCloud Downloads
Provided you used the same Apple ID on both computers, any music purchases you have downloaded from iTunes or Apple Music will be available by signing in on the new computer. To ensure any recent purchases are transferred, make sure you sign in to the iTunes Store on the new computer.
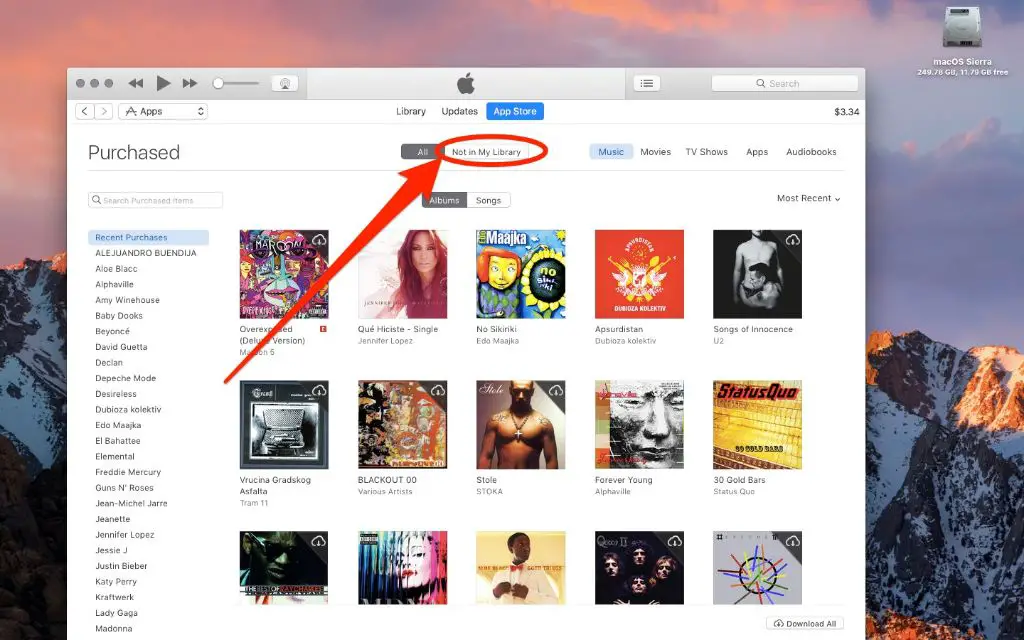
You can also view and re-download any previous purchases by going to Account > Purchased. Here you will find a list of all purchases associated with your Apple ID that can be downloaded again.
Import Your Library into the New Computer
Once you have transferred the iTunes Media folder and iTunes Library XML file to the new computer, you can import it into the new iTunes installation. Open iTunes on the new computer and go to File > Library > Import Library. Select the ‘iTunes Library.xml’ file that you copied across.
iTunes will then load the library and add the media files from the iTunes Media folder. Any music purchases linked to your account should automatically be pulled down from iCloud. You may need to relocate the iTunes Media folder location in Preferences if the automatic import does not place it correctly.
Check Playlists & Play Counts
Once the import is complete, you can browse your library and playlists to make sure everything has copied across correctly. Any playlist or rating information should be preserved in the iTunes Library XML file. If playlists are missing or play counts seem reset, you may need to import the library XML file again.
Authorize Computer & Backup
Don’t forget to authorize your new computer using iTunes > Account > Authorizations > Authorize This Computer. This will allow you to play music purchases on up to 5 computers.
Finally, it’s a good idea to backup this new iTunes library by going to File > Library > Back Up to my Library. You may also wish to consolidate the library again so any copied media is consolidated into the iTunes Media folder.
Conclusion
Transferring your iTunes library to a new computer does not have to be a daunting process. By backing up your library, consolidating your media files, and transferring over both the iTunes Media folder and iTunes Library XML file, you can maintain your playlists, play counts and purchases on a new machine. Take the time to carefully transfer over these files, authorize the new computer, and backup the new library, and you will have an exact copy of your iTunes ecosystem.