Using a flash drive, also known as a USB drive, is a convenient way to store and transfer files between devices. However, sometimes your laptop may not recognize your flash drive when you plug it in. Don’t worry – in most cases, it’s easy to enable and access your flash drive on a laptop.
Make Sure Your Flash Drive is Properly Connected
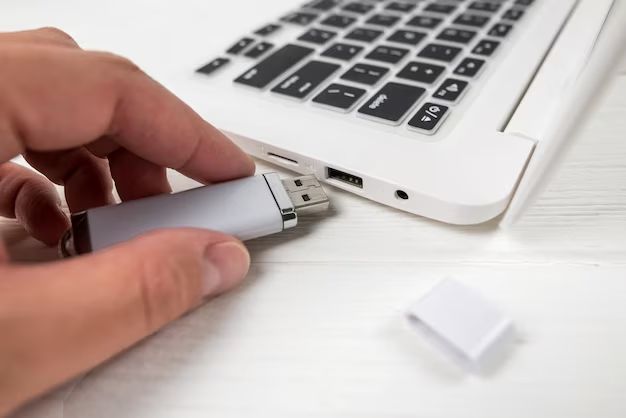
First, check that your flash drive is properly connected to your laptop. Make sure the flash drive is fully plugged into an open USB port on your laptop. Try unplugging it and plugging it back in to get a secure connection. Verify that the flash drive is inserted right side up, not upside down. If you have a USB-C flash drive, make sure it is plugged into a USB-C port if you have one available. Avoid plugging it into an adapter that converts USB-C to USB-A, as this can sometimes cause connection issues.
Check for Physical Damage to the Flash Drive
Inspect your flash drive to make sure there is no physical damage. Look for any bent pins or broken pieces on the connector. Make sure there is no visible damage to the flash drive’s outer casing. Damage to the physical drive can prevent your laptop from recognizing and accessing it. If you notice any physical damage, the drive itself may be corrupted or non-functional.
Update Your USB Drivers
Outdated or misconfigured USB drivers can sometimes cause a laptop not to recognize devices connected via USB ports. Updating your USB drivers ensures your ports can communicate properly with connected devices like flash drives. Here are steps to update drivers on a Windows laptop:
- Open Device Manager by right-clicking the Start menu and selecting it.
- Expand the Universal Serial Bus controllers section.
- Right-click on each USB device shown and select Update driver.
- Select Search automatically for updated driver software.
- Restart your computer after the updates finish.
On a Mac:
- Click the Apple menu and select System Preferences.
- Click Software Update and allow any macOS updates to install.
- Restart your computer after updates finish.
Change Your Flash Drive’s Port
If your flash drive is still not recognized, try changing the port you have it plugged into. Move it to another USB port on your laptop if one is available. Test different ports, both USB-A and USB-C, if possible. Sometimes one specific port may not be working properly. Switching ports essentially lets you rule out any issues with that individual port.
Try Your Flash Drive on Another Device
To confirm whether the issue lies with your laptop or the flash drive itself, test your drive by plugging it into another computer or device. If the flash drive works on a different machine, the problem likely lies with your laptop’s USB ports or drivers. If it still doesn’t work on any device, there is likely an issue with the flash drive itself.
Reformat Your Flash Drive
If your flash drive appears to be functioning properly on other devices, the drive may just need to be reformatted for your laptop to recognize it. Reformatting erases all data on the drive, so make sure to back up your files first. Here are steps to reformat a flash drive:
On Windows:
- Open File Explorer and right-click on your flash drive.
- Select Format from the menu.
- Choose FAT32 as the file system.
- Check the Quick Format box and start the formatting.
On Mac:
- Connect your flash drive to your Mac.
- Open Disk Utility.
- Select your flash drive in the left sidebar.
- Click Erase in the main window.
- Choose MS-DOS (FAT) as the format.
- Click Erase to reformat the drive.
Reconnect your now-reformatted flash drive to your laptop. In most cases, it should now be recognized by your machine.
Enable USB Devices in BIOS
If your laptop still won’t recognize your flash drive, the issue may lie with USB devices being disabled at the BIOS level. The BIOS controls communication between the operating system and connected hardware like USB drives. Here’s how to check and potentially enable USB device support:
- Restart your laptop and press the BIOS key, often Delete or F2, on boot.
- Navigate to the USB configuration menu, often listed under Advanced settings.
- Make sure USB devices are Enabled, not Disabled.
- If disabled, enable USB devices and USB mass storage specifically.
- Save changes and exit BIOS to restart your laptop.
Once restarted after these BIOS changes, your ports should now allow communication with your flash drive.
Disable USB Selective Suspend
Windows has a power-saving feature called USB selective suspend, which can sometimes lead to connectivity issues with USB devices. Disabling this allows your USB ports to remain powered on consistently:
- Open Power Options in your Windows settings.
- Click Change plan settings for your current plan.
- Click Change advanced power settings.
- Expand USB settings and disable USB selective suspend.
- Restart your laptop.
Update Windows or macOS
Older versions of Windows and macOS can sometimes have issues recognizing newer USB devices and flash drives. Make sure your operating system is updated to the latest version available. Updating provides the most recent fixes, drivers, and improvements to device connectivity. If you’re using an outdated OS, updating it may resolve any incompatibility issues:
On Windows 10:
- Open Settings > Update & Security > Windows Update.
- Click Check for updates. Install any available updates.
- Restart your laptop after updates finish.
On Mac:
- Click the Apple menu and choose System Preferences.
- Go to Software Update and click Update Now if any updates are available.
- Restart your Mac when updates are complete.
Check for Flash Drive Errors
If your flash drive shows up in File Explorer but displays errors or does not open correctly, there may be corruption issues with the drive itself. You can scan for errors using built-in disk utilities:
On Windows:
- Open File Explorer and right-click your flash drive.
- Select Properties > Tools > Check.
- Check both options and start the scan. This checks for file system errors.
On Mac:
- Open Disk Utility.
- Select your flash drive in the left sidebar.
- Click First Aid at the top.
- Click Run to scan your drive.
This scans your flash drive for issues and attempts to repair any found. If errors persist, your drive may be damaged or corrupted.
Contact Flash Drive Manufacturer Support
If you’ve tried all other troubleshooting steps and your flash drive still does not work properly or connect to your laptop, reach out to the manufacturer’s customer support. Provide the details of your issue and troubleshooting steps you’ve taken. They may be able to provide specialized support focused on your specific drive model and determine if the hardware is defective.
Purchase a New Flash Drive
A brand new flash drive that is compatible with your laptop’s ports is guaranteed to work. If you can afford it, buying a replacement can bypass any software issues and confirm your laptop’s USB connections are functioning properly. Compare reviews and choose a recommended, high-quality drive from a reputable brand.
Conclusion
With consistent connection issues, it’s likely your original flash drive is damaged or corrupted. However, USB incompatibility problems can often be resolved through software troubleshooting like updating drivers, changing ports, or reformatting the drive. If those steps don’t restore functionality, seek help from the manufacturer or purchase a new replacement drive so you can easily transfer files again.