Quick Overview
There are a few different ways to erase data from a Macintosh HD (hard drive):
- Use Disk Utility to erase the entire drive and reinstall macOS
- Use Disk Utility to erase just the free space on the drive
- Use a third party app like Erase Free Space to overwrite free space
- Manually delete files and empty the Trash
Erasing the entire drive will completely wipe it and allow you to reinstall macOS with a clean slate. Erasing just the free space or overwriting it will help protect deleted files from being recovered. Manually deleting files gets rid of data but doesn’t prevent recovery unless you also erase free space.
When to Erase a Mac Hard Drive
There are a few common scenarios when you may want to erase your Mac’s hard drive:
- You’re selling or giving away your Mac – Erase the drive to wipe all personal data
- You’re experiencing performance issues – Erase the drive and reinstall macOS for a fresh start
- You suspect your Mac has malware – Erase the drive to remove any malware
- You’re passing on your Mac within a company – Erase it to wipe company data
Erasing the drive ensures no personal or company data is accessible to whoever receives the Mac next. It’s an important step before selling, donating, recycling or gifting a Mac.
How to Erase a Mac Hard Drive Using Disk Utility
Disk Utility is built into macOS and offers a simple way to erase your Mac’s hard drive. Here’s how to use it:
1. Close all open apps and documents. Eject any external drives you don’t want erased.
2. Open Disk Utility (in Applications > Utilities).
3. Select your startup drive in the sidebar (typically named “Macintosh HD”).
4. Click the “Erase” button at the top.
5. Choose a format – APFS is standard for modern macOS versions.
6. Choose a scheme – GUID Partition Map for most Macs, Apple Partition Map for older Macs with PowerPC processors.
7. Type a name for the erased volume.
8. Click Erase.
9. Disk Utility will erase and reformat the entire startup drive. This may take a while depending on your drive’s size.
10. When done, you can choose to reinstall macOS or simply restart your Mac.
This will completely erase all data from the drive. An alternative is erasing just the free space on the drive, which we’ll cover next.
Erasing Free Space Only
Instead of erasing the entire drive, you can just target the free space using Disk Utility:
1. Open Disk Utility and select your startup drive.
2. Click Erase in the toolbar.
3. Select “Don’t erase” from the Format dropdown.
4. Choose “Zero out data” from the Scheme dropdown.
5. Type a name for this erasure pass.
6. Click Erase.
This will overwrite all free space on the drive with zeroes. It won’t disturb your installed OS and files, but will prevent deleted files from being easily recovered.
Securely Erasing Hard Drives
Disk Utility’s standard erase options are quick, but don’t securely erase data. For greater security:
- Use Disk Utility’s Security Options to select a secure erase, like a 7-pass or 35-pass overwrite.
- Use a third party app like Eraser to securely overwrite free space several times.
- Use the Terminal to issue a secure erase command, like
diskutil secureErase freespace LEVEL /Volumes/DRIVEwhere LEVEL is 1-4 passes.
Securely erasing a drive takes much longer but makes recovering erased data next to impossible. It’s recommended when selling or gifting a Mac.
How to Securely Erase Deleted Files
Simply deleting files and emptying the Trash doesn’t fully erase the data. To prevent deleted files being recovered:
- Use a secure delete option when permanently deleting files, like Shift-Command-Delete.
- Download a secure deletion tool such as Permanent Eraser that overwrites deleted files.
- Erase your free space periodically to scrub deleted file remnants.
With unallocated space scrubbed, deleted files can’t easily be recovered. Be sure to empty the Trash after deletion.
Can Erasing a Mac Damage It?
Erasing your Mac’s drive is a non-destructive process and won’t damage the hardware. However:
- Power loss or disconnecting the drive early can corrupt the erase process.
- Erasing and repartitioning very old Macs sometimes needs special care.
- Erasing SSDs causes wear, reducing longevity after many repeated erases.
As long as you allow the erase to complete on a powered, stable system, the risk of harm is very low. Modern Macs have redundant data protection built into the reformatting process.
How to Reinstall macOS After Erasing the Hard Drive
Once your Mac’s primary drive is erased, you’ll need to reinstall macOS to use it again:
- Boot into Recovery mode by holding Command-R while powering on.
- Select “Reinstall macOS” or “Install Latest macOS” in Recovery.
- Follow the prompts to install the OS and set up the Mac.
Internet recovery and external bootable installers can also be used to install macOS after drive erasure.
Alternative Ways to Erase a Mac Hard Drive
Beyond Disk Utility, here are some other options for erasing a Mac hard drive:
- Terminal: The
diskutil secureErasecommand can erase drives. - Erase Free Space apps: Apps like Eraser scrub unallocated space.
- Bootable installer: Wipe the drive using Disk Utility in another install environment.
- Internet recovery: Erase the drive fully in Recovery via the internet.
These methods allow erasing disks from outside the installed OS, helpful for wiping malware or bypassing file system issues.
Best Practices for Erasing a Macintosh HD
Follow these best practices when erasing your Mac’s hard disk:
- Backup essential data before erasing.
- Use a 7-pass or higher secure erase when selling or gifting.
- Erase using Recovery mode for system corruption issues.
- Scrub free space to protect deleted files.
- Reinstall macOS immediately after drive erasure.
- Enable FileVault encryption after reinstalling.
Taking these steps will securely erase your drive while letting you quickly restore normal functionality with a fresh macOS install.
Erasing External Drives
The same erase options also apply to external USB drives and volumes:
- Use Disk Utility to format or securely erase external drives.
- Eject and reinsert an external drive before erasing – don’t erase the startup drive.
- Scrub an external drive with a tool like Eraser for secure deletion.
- Reformat in Disk Utility after fully erasing an external drive.
External drive erasure uses the same core methods. Just be absolutely sure you select the correct volume to avoid erasing your startup disk or other data drives.
Questions and Answers
Is erased data on a Mac gone forever?
It depends on the erasure method. A standard format with Disk Utility can be reversed with data recovery software. But a secure multi-pass erase makes data unrecoverable in most cases. Scrubbing unallocated drive space also protects deleted files from recovery.
Can I erase documents but keep applications?
Not directly. Erasing a disk in Disk Utility will wipe all data, both user documents and installed apps. You’ll need to back up applications and documents separately, erase the drive, then selectively restore apps. An alternative is a cloning tool that copies application folders alone.
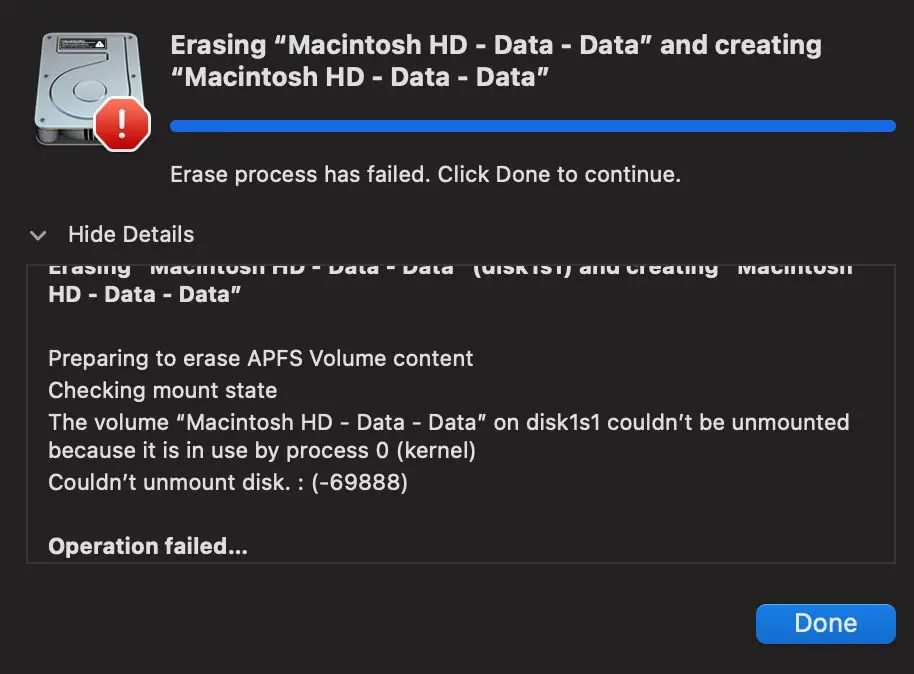
Is it OK to erase a Mac’s hard drive while it’s running?
No, you should always erase a drive from outside the installed system, like booting into Recovery or another disk. Erasing the active startup volume can lead to corruption or a failed installation. Use an external bootable drive whenever possible.
Can Disk Utility erase SSDs securely?
Yes, Disk Utility on modern Macs can securely erase SSDs. Pick a high-level multi-pass option like the 7-pass or 35-pass erase to ensure deleted data can’t be recovered from an SSD after selling or gifting the Mac.
How long does it take to erase a hard drive on Mac?
It depends on the drive’s capacity and speed. Quick formats can take under a minute, but secure multi-pass erases on large drives can take several hours. An SSD will be much faster than a hard disk drive. Larger capacities also lead to longer erase times.
Summary
Erasing a Mac hard drive is an important step when selling, gifting or troubleshooting a macOS computer. The two main options are fully erasing the drive with Disk Utility, or just scrubbing unallocated free space. Make sure to use a secure multi-pass erase option if permanently deleting sensitive data. Reinstall macOS after any full drive erasure to restore functionality. With the right steps, you can completely wipe a Mac drive while keeping the system intact for continued use.