A factory reset allows you to erase all data and settings on your Mac and restore it to the original factory settings. This can be useful if you’re selling or giving away your Mac, having performance issues, or want to start fresh with a clean installation of macOS.
There are a few reasons why you might want to factory reset a Mac without knowing the current user account password:
- You forgot the password and cannot sign in.
- You purchased the Mac secondhand and don’t have the previous owner’s password.
- You want to erase the Mac without accessing the current user account.
Fortunately, you can factory reset a Mac without needing the user account password by booting into Recovery Mode and completely erasing the drive. We’ll walk through the steps to factory reset macOS Catalina on a MacBook without a password in this guide.
Back Up Important Data
The most important step before resetting your MacBook is to back up your important files and data. This ensures you don’t lose anything irreplaceable during the reset process. We recommend backing up to an external hard drive or Apple’s Time Machine backup service.
To backup with Time Machine:
- Connect an external hard drive to your Mac
- Open System Preferences and select Time Machine
- Click Select Backup Disk and choose your external hard drive
- Turn on Time Machine to start automatically backing up your files
You can also manually backup files by dragging them to your external hard drive. Make sure to backup important documents, photos, music, and any other files you don’t want to lose. Backing up externally ensures you have a copy if anything goes wrong during the reset process. For more details, see Apple’s support article on how to back up your Mac.
Sign Out of iCloud
It is crucial to sign out of iCloud on your Mac before performing a factory reset. If you don’t sign out, Activation Lock will remain enabled, and the Mac will be permanently linked to your Apple ID. Trying to reactivate or use the Mac after a reset with Activation Lock still on will be impossible without your Apple ID and password.
To avoid this situation, you need to make sure to sign out of iCloud before erasing your Mac. Here are the steps to sign out of iCloud on your Mac running macOS Catalina:
- Click the Apple menu and select System Preferences.
- Click on your Apple ID name and picture at the top of the System Preferences window.
- Click on the Overview tab if it is not already selected.
- Click the Sign Out button near the bottom-right corner of the window.
- Enter your password when prompted to confirm signing out of iCloud.
Once signed out of iCloud, Activation Lock will be disabled, allowing you to erase and factory reset the Mac without it getting stuck linked to your Apple ID. Just be sure to back up any important data first, as it will be erased during the reset process.
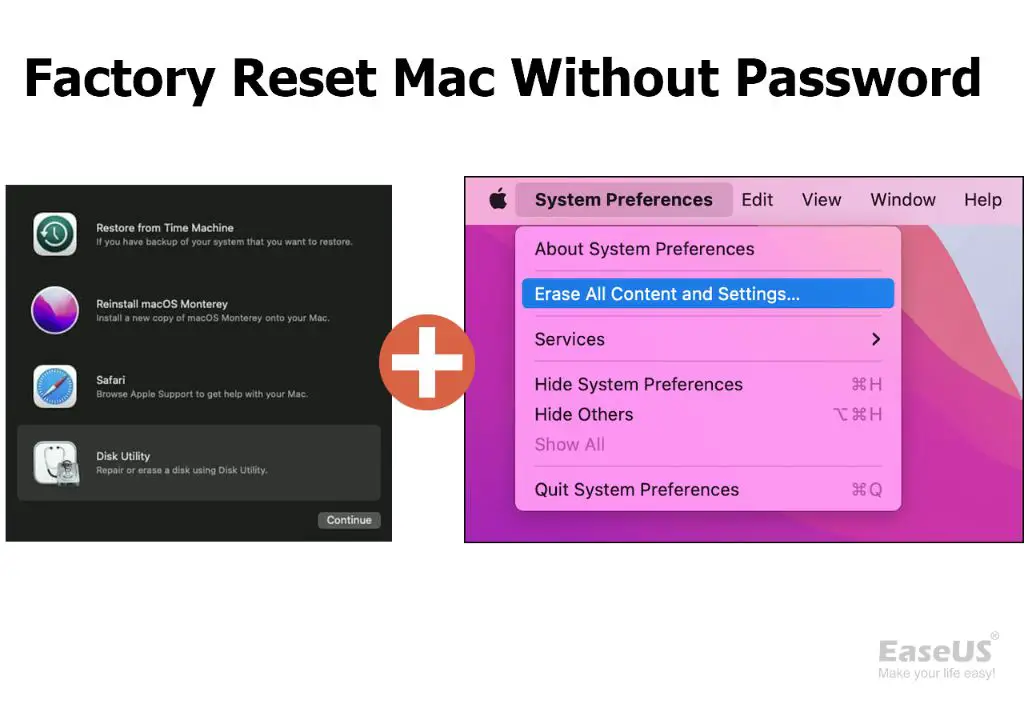
Boot into Recovery Mode
To boot into Recovery mode on macOS Catalina, follow these steps:
1. Turn on your Mac and immediately press and hold Command (⌘) + R keys. Keep holding the keys down until you see the Apple logo or a spinning globe.
2. After a few moments, you will be greeted with the macOS Utilities window. This means you have successfully booted into Recovery mode.
If you run into issues getting into Recovery mode, you can try the following techniques:
- Press and hold Option + Command + R keys to boot into Internet Recovery mode, which will download the recovery files over the internet.
- Connect your Mac to ethernet if you are having issues with the wifi connection.
- Try using a wired keyboard if your wireless keyboard is not being recognized.
For reference, see: How to boot into recovery mode on Catalina?
Erase the Drive
Once in Recovery Mode, you’ll need to launch Disk Utility to erase/format the drive. Here are the steps:
- Open Disk Utility from the Utilities menu in Recovery Mode.
- Select your startup disk from the sidebar.
- Click the Erase button at the top.
- Give the drive a name (for example, “My MacBook”)
- Select a format – it’s best to use APFS format.
- Click Erase to confirm – this will erase and reformat the entire drive.
Here’s a screenshot of the Disk Utility erase process:

Erasing the drive completely wipes it clean and removes any previous OS installations, user accounts, files, settings, etc. Once erased, your MacBook will have a fresh, blank drive ready for macOS to be reinstalled.
Source: Apple Support – Erase and Reinstall macOS
Reinstall macOS
To reinstall a fresh version of macOS, you will need to boot your Mac into Recovery Mode and erase the drive first. Here are the steps:
- Restart your Mac and immediately press and hold Command + R keys to boot into Recovery Mode. Keep holding the keys until you see the Apple logo or a spinning globe appear.
- Once in Recovery Mode, click on the option to reinstall macOS. The latest available macOS version will be shown.
- Click Continue and follow the onscreen prompts. You may need to select your disk and language preferences.
- Agree to the terms and conditions, then select the disk/volume you want to install macOS on. This will erase the drive and install a clean version of macOS.
- Enter your Apple ID and password when prompted to download and install macOS. This may take some time to complete.
- Once the installation is finished, you will be able to set up your Mac with a new user account and migrate data from a backup if needed.
Reinstalling macOS completely wipes your drive and provides a clean slate. Make sure to back up your data before erasing the disk. The latest macOS compatible with your Mac model will be installed.
Restore from Backup
After resetting your Mac and reinstalling macOS, you’ll likely want to restore your apps, data, and settings from a backup. The easiest way to do this is to use Time Machine or another full system backup.
If you have a Time Machine backup, you can use Migration Assistant to restore your entire Mac. Migration Assistant is a utility that comes with macOS and makes it easy to transfer your information from a Time Machine backup or external drive. Here’s how to use it to restore from Time Machine:
- When setting up your Mac after reinstalling macOS, select “Transfer information to this Mac” on the Migration Assistant screen.
- Select your Time Machine backup drive as the source.
- Migration Assistant will scan the backup and display the apps, data, and settings that can be transferred. Select all of them.
- Click Continue and Migration Assistant will restore everything from your Time Machine backup.
All of your apps, settings, files, and folders will be restored to your reset Mac, bringing it back to the same state before you erased the drive. This makes Time Machine a very handy backup to have before resetting your Macbook.
If you have an external drive backup created with another utility like Carbon Copy Cloner, you can also reconnect that drive and copy data and apps back manually after reinstalling macOS.
Alternatives
If you don’t want to erase your entire drive to reset your password, there are some alternative options to try first:
You can reset your password using your Apple ID by going to https://iforgot.apple.com/ and following the steps to reset your Apple ID password. Once you reset your Apple ID password, you can use it to unlock your Mac and create a new login password (source: https://support.apple.com/en-us/102633).
You can also try using the Reset Password assistant in Terminal to reset your login password without erasing your drive. To do this, open Terminal and type ‘resetpassword’ to launch the assistant. Follow the on-screen prompts to reset your password (source: https://support.apple.com/en-us/102673).
Finally, you can boot to the recovery partition and use the Reset Password utility there to reset your login password without losing data. This involves restarting and holding Command-R to boot to recovery, then selecting Reset Password from the utilities menu (source: https://www.cnet.com/tech/computing/forgot-your-mac-password-heres-how-you-can-unlock-your-computer/).
Trying these password reset options first before erasing your entire drive allows you to salvage your data and settings if possible.
Troubleshooting
Sometimes factory resets can encounter issues that prevent them from completing successfully. Here are some solutions for common problems:
- If your Mac gets stuck on the Apple logo during the reset, try restarting into Recovery Mode again and re-running the erase process. This Apple Discussions thread provides more details on how to fix this: https://discussions.apple.com/thread/251220873
- If you forgot your firmware password before resetting, you may need to take additional steps before being able to erase the drive. This Tom’s Guide article explains how to factory reset a MacBook with a firmware password: https://forums.tomsguide.com/faq/macbook-pro-factory-reset-not-working-here%E2%80%99s-how-to-fix-it.428328/
- For data recovery if you forgot to properly back up before resetting, try data recovery software like Disk Drill or Data Rescue. But note recovered data may be incomplete.
- If your Mac won’t turn back on after the reset, try an SMC reset by holding Shift-Control-Option and the power button for 10 seconds.
Be patient, move slowly through each step, and don’t hesitate to seek help from Apple support if you continue having trouble resetting your Mac.
Summary
In summary, to factory reset your Macbook Catalina without a password, you’ll need to back up your important data, sign out of iCloud, boot into Recovery mode, erase the drive, reinstall macOS, and finally restore from your backup. Resetting without a password ensures you get a completely clean install of the operating system.
The key steps are booting into Recovery mode by holding Command + R while restarting, then using Disk Utility to fully erase the drive. This will reset the Mac to its factory settings without the need for an admin password. Just be sure to backup your files first!