Attempting data recovery can be a frustrating experience, especially when critical files and data are at stake. There are several potential causes of the “attempting data recovery” error message, but the good news is that there are also steps you can take to resolve the issue and regain access to your important data.
Quick Overview of Attempting Data Recovery
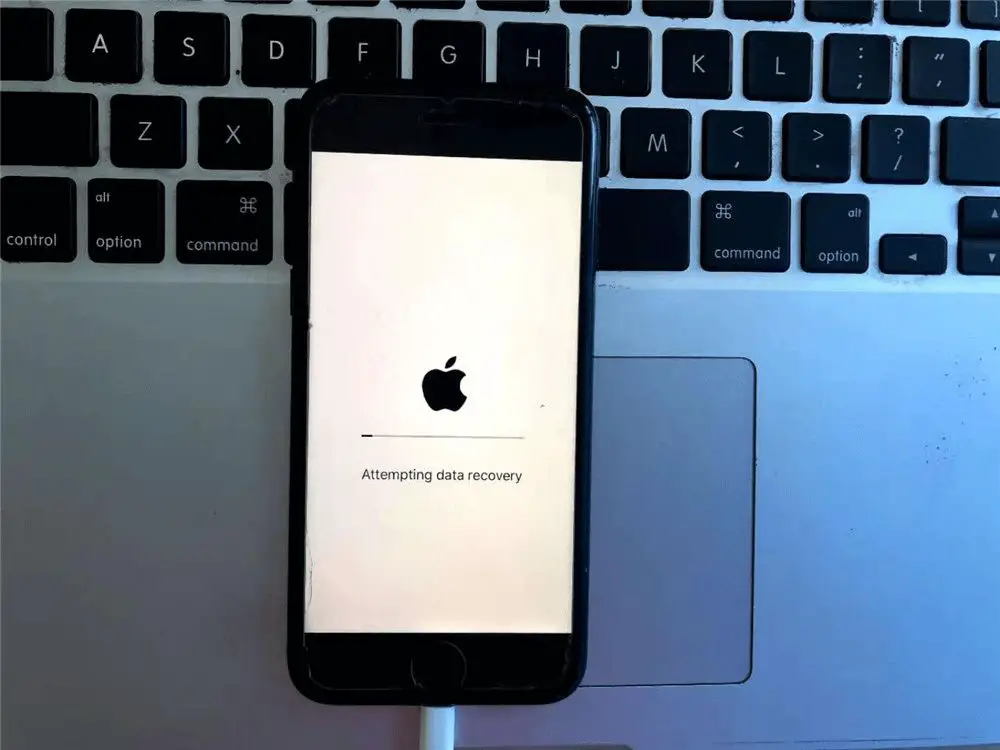
The “attempting data recovery” message typically appears when trying to access a storage device like a hard drive, USB flash drive, or memory card. It indicates the operating system has detected a problem reading data from the device and is trying to fix it.
Some common causes include:
- Corrupted system files or file system structures
- Faulty or failing hardware like bad sectors on a hard drive
- Improperly removed devices or interrupted connections
- Virus or malware infections
The recovery attempt is the system’s way of trying to repair issues and regain access to data. However, it often fails or gets stuck in a loop, requiring manual troubleshooting.
Initial Troubleshooting Steps
When facing the attempting data recovery error, there are some initial troubleshooting steps to try:
- Restart your computer and storage device – This can reset connections and allow retrying the recovery process from the beginning.
- Try a different USB port or cable – Use a high-quality cable and connect the storage device to a different USB port to rule out any connection issues.
- Check for viruses or malware – Scan your system for malware infections which could be interfering with the storage device.
- Update drivers and system software – Outdated drivers or OS issues can sometimes lead to this error.
- Use disk utilities – Utilities like CHKDSK or First Aid can scan and repair corrupted system files.
If the basic troubleshooting does not resolve the issue, more advanced steps may be required.
Bypassing Recovery Mode
One method to get around the attempting data recovery loop is to bypass the recovery process entirely. This forces your system to mount the drive so you can manually access files.
On Windows
For a drive showing as “Raw” file system:
- Open Command Prompt as administrator
- Type diskpart and press Enter
- Type list disk and note the disk number of the affected drive
- Type select disk X (replace X with disk number)
- Type clean and press Enter (this will erase the file system)
- Type create partition primary to create a new partition
- Type format fs=ntfs quick to format the partition
- Type assign letter=X (replace X with desired drive letter)
- Type exit to close DiskPart
The drive can now be accessed like normal to recover files.
On Mac
- Connect the drive and open Disk Utility
- Select the affected drive and click Unmount
- Click Erase and rename the drive if desired
- Choose a volume format like APFS and GUID Partition Map
- Click Erase – this will reformat the drive
- Remount the drive and it should be accessible
This process wipes the file system but allows recovering data afterwards.
Using Data Recovery Software
If DIY options do not work, contacting a data recovery service or using data recovery software are other options. Software looks for recoverable files on the drive and copies them to another device.
Data Recovery Software Options
- Recuva – Free Windows recovery tool good for basic photo, document, and video file recovery.
- EaseUS – More advanced paid option with deep scanning capabilities and recovery from formatted drives.
- Stellar – Works on Windows and Mac with features like corrupted video repair and Time Machine recovery.
- Disk Drill – Mac-focused recovery software with quick and deep scan modes.
These tools scan storage devices sector-by-sector to find and restore recoverable files. Features like corrupted file repair, formatted drive restore, and secure overwrite deletion are also common.
Using Recovery Software
General steps when using data recovery software:
- Select the target drive and scan type (quick or deep).
- Preview found files to identify those needed for recovery.
- Select files to restore and pick a save location (ideally a different drive).
- Start the recovery process and verify transferred files.
- Restart computer and access recovered files.
Be extremely careful not to overwrite the source drive before files are recovered. Also note that while data recovery software can be very effective, it cannot guarantee recovering all files in all situations.
Sending Drive to Recovery Service
For difficult cases of attempting data recovery, a dedicated data recovery service may be required. These experts disassemble storage devices in a certified cleanroom and use specialized tools for extracting data.
When to Use Data Recovery Service
Consider a recovery service when:
- DIY options do not work
- Failed drives have critical or otherwise irreplaceable data
- Issues are due to physical damage like a head crash
- Advanced techniques like disk imaging are required
Data recovery services can often recover data when all else fails. However, they tend to be more expensive than software solutions.
Finding a Reputable Service
Factors to consider when choosing a data recovery service:
- Certified cleanroom facilities
- Experience with specific storage devices like SSDs
- Security protocols for protecting sensitive data
- No upfront or hidden fees
- Track record of positive customer reviews
Do research to find a recovery service with a good reputation and capabilities matched to your specific situation.
Preventing Attempting Data Recovery Errors
While troubleshooting the attempting data recovery error is important, prevention is ideal. Some tips to help avoid this issue in the future include:
- Properly eject removable drives before disconnecting
- Use surge protectors and UPS battery backups
- Handle drives carefully and avoid physical damage
- Keep drives and connections away from heat, liquids, dust, etc
- Maintain backups so data can simply be restored as needed
- Use a journaling file system like NTFS, HFS+, APFS for corruption protection
Following best practices for drive care, system maintenance, and backup will go a long way towards avoiding attempted recovery situations and potential data loss.
Conclusion
While the “attempting data recovery” message can be worrying, just remember – in many cases, data can be successfully recovered with a few strategic troubleshooting steps. Tackle the problem methodically:
- Try basic troubleshooting like restarts, changing connections, scanning for malware, etc.
- If that fails, bypass recovery by reformatting and directly accessing the drive.
- Use data recovery software to scan sector-by-sector and restore needed files.
- For difficult hardware cases, engage a professional data recovery service.
Stay calm, move deliberately, and don’t overwrite the source drive before recovering files. With some patience and the right tools, there is a very good chance of getting back lost data following the attempting data recovery error.