What does “disk 0 not initialized” mean?
The error message “disk 0 not initialized” indicates that disk 0, the primary hard drive, is not configured for use. This typically happens when a new drive is installed or an existing drive is connected to a new PC. The disk needs to be initialized before the operating system can access it.
Causes of “disk 0 not initialized”
There are a few common causes of this error:
- Brand new hard drive – Uninitialized disks are normal for new drives that have not been partitioned and formatted.
- Drive from another PC – Used drives moved between computers can show up as uninitialized.
- Dead or dying drive – A failed or failing drive may be undetected or uninitialized.
- Loose connection – Check internal cables to ensure the drive is properly connected.
How to initialize disk 0 in Windows
Initializing the disk assigns a partition table to the drive, which allows Windows to allocate space for data storage. Here are the steps to initialize disk 0:
Using Disk Management
1. Open Disk Management by right-clicking the Start menu and selecting “Disk Management”.
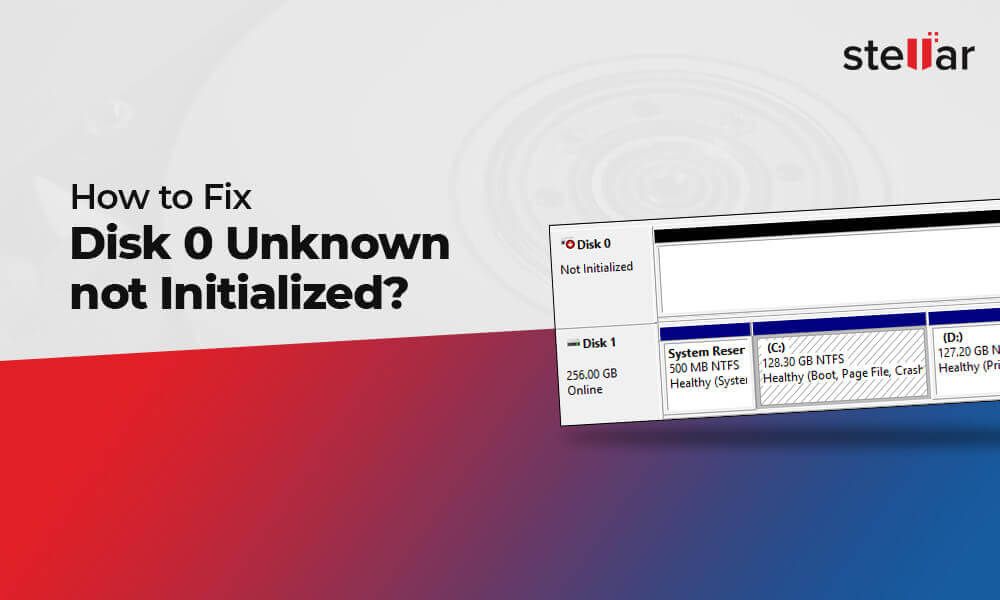
2. Find disk 0 in the lower panel. It should say “Unallocated” and “Not Initialized”.
3. Right-click the disk and choose “Initialize Disk”.
4. Select the disk type – MBR or GPT. Use GPT for drives over 2TB.
5. Right-click the “Unallocated” space and create a new volume. Follow formatting steps.
Using Diskpart
1. Open the Command Prompt as Administrator.
2. Type “diskpart” and press Enter.
3. Type “list disk” to show all disks. Identify disk 0.
4. Type “select disk 0” to select disk 0.
5. Type “clean” to remove any existing partitions.
6. Type “create partition primary” to create a primary partition.
7. Type “format fs=ntfs quick” to quickly format in NTFS.
8. Type “assign” to assign a drive letter.
9. Type “exit” to close Diskpart.
How to initialize disk in Linux
For Linux distributions like Ubuntu and CentOS, use the fdisk utility to initialize the disk.
1. Open the Terminal application.
2. Type “sudo fdisk /dev/sda”, replacing sda with the disk name.
3. Type “n” to create a new partition.
4. Select the partition type – primary or extended.
5. Type the partition size in MiB or accept the default to use the entire disk.
6. Type “t” and enter the hex code for the desired partition type. Examples: 83 for Linux, 07 for NTFS.
7. Type “w” to write the partition table and exit.
Now format the disk using mkfs to create the filesystem:
8. Type “sudo mkfs.ext4 /dev/sda1” to format as ext4 for Linux.
9. Type “sudo mkfs.ntfs /dev/sda1” to format as NTFS for Windows.
How to initialize disk in Mac
On Mac OS X, use Disk Utility to erase and reformat uninitialized disks.
1. Open Disk Utility located in Applications > Utilities.
2. Select the uninitialized disk from the left sidebar.
3. Click the Erase tab in the main window.
4. Enter a name for the disk.
5. Select a format like Mac OS Extended (Journaled).
6. Click Erase to initialize the disk.
Common initialization errors
There are a few common errors that may occur during the initialization process:
Access is denied
Ensure you open the disk tools as an administrator. Initialization requires full access rights.
Read-only parameter is incorrect
The disk cannot be opened in read-only mode for initialization. Close any windows accessing the disk.
Incorrect function error
This usually occurs in Diskpart if commands are entered incorrectly. Carefully review and re-enter each step.
Invalid media or Track 0 bad error
The disk has failed hardware tests indicating a physical failure. The drive needs to be replaced.
When to initialize a disk
Initialize a new disk when first installing it to prepare it for data storage. Other cases where initialization is required:
- Connecting an old system disk to a new PC
- Recovering data from a failed drive using external housing
- Repurposing an internal HDD after upgrading to SSD
- Adding additional storage drives to a PC
Avoid initializing a disk unnecessarily as it will erase all data on the drive.
Conclusion
Disk initialization writes partition tables to the drive allowing the operating system to manage data storage. When faced with the “disk 0 not initialized” error, use the step-by-step instructions provided to initialize the disk properly for your specific operating system. Initialize a disk only when required, like when installing a new HDD. Take care not to accidentally initialize a disk containing important data.
| Operating System | Initialization Tool |
|---|---|
| Windows | Disk Management or Diskpart |
| Linux | fdisk |
| Mac OS X | Disk Utility |