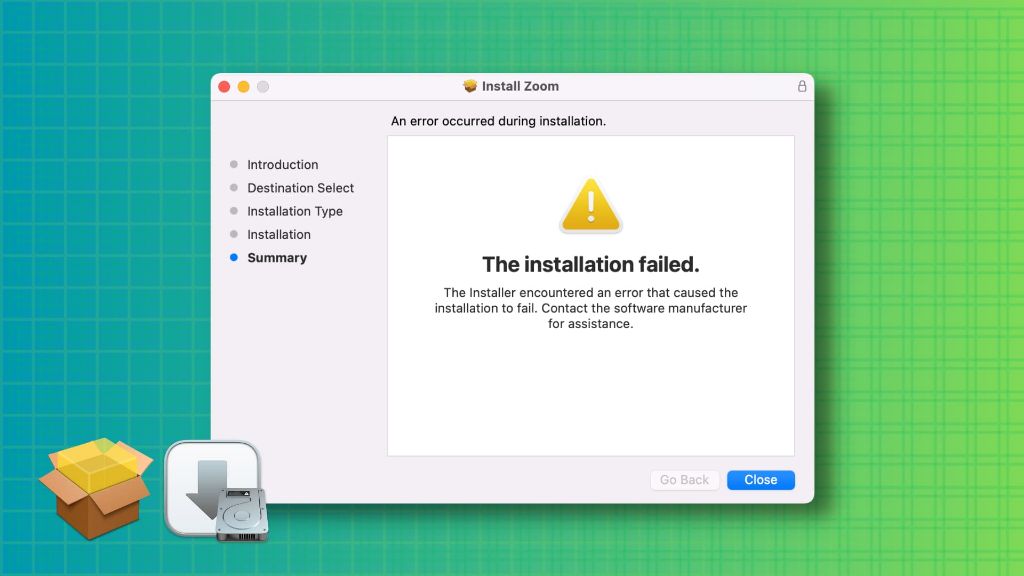
Getting an installation failed error message when trying to install an app on your Mac can be frustrating. However, there are several troubleshooting steps you can take to resolve the issue. In most cases, installation failures are due to simple problems that can be fixed by the user.
Quick Fixes for Installation Failed
Here are some quick things to try first when you get an installation failed message:
- Restart your Mac – This refreshes the operating system and clears any minor glitches that could be causing the error.
- Free up disk space – Make sure you have enough free storage space on your Mac. Delete unused files and apps to free up room.
- Check your internet connection – Make sure you have a stable, fast internet connection when installing apps.
- Try a different installer – Download the installer again in case the original file was corrupted.
- Disable antivirus software – Temporary turn off any antivirus programs, which can sometimes interfere with installations.
If none of those quick fixes work, don’t worry – there are a few other troubleshooting steps to try.
Troubleshooting Installation Failed
Check System Requirements
One common reason for installation failures is that your Mac doesn’t meet the minimum system requirements for the app you’re trying to install. Every app will list the OS version, RAM, processor speed, and storage space required. Before installing, double check that your Mac meets or exceeds the app’s system requirements.
For example, if an app requires macOS 10.14 or later and you’re still on 10.13, you’ll get an installation failed message. You can update your OS or check if the app supports older OS versions. Meeting system requirements will resolve many installation errors.
Update Your Operating System
Along those same lines, running an outdated OS version can also lead to installation failures. Apple is constantly updating macOS with bug fixes, security patches, and compatibility improvements. It’s important to keep your Mac’s OS up to date.
Go to System Preferences > Software Update to check for the latest macOS updates. Install any available updates, which can often resolve common installation issues. Keeping your OS current will prevent many problems when installing apps.
Enable App Installation from Unknown Developers
By default, Macs are set to only allow installation of apps from the App Store and identified developers. If you try to install an app from an unidentified developer, you’ll get a blocked installation error.
To fix this, open System Preferences > Security & Privacy and enable installation from App Store and identified developers. This will allow installation of apps from any source, resolving the error.
Grant Full Disk Access to Installer
Beginning in macOS Mojave, apps need explicit permission to access directories on your Mac. This is a security measure to prevent unauthorized access. However, many app installers need full disk access to complete installation.
If you get an error indicating the installer was blocked from accessing directories, go to System Preferences > Security & Privacy > Privacy > Full Disk Access. Click the lock icon to make changes. Then add the installer/app to the list to grant the needed access permissions.
Disable Gatekeeper
Gatekeeper is another Mac security feature that verifies app developers before allowing installation. Sometimes it can block installation of apps from lesser known developers.
To disable Gatekeeper, go to System Preferences > Security & Privacy and uncheck “Mac App Store and identified developers.” This will allow any app to be installed without verification. Just remember to re-enable Gatekeeper after completing the installation.
Check App Store Restrictions
If you’re trying to install an app from the App Store and it’s failing, check for restrictions. Go to System Preferences > Parental Controls. This feature can block certain apps from being installed. Make sure there are no restrictions enabled blocking the app installation.
Restart in Safe Mode
Booting into Safe Mode loads a minimal version of macOS with only essential components enabled. This can isolate any conflicts with third-party apps/drivers that may be blocking installation.
To boot into Safe Mode, restart your Mac and immediately press/hold the Shift key after you hear the startup chime. This will launch Safe Mode. Then try installing the app again.
Create a New Temporary User Account
Sometimes installation issues can be user account specific. Creating a fresh user account is an easy way to isolate the problem.
Go to System Preferences > Users & Groups to add a new user account. Log into the temporary account and attempt the installation again. If it works, the issue is with your user profile and preferences.
Clear App Installation History
macOS keeps a history of all app installations on your system. Corrupted or outdated entries in this history can interfere with new installations.
To clear the installation history, open Terminal and run this command:
| sudo | rm -rf /Library/Receipts/InstallHistory.plist |
This will delete the entire history. Afterwards, restart your Mac and try installing the app again.
Reset NVRAM/PRAM
NVRAM and PRAM store low-level settings that can affect app installation and operation. Resetting them clears out any problematic settings that could be interfering.
To reset NVRAM and PRAM, restart your Mac and immediately press these four keys together until you see the Apple logo: Option, Command, P, R. This will wipe the saved settings.
Delete Existing App Data
If you’re trying to reinstall an app that was already installed, leftover app files and data can sometimes cause conflicts. To rule this out, you need to completely delete the existing app data.
In Finder, go to your Applications folder and drag the existing app to the Trash. Then open your user Library folder (hold Option and click Go in Finder) and delete any folder/files related to the app. Empty the Trash to complete the process.
Deleting old app data allows you to do a clean reinstallation, which often resolves installation failed errors.
Install from App Store, not Developer
For apps available both on the App Store and for direct download from the developer, it’s generally better to install from the App Store. The App Store version is usually more up-to-date and integrates better with macOS.
If you’re having issues with a direct download from the developer’s website, try installing the App Store version instead. Delete the existing version completely before reinstalling from the App Store.
Check App Permissions
Like disk access, apps also need specific permissions to access things like your contacts, calendar, photos, files, etc. Denied permissions can sometimes block app installations.
Go to System Preferences > Security & Privacy > Privacy and review which apps have access to different services. Grant all needed permissions to the app you’re trying to install. This should resolve permission-related installation failures.
Allow Installer in Firewall
The macOS firewall protects your system from incoming connections. But it can also inadvertently block legitimate apps from completing installations.
Open System Preferences > Security & Privacy > Firewall. Select Firewall Options… and add both the installer/app itself and the “bergerserver” process to the allowed list. This grants firewall access needed for installation.
Turn Off Antivirus Software
Third-party antivirus tools like Avast, Norton, and McAfee can falsely detect app installers as malicious and block them from accessing the system. Temporarily disabling your antivirus may allow the installation to complete.
Don’t forget to re-enable your antivirus after the installation finishes. And make sure to whitelist/exclude the newly installed app from future antivirus scans.
Check Installation Permissions
Improper file permissions can prevent an installer from accessing directories on your Mac. Incorrect permissions produce installation failed errors.
In Finder, click File > Get Info on the installer file/package. Open Sharing & Permissions and make sure “Everyone” has “Read & Write” access. You can also run Disk Utility’s First Aid tool to check/repair disk permissions.
Allow Installer Assistance
Many Mac app installers utilize “installer assistance” to complete the installation process. This allows the installer to control certain directories and functions in macOS.
If your Mac blocks this, you’ll get an installation failed error indicating installer assistance was not allowed. To fix this, go to System Preferences > Security & Privacy and check “Allow Installer Assistance.”
Check Hard Drive for Corruption
File corruption or directory damage on your Mac’s hard drive can prevent proper installation. Running Disk Utility’s First Aid tool will check for disk errors and attempt repairs.
Launch Disk Utility, select your startup drive, click First Aid, then click Run. This will scan and fix any directory issues that could be blocking installation.
Reset SMC
The System Management Controller (SMC) controls low-level Mac hardware functions. Resetting it can resolve installation issues caused by SMC-related problems.
To reset SMC, first shut down your Mac. Press and hold the power button for 10 seconds to drain residual power. Then power back on and immediately press these key combos: Control, Option, Shift (left side) for 10 seconds. Release and let Mac reboot normally.
Create New Administrator Account
Some installation failures only occur when logged into your primary admin account. Switching to a different admin account can circumvent account-specific issues.
Go to System Preferences > Users & Groups and add a fresh administrator account. Log out and into the new account, then attempt the installation again.
Check Manufacturer’s Installation Guide
For complex software like development tools, creative suites, and enterprise platforms, the manufacturer will often provide detailed installation manuals. Reviewing the guide may reveal specific system preparation steps you need to take.
Carefully go through all pre-installation instructions like checking OS version, disabling security tools, granting disk permissions, etc. Follow each step before retrying the installation.
Conclusion
Troubleshooting installation errors takes patience, but you can usually resolve common failed installation issues using one of these solutions. Just go through the steps methodically until you isolate the specific problem.
The most frequent causes are insufficient system requirements, outdated OS versions, security blocks by Gatekeeper/antivirus, and system file corruption. Addressing these problems will get your Mac app installation back on track.
Be sure to backup your system first and create a restore point just in case. Take notes about which steps you’ve tried. With diligent effort, you’ll be able to fix that frustrating installation failed on Mac error message.
