iTunes not installing properly is a common issue that many users face. There are several potential causes and solutions for this problem. In this comprehensive guide, we will walk you through the steps to diagnose and resolve iTunes installation issues on Windows and Mac.
Quick Diagnosis and Fixes
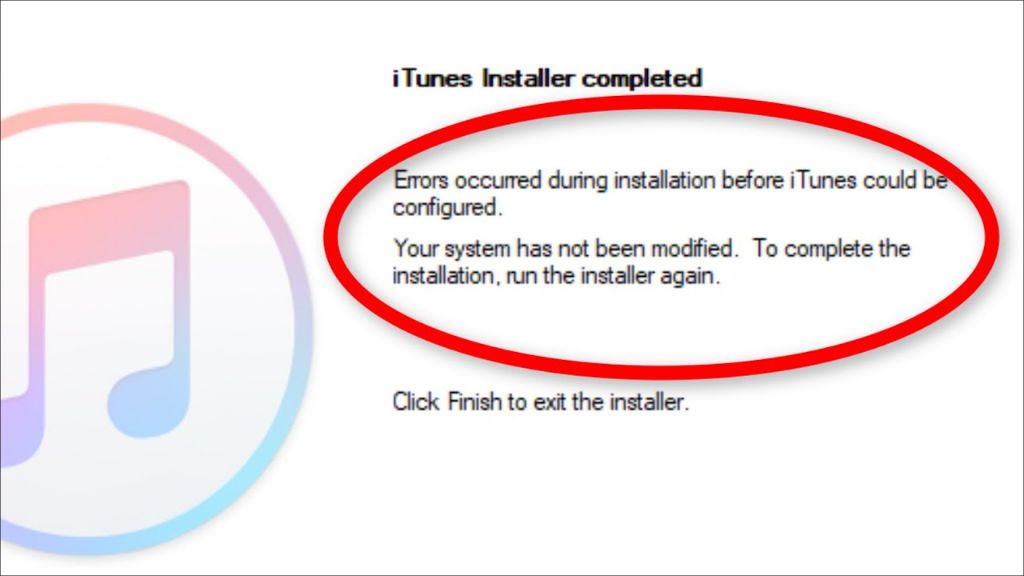
Here are some quick things to check if iTunes won’t install:
- Make sure you have the latest version of iTunes – Older versions may not install properly on newer operating systems
- Check for error messages during installation – Note down any error codes or messages and research solutions
- Restart your computer – This can clear any stalled installation processes
- Uninstall iTunes completely – Use the official Apple uninstall tool and retry installing
- Update Windows or macOS – Outdated operating systems can cause compatibility issues
- Disable antivirus temporarily – Antivirus software can sometimes interfere with installations
Troubleshooting iTunes Installation on Windows
If you are facing issues installing or opening iTunes on Windows, try these troubleshooting steps:
Check System Compatibility
Make sure your Windows PC meets the minimum system requirements to install and run the latest version of iTunes:
- Windows 10, 11 (recommended)
- Windows 8.1, 8, 7 Service Pack 1
- 1 GB RAM minimum (2 GB recommended)
- Minimum 1 GB storage space
- .NET Framework 4.7 or later
If your Windows version is outdated or low on storage, you may encounter errors during iTunes installation. Update Windows or free up disk space and try again.
Install Latest iTunes Version
Download the latest 64-bit iTunes installer for Windows from apple.com/itunes. Do not use old installers as they may not work properly on newer Windows versions.
If updating iTunes does not fix the issue, download the official iTunes uninstall tool from Apple’s website. Run the tool to cleanly remove iTunes and other Apple software components. Then download the latest iTunes version and reinstall.
Disable Antivirus and Firewall
Antivirus software can sometimes block installations and file transfers. Temporarily disable your antivirus to see if that helps iTunes install without issues. Also add iTunes to the antivirus exclusion list after installing.
Disable Windows Firewall temporarily to ensure your security software is not blocking the iTunes installer.
Run Installer as Administrator
Right-click on the iTunes installer and select Run as Administrator. This ensures the installer has the required permissions to modify system folders and registry settings during installation.
Check for Corrupted Files
Use the System File Checker tool in Windows to scan for corrupted system files that may be preventing iTunes from installing properly:
- Open Command Prompt as Administrator
- Type ‘sfc /scannow’ and hit Enter
- Wait for the scan to complete and restart your PC
Change File System Permissions
Using File Explorer, check if you have full read/write permissions for the iTunes installation directory (usually C:\Program Files\iTunes). Grant yourself full control permissions if needed.
Remove Old iTunes Files
Use the official uninstall tool to clean out any old iTunes files from incomplete installations. Also delete the iTunes folder in \Program Files if it exists. Reboot and try installing again.
Fixing iTunes Installation Errors on Mac
Follow these steps if you encounter issues getting iTunes up and running on Mac:
Update macOS
Older macOS versions may not be fully compatible with newer iterations of iTunes. Updating to the latest macOS is recommended.
To update, go to System Preferences > Software Update and install any available updates. Reboot your Mac and then try reinstalling iTunes.
Download Latest iTunes Installer
Get the latest iTunes installer from apple.com/itunes. Use this official installer instead of an old version you may have downloaded earlier.
If updating does not help, drag and drop the iTunes application icon from your Applications folder to Trash. Then empty Trash and try installing again using the newest installer.
Allow App Store/Identified Developers
On newer versions of macOS, you need to explicitly allow apps downloaded from the App Store and identified developers. Enable this setting if prompted during iTunes installation.
To manually allow identified developers:
- Go to System Preferences > Security & Privacy > General
- Check ‘Allow apps downloaded from App Store and identified developers’
Restart in Safe Mode
Booting in Safe Mode loads macOS with only essential software and drivers. This can isolate any conflicts from third-party apps causing problems with iTunes installation.
To enable Safe Boot:
- Fully shut down your Mac
- Power up and immediately press & hold the Shift key
- Let go when you see the login screen (Safe Boot will be on)
- Try installing or launching iTunes
- Restart normally after exiting Safe Mode
Reset Launch Services
Resetting macOS Launch Services can clear out cache and rectify issues of apps not opening after installation.
To reset Launch Services:
- Open Terminal (from /Applications/Utilities)
- Enter command:
/System/Library/Frameworks/CoreServices.framework/Versions/A/Frameworks/LaunchServices.framework/Versions/A/Support/lsregister -kill -r -domain local -domain system -domain user - Restart Mac and test iTunes
Check File Permissions
Use Disk Utility to verify that the file permissions are correctly set on the iTunes installation directory and files:
- Open Disk Utility
- Select your startup drive from the sidebar
- Click First Aid tab and click ‘Repair Disk Permissions’
Also check if your user account has Read & Write access permissions to the iTunes installation folder under /Applications.
Reinstalling iTunes on Windows or Mac
If all else fails, a clean reinstall of iTunes may be required. Follow these steps:
Uninstall iTunes
Completely uninstall iTunes and related software components using the official Apple uninstall tool. This will clear out files, settings and registry entries of any previous faulty installations.
Reboot Your Computer
After uninstalling iTunes, reboot your Windows PC or Mac. This will clear any software caches or temporary installations files.
Download Latest iTunes
Go to apple.com/itunes and download the latest 64-bit installer for Windows or Mac.
Temporarily Disable Antivirus
Windows users should disable antivirus protection before reinstalling iTunes. Add exclusions after installing.
Install iTunes
Run the downloaded installer. Accept all prompts and enter your admin password if required. Allow identified developers if prompted on Mac.
On Windows, right-click the installer and Run as Administrator for best results.
Restart Computer
Once the installation completes, restart your computer. This will load iTunes using clean configurations.
Recheck iTunes
After restarting, launch iTunes to verify it is now working properly without any installation issues.
Fix Underlying Issues Before Reinstalling iTunes
If you face iTunes installation errors even after reinstalling, there are typically underlying issues on your PC or Mac that should be addressed first.
Update Windows and macOS
Make sure both Windows and macOS are fully updated before installing iTunes. Older operating systems may not support latest iTunes versions and dependencies.
Resolve Software Conflicts
Check for conflicts with other media apps installed on your computer that may interfere with iTunes components. For example, uninstall QuickTime if you have it.
On Windows, check for conflicts with software like Android file transfer apps, Apple mobile device support packages, and Bonjour services.
Change User Account Control Settings
For Windows users facing repeated installation issues – try tweaking the User Account Control (UAC) settings.
Set Notify me only when apps try to make changes to my computer from the default. This will reduce security prompts blocking iTunes installations.
Check Hard Drive Errors
Use the Check Disk tool in Windows or Disk Utility First Aid on Mac to check for hard drive corruption and errors. Resolve any issues with bad sectors, permissions or caches.
Update Drivers
Outdated audio, motherboard or USB drivers can also prevent iTunes from installing properly. Use Device Manager on Windows or System Information on Mac to update any outdated drivers.
Check User Permissions
Log into an Admin account on your computer when reinstalling iTunes. Limited user accounts may not have full write permission required for iTunes installation.
Exclude iTunes from Antivirus
Windows Defender, Norton, McAfee and other antivirus tools can block iTunes components from installing properly. Add iTunes to antivirus exclusions after installing.
Allow Helper Apps to Install
iTunes installation requires Apple Application Support, Apple Mobile Device Support and Bonjour helper apps. Enable installation of these helper tools when prompted.
Common iTunes Installation Error Codes
Here are some common iTunes error codes and messages seen during installation or setup along with fixes:
| Error Message | Likely Cause | Fixes |
|---|---|---|
| Error 7 (Windows)/Error -50 (Mac) | Insufficient system permissions |
|
| Error 3194 | Incompatible or corrupted iTunes components |
|
| Error 12003 | Firewall blocking access |
|
| Error 13005 | Timed out waiting for iTunes components |
|
| Error 9006 | Garbage data in install log |
|
Conclusion
To recap, here are the key steps to resolve iTunes installation failures on both Windows and Mac:
- Check system requirements
- Download latest iTunes installer
- Turn off antivirus and firewalls
- Run installer as Admin
- Allow helper apps/identified developers if prompted
- Clean uninstall existing iTunes files
- Restart computer before and after install
- Update operating system and drivers
- Exclude iTunes from security apps
- Verify disk health
- Grant full admin permissions
Following these instructions sequentially can help troubleshoot and fix the vast majority of iTunes installation errors on Windows and Mac. Check for specific error codes you may get during the process to further isolate the cause. Reach out to Apple support if issues persist after trying all troubleshooting steps.
