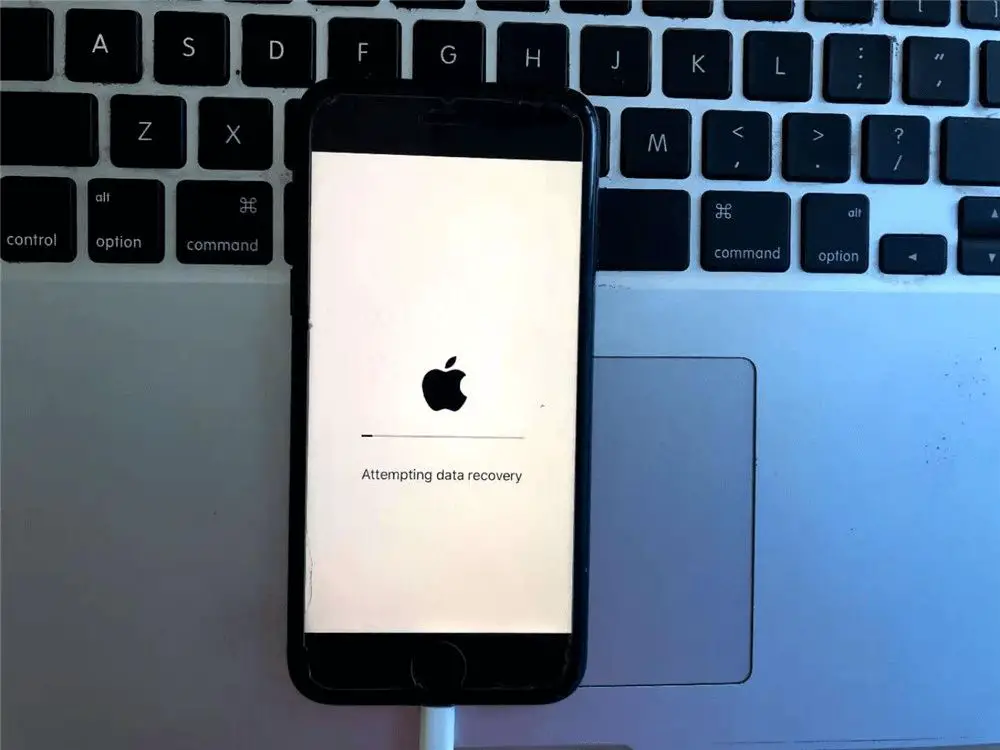
The “attempting data recovery” issue on iPhones is a common problem many users face where the phone gets stuck in a loop showing the “attempting data recovery” message. This often happens after an iOS update and prevents the user from being able to use their phone normally. The phone is essentially frozen and won’t respond to input. This can be incredibly frustrating, but thankfully there are several potential solutions to try and get the phone working again.
Determine if it’s a Software or Hardware Issue
In most cases, the “attempting data recovery” message is caused by a software issue rather than a hardware problem. Software issues are often easier and cheaper to resolve than hardware failures.
To determine if it’s a software problem, first check to make sure your iPhone is running the latest version of iOS. Go to Settings > General > Software Update to see if any updates are available. Installing the latest iOS update can often fix software bugs and issues.
You’ll also want to make sure you have enough available storage space on your iPhone. The “attempting data recovery” message sometimes appears if your storage is nearly full, which can cause software malfunctions. Check your available storage in Settings > General > iPhone Storage.
Finally, restart your iPhone to clear any temporary glitches after checking for updates and storage space. If the issue persists after a restart, it’s likely a software problem rather than hardware. Some common software issues are bugs from an iOS update, corrupted system files, app conflicts, or notification overload causing the system to freeze.
Try a Force Restart
A force restart can often resolve minor software glitches that are causing your iPhone to get stuck at the attempting data recovery screen. To force restart your iPhone:
Press and quickly release the volume up button. Then press and quickly release the volume down button. Finally, press and hold the side button until you see the Apple logo appear on the screen (around 5-10 seconds). This will force your iPhone to restart and boot back up [1].
A force restart essentially reboots the device and clears out any temporary glitches or processes that have caused the system to freeze. It’s a simple first step to try that can resolve many minor software issues without losing any data or settings. If the attempting data recovery screen persists after a force restart, it’s likely due to a more serious underlying hardware or software problem.
Update iOS Software
One of the most important things you can do when troubleshooting an iPhone issue is to make sure you’re running the latest iOS software version. Keeping your iPhone’s operating system up-to-date provides important bug fixes, security enhancements, and new features.
To check for and install iOS updates on your iPhone, go to Settings > General > Software Update. Your iPhone will automatically check for available updates and show the latest iOS version available. Tap “Download and Install” to update your device to the latest version.
As of December 2023, the current iOS version is iOS 17 (https://support.apple.com/en-us/HT213781). If your iPhone is still running an earlier version like iOS 16, updating could potentially resolve the “attempting data recovery” issue. New iOS updates fix bugs, improve performance, and add new capabilities.
Updating your iPhone’s iOS is an easy first troubleshooting step that can prevent issues and keep your device running smoothly. Always make sure your iPhone is updated before trying more time-consuming fixes when issues arise.
Reset Network Settings
Resetting your network settings on your iPhone can often fix issues connecting to Wi-Fi, cellular data, and other network services. This erases all current network settings and resets them to their default state (Source).
Here is a step-by-step guide for resetting your network settings on an iPhone:
- Open the Settings app on your iPhone.
- Tap on General.
- Scroll down and tap on Reset.
- Tap on Reset Network Settings.
- Enter your passcode if prompted.
- Tap Reset Network Settings again to confirm.
This will erase all Wi-Fi networks, VPNs, and other network settings and restore them to their factory defaults. It will not delete any data or media on your iPhone. After resetting network settings, you will have to reconnect to any Wi-Fi networks and redo any custom network configuration (Source). This often resolves many connectivity issues, making it a useful troubleshooting step before exploring hardware fixes or repairs.
Restore from Backup
Restoring your iPhone from a previous backup is one of the best ways to fix the attempting data recovery issue without losing your data. You can restore from either an iCloud backup or an iTunes backup on your computer.
To restore from an iCloud backup: https://support.apple.com/en-us/HT204184
- Go to Settings > [Your Name] > iCloud > Manage Storage > Backups
- Tap on your most recent backup
- Tap Restore and follow the on-screen instructions
To restore from an iTunes backup: https://support.apple.com/guide/iphone/restore-all-content-from-a-backup-iph1624229a/ios
- Connect your iPhone to your computer and open iTunes
- Select your iPhone and go to Summary > Restore Backup
- Select your backup and click Restore
Restoring from a previous backup will overwrite your current iOS installed and replace it with the version that created the backup without updating to the latest version. You can update to the latest iOS after restoring from the backup.
Try Recovery Mode
Recovery mode is a built-in troubleshooting state on iPhones that can be used to restore the device when it’s not functioning properly. When an iPhone is in recovery mode, it will display the connect to iTunes screen and won’t function normally.
To put your iPhone into recovery mode:
- Connect your iPhone to your computer using the USB cable.
- Press and quickly release the Volume Up button.
- Press and quickly release the Volume Down button.
- Then, press and hold the Side button until you see the recovery mode screen.
An Apple logo or iTunes logo will appear on the screen indicating the device is in recovery mode. You can then restore your iPhone using iTunes on a computer or Finder on a Mac.
To exit recovery mode, press and hold the Side button again until you see the Apple logo. Your iPhone will restart normally. If this doesn’t work, you may need to force restart your iPhone by pressing and holding the Side and Volume Down buttons for 10+ seconds.
Restore with iTunes
One way to fix an iPhone stuck attempting data recovery is to restore it using iTunes on a computer. This will reinstall the latest iOS version and erase all data and settings on the iPhone.
To restore an iPhone with iTunes, first download and install the latest version of iTunes on your Mac or Windows computer. Connect the iPhone to the computer using a USB cable. Open iTunes and select the iPhone icon. Then click Summary > Restore iPhone. This will install a clean version of the latest iOS and reset the device to factory settings [1].
Here are the full steps for restoring an iPhone with iTunes:
- Connect the iPhone to your computer and open iTunes. If a message asks for your device passcode or to Trust This Computer, follow the onscreen steps.
- Select the iPhone icon in iTunes. Click Summary in the sidebar.
- Click Restore iPhone below the Update button. This will reinstall iOS and erase all data.
- A message will show that all data and settings will be erased. Click Restore to confirm.
- iTunes will download software for the iPhone. This may take some time depending on internet speed.
- When the restore is complete, you can set up and use the iPhone as new or restore from a backup.
Restoring with iTunes is an effective fix if an iPhone is stuck attempting data recovery. It will reinstall a clean version of iOS and erase any corrupted data that could be causing issues [2]. Just be sure to backup your data first if possible.
DFU Mode Restore
DFU (Device Firmware Update) mode is a deeper restoration mode than normal recovery mode for iOS devices. It allows you to restore the device while completely wiping all data and settings (source).
Performing a DFU mode restore can fix many issues like being stuck on the Apple logo, recovery mode loop, and deep system-level problems. It should be used when the standard restore process doesn’t work.
To enter DFU mode and restore:
- Connect the iPhone to a computer with iTunes installed.
- Hold the Power button for 3 seconds.
- Hold the Home button without releasing Power for 10 seconds.
- Release Power but keep holding Home until you see the “iTunes has detected an iPhone in recovery mode” prompt.
- In iTunes, click Restore to wipe the device and reinstall iOS.
The iPhone will restart into a clean version of iOS, fixing many issues. This should only be done as a last resort since all user data is deleted.
Hardware Repair or Replacement
If you have exhausted all of the software troubleshooting options and your iPhone is still stuck on the “Attempting data recovery” screen, then the issue is likely a hardware problem that requires repair or replacement of the device.
Here are some options if software fixes don’t resolve the issue:
- Take your iPhone to an Apple Genius Bar. Apple technicians can run diagnostic tests, and may be able to repair your device if the issue is related to faulty hardware components like the logic board or connectors. This will cost a fee, but is often cheaper than buying a replacement phone.
- Use AppleCare+ insurance, if you have it. AppleCare+ allows 2 incidents of accidental damage coverage, so you can get repairs or a replacement iPhone at a reduced cost.
- Go to a third party repair shop. Reputable independent repair shops can do component-level repairs for issues like faulty screens, batteries, or charging ports that may resolve the problem. This is often much cheaper than going through Apple.
- As a last resort, you may need to replace your iPhone if the hardware damage is beyond repair. You can purchase a new or refurbished replacement iPhone directly from Apple, your carrier, or other third party retailers.
No matter where you go for repair or replacement, be sure to backup your data first, as any hardware service may result in data loss.