Having issues with a USB drive can be incredibly frustrating, especially if you have important files stored on it that you don’t want to lose. Fortunately, there are several troubleshooting steps you can try to fix your USB drive and recover access to your files without having to delete anything.
Try plugging the USB into a different port or computer
One of the first things to try when a USB drive is not being recognized is to plug it into a different USB port on your computer. Ports can sometimes stop working properly, so trying another port may allow your computer to detect the drive.
You can also try plugging the USB drive into a completely different computer. If the drive is detected on another computer, the issue is likely with the USB port on your original computer. If it is still not recognized, then the problem is with the drive itself.
Check for physical damage to the USB drive
Carefully inspect your USB drive to check for any physical damage or issues. Look for things like:
- Cracked or bent connector:
- Broken/loose connector housing:
- Exposed circuit board:
- Water damage/corrosion:
This can prevent the USB drive from making proper contact in the port.
This holds the metal ends of the connector in place. If damaged, the connector will not align properly.
If the metal/plastic casing of the drive is damaged, further issues may occur from exposed circuits.
This can happen if the drive got wet, causing internal damage.
If you see any physical damage to the drive, this is likely the cause of the issue. The drive itself will need to be replaced in order to access the files again.
Try a different USB cable
Sometimes the USB cable that came with a drive can become damaged or stop working over time. Try connecting the USB drive using a different USB cable that you know is working properly.
Standard USB cables should be compatible between devices. Make sure to fully insert the cable and listen for the audible “click” on both ends. If the drive is detected with a new cable, you’ll know the original cable was faulty.
Check for errors using disk utilities
Most operating systems come with built-in disk utilities that can help detect and repair errors on USB drives.
On Windows
On a Windows PC, you can use the following steps to scan for errors and fix file system issues:
- Open File Explorer and right-click on your USB drive.
- Select “Properties” then click on the “Tools” tab.
- Click “Check” in the Error Checking section.
- Check both boxes to scan for file system errors and recover readable information.
- Click “Start” to begin scanning. This process may take some time.
- Allow the process to repair any found errors. Repeat if necessary.
On Mac
On a Mac, you can use these steps to verify and repair disk errors:
- Open Disk Utility (located in Applications > Utilities)
- Select your USB drive in the sidebar.
- Click “First Aid” at the top.
- Click “Run” to begin scanning for errors.
- Allow Disk Utility to repair any issues it finds. Repeat if needed.
Using these built-in disk utilities can often resolve file system issues that may be preventing access to the USB drive.
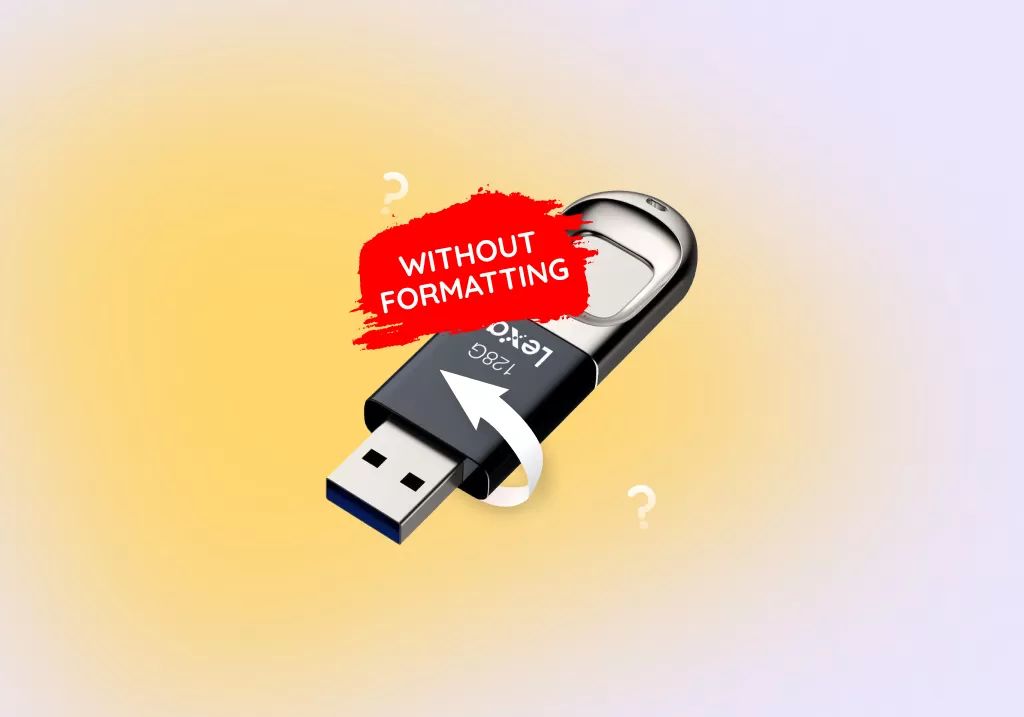
Try reformatting the USB drive
Warning: This will erase all data on the drive, so only do this if you’ve exhausted other options and have backups of important files.
If all else fails, reformatting the USB drive may clear up any corruption or errors preventing access. Here are the general steps:
- Backup any important files you have access to on the drive.
- Using Disk Utility or File Explorer, select the USB drive and choose “Format”.
- Select your desired file system (FAT32 or exFAT are most common).
- Give the drive a name and click “Erase” to reformat it.
Once reformatted, you may find the USB drive is detected and usable again. Just be aware that reformatting erases everything on the drive, so only use this method if you’ve exhausted other options and have backups.
Try data recovery software
If you are unable to access files on a USB drive even after troubleshooting, data recovery software may be able to help retrieve your data.
Data recovery software scans the drive and attempts to reconstruct corrupted or deleted files. Some popular options include:
| Software | Platform |
|---|---|
| Recuva | Windows |
| EaseUS | Windows |
| Stellar | Mac & Windows |
| Disk Drill | Mac |
To use data recovery software:
- Download and install the software onto a working computer.
- Connect the USB drive to the computer.
- Scan the drive using the software to identify recoverable files.
- Select the files you want to recover and restore them to another location.
Data recovery is not guaranteed, but this method may retrieve important files that you’re unable to access otherwise.
Send to a data recovery service
For difficult USB problems, you may need to turn to professional data recovery services. These specialize in extracting data from damaged drives.
Look for a reputable, experienced company if you need to go this route. The process involves:
- Finding a data recovery company and getting a cost estimate.
- Shipping your USB drive to their lab facility.
- Technicians disassemble the drive and use specialized tools and clean rooms to diagnose issues and recover data.
- Recovered data is copied to a new drive and shipped back to you.
Professional data recovery can cost hundreds or thousands of dollars, but may be worth it for irreplaceable data. Be sure to get an upfront estimate so you know the expected costs.
Conclusion
With the right troubleshooting steps, you can often fix USB drive issues without having to delete your files. Try different cables, ports, and computers first. Disk utilities can then help detect and repair errors. Reformatting or data recovery software provide more options when drive problems persist.
As a last resort, professional data recovery services may retrieve data when all else fails. The important things are to not give up, stay calm, and try every option before considering deleting any files if possible.