A beeping Seagate hard drive in an Xbox is often a sign of a hardware issue that needs troubleshooting. Beeping can indicate the drive is not being detected properly or is otherwise malfunctioning. Some common causes include a faulty drive, loose or damaged cables, corrupted data, or problems with the Xbox itself.
Seagate drives are commonly used to expand the storage capacity of Xbox consoles. However, like any hardware, they can develop issues over time that lead to beeping noises and drive failures. Thankfully, there are several steps Xbox owners can take to diagnose and resolve a beeping Seagate drive.
This guide will walk through the major troubleshooting steps to stop a Seagate external hard drive from beeping in an Xbox. We’ll cover checking connections, testing the drive, replacing cables, clearing error codes, and more. With some simple hardware tests and drive repairs, an Xbox Seagate drive can often be restored to normal function.
Confirm the Issue
The first step when troubleshooting a beeping Seagate hard drive for Xbox is to confirm the exact issue. Listen closely to the beeping noise and note if there is any specific pattern or repetition to the beeps. For example, the beeps may occur in sets of two, or repeat every few seconds. Also check if the beeping is accompanied by any error codes or messages on the Xbox screen itself. Some common Xbox error codes related to hard drive issues include E101, E102, E105, E106, E200, E208, and E225. Documenting the precise beep pattern and any on-screen error information will help narrow down potential causes when consulting troubleshooting guides or reaching out for support.
For reference, see this Reddit thread where users describe the different beep patterns heard from malfunctioning Seagate hard drives.
Open the Xbox Case
Before opening the Xbox case, it’s important to power off and unplug the console to avoid any electrical hazards. According to wikiHow, here are the steps to safely open an Xbox One console case:
- Unplug all cables from the back of the Xbox, including the power cord.
- Place the Xbox One horizontally on a clean, flat surface.
- Locate the seam along the back edge of the console.
- Insert the edge of a plastic spudger tool into the seam and gently pry the case apart. Take care not to damage the clips.
- Slide the spudger along the seam on both sides to release all the clips holding the case together.
- Once unclipped, carefully lift off the case starting from the back.
With the case open, you’ll have access to the internal hard drive and connections. Be gentle when handling internal components to avoid any damage.
Check Connections
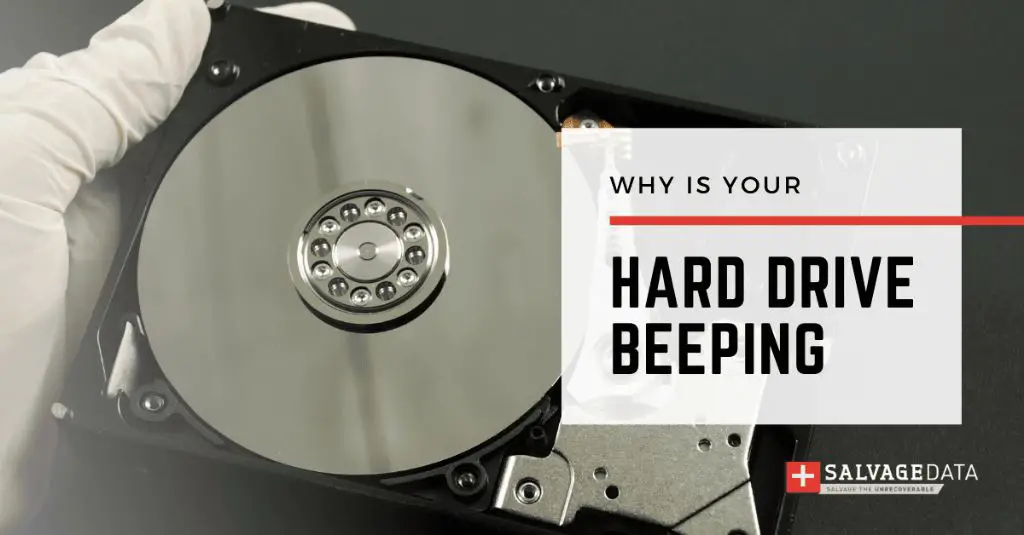
The first thing to check is the physical connections from the Xbox console to the hard drive. Carefully open up your Xbox case and locate the SATA data cable and SATA power cable that connect the hard drive to the motherboard.
Gently press on the connections to make sure the SATA data cable and SATA power cable are fully inserted into the hard drive and motherboard ports. Listen for any clicking or loose sounds that could indicate a bad connection. Also inspect the connectors and cables for any visible damage like torn wires or bent pins.
If the connections seem loose, press the cables firmly into place or try swapping to new high-quality SATA cables. Damaged cables can cause connectivity issues and beeping noises from the hard drive.
Proper drive connections are crucial for the Xbox to detect and communicate with the hard drive. Secure connections allow power and data transfer without issues.
Test the Hard Drive
Before replacing any parts or attempting further troubleshooting, it’s a good idea to connect the hard drive to a PC and test its functionality using SeaTools diagnostic software from Seagate. SeaTools will run various tests on the drive and report any errors or problems found. This is an important step, as it can confirm if the beeping noise is due to a faulty hard drive before spending time on other repairs.
To test the hard drive on a PC, you’ll need a SATA to USB adapter or enclosure to connect the Xbox drive to your computer. Once connected, download and run the SeaTools for Windows software from Seagate (https://www.seagate.com/support/downloads/seatools/). Follow the instructions to select and test your drive. SeaTools will perform a comprehensive test, checking the drive’s interface, platters, heads, electronics and more.
If SeaTools reports your Seagate hard drive is faulty or failing, that likely explains the beeping sound coming from your Xbox. The drive will need to be replaced before the console will function properly again. But if the drive passes its diagnostics, the beeping issue is less clear and further troubleshooting steps should be taken.
Replace Cables
If the hard drive tests okay, the issue may be with the SATA data cable or power cable connecting it to the Xbox motherboard. These cables can become damaged over time from normal wear and tear. Replacing the cables is an inexpensive fix that may resolve the beeping issue.
You can purchase replacement SATA and power cables designed for the Xbox One online or at many electronics retailers. Make sure to get cables specifically made for your Xbox model.
Follow instructions to open up your Xbox case and detach the existing cables from the hard drive and motherboard. Then connect the new SATA and power cables. Reassemble the Xbox and test it again. With fresh, undamaged cables, you should no longer hear beeping noises from the hard drive.
Replace Hard Drive
If replacing the cables does not resolve the beeping issue, the next step is to replace the hard drive. The Xbox One is designed to work with specific hard drives, so it’s important to replace it with a compatible model (Amazon). Seagate manufactures HDDs and SSDs designed for the Xbox One, Xbox Series X, and Xbox Series S consoles that are optimized for performance and reliability (Seagate).
When selecting a new hard drive, look for one that is specifically marketed for the Xbox One/Series X/Series S. Models with capacities of 1TB or greater are recommended to have enough storage space for games. An SSD will provide faster load times than a traditional HDD. Be sure to purchase a drive from a reputable brand to ensure compatibility and quality.
Replacing the hard drive involves opening up the console, disconnecting the old drive, and installing the new one. Microsoft provides step-by-step instructions on their support site on how to replace the hard drive properly. Take your time and follow all precautions to avoid any damage. Once installed, the console will need to format the new drive and reinstall any games or apps.
Clear Error Codes
If your Xbox is displaying an error code, you’ll need to clear it before the hard drive will function properly again. According to the Xbox Support article Find your error code, you can look up the specific error code on their website to find troubleshooting tips.
For example, error code 0x80070017 indicates an issue reading data from the hard drive and suggests trying a new cable or replacing the drive if the error persists, as noted in the Xbox Support article Error 0x80070017 occurs when you try to load data from a hard drive. Clearing the error code after resolving the underlying issue will allow the Xbox to recognize the hard drive again.
Refer to the Xbox error code lookup tool to identify and clear any codes, which is a crucial step before reassembling and using your Xbox after hard drive repairs.
Reassemble the Xbox
After installing a new hard drive or completing other internal repairs, you’ll need to reassemble the Xbox One console. Follow these steps:
- Place the top case cover back over the Xbox motherboard, aligning the screw holes. Make sure no cables get pinched or crimped in the process.
- Replace the seven long T10 Torx screws around the edge of the case to secure the top cover back into place.
- Turn the Xbox right side up and replace the four shorter T8 Torx screws that hold the hard drive enclosure in place.
- Replace the rubber footpads on the bottom of the console if you removed them earlier.
- Reconnect all the external cables like power, HDMI, and USB.
- Turn on your Xbox and verify it powers on correctly before reassembling the outer case.
- Slide the outer plastic case back over the Xbox and press firmly around the edges to snap it back into place.
Once fully reassembled, your Xbox One console should be ready to use again. Power it on and test that games, apps, and functions are working normally. If you encounter any issues, double check that all connections are fully secured.
Conclusion
To summarize the troubleshooting process, first check all physical connections and cables to ensure the hard drive is properly connected to the Xbox. Try different USB ports and cables if possible. Next, disconnect the drive, reboot the Xbox, and reconnect to clear any error codes. If the drive still won’t work or beeps, it likely needs to be replaced. When installing a new hard drive, be sure to follow Microsoft’s instructions to properly format and set up the drive.
To help prevent issues in the future, avoid overfilling the drive which can lead to performance problems. Disconnect the drive safely using the Xbox interface before powering down. Keep the drive in a well-ventilated area and don’t stack other devices on top which could overheat it. Consider upgrading to an Xbox-compatible solid state drive which is less prone to mechanical failure. With proper care and maintenance, an external Game Drive should last for years of gaming.