A USB drive can become corrupted due to a variety of reasons. Some common causes of USB drive corruption include:
- Sudden power loss while transferring files to or from the drive
- Improperly ejecting or disconnecting the drive from your computer
- File system errors, bad sectors, or physical damage to the drive
- Virus infections that damage the file system or corrupt data
- Issues during formatting of the drive
When corruption occurs, you may see errors such as “Drive not accessible” or “Drive needs to be formatted”. The drive may not show up at all when connected to your computer. Corrupted USB drives often cannot be read or written to, rendering data inaccessible.
Try reformatting in your computer
The easiest way to reformat a corrupted USB drive is to use the native disk formatting tools in Windows File Explorer. Here’s how to reformat the drive on a Windows PC:
1. Insert the USB drive into your computer.
2. Open File Explorer and click on This PC in the left pane.
3. Under the “Devices and drives” section, right-click on the USB drive and select Format.
4. In the Format dialog box, choose the file system you want – FAT32 or exFAT are common for USB drives. [1]
5. Check the Quick Format box.
6. Click Start to begin formatting. This will erase all data on the drive.
7. Once completed, the USB drive will be empty and ready for use again.
Reformatting through File Explorer is the simplest way to fix many corruption issues. If this fails, you may need to try more advanced formatting tools.
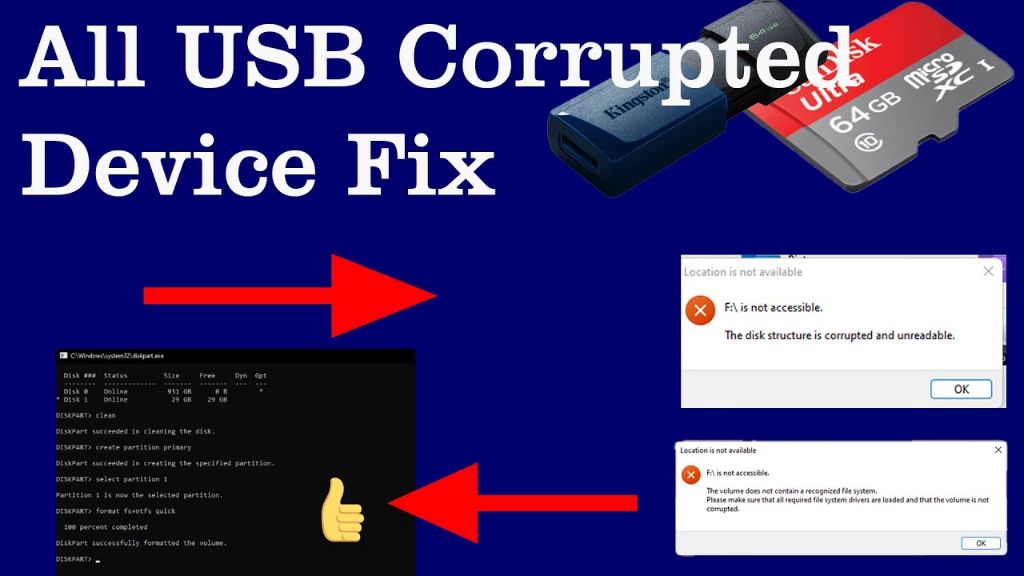
Try reformatting using diskpart
Diskpart is a command line utility built into Windows that allows you to manage disks and volumes. You can use it to clean, create, delete, extend or shrink partitions and volumes, as well as format drives.
To reformat your corrupted USB drive using Diskpart:
- Plug your USB drive into your computer.
- Open the Command Prompt as an administrator.
- Type “diskpart” and press Enter to launch the utility.
- Type “list disk” to view all the disks connected to your computer and identify the disk number of your USB drive.
- Select your USB drive by typing “select disk x” where x is the disk number.
- Type “clean” to delete all existing partitions and format the drive.
- Create a new primary partition by typing “create partition primary”.
- Select the newly created partition with “select partition 1”.
- Format the partition using your preferred file system. For example, type “format fs=fat32” for FAT32 or “format fs=ntfs” for NTFS.
This will quickly reformat your USB drive and erase any corrupted data or file system structures. The drive will be empty and ready to use after formatting.
For more details on using Diskpart, refer to this guide: https://www.windowscentral.com/how-clean-and-format-storage-drive-using-diskpart-windows-10
Try reformatting using disk management
You can try reformatting the USB drive using the Windows disk management utility:
1. Open the Start menu and type “disk management.” Click on Create and format hard disk partitions to open the Disk Management utility.
2. Locate your USB drive in the list. It may show up as an unknown or unallocated drive.
3. Right-click on the drive and select Format. This will open the Format dialog box.
4. In the Format dialog, select the file system you want – generally NTFS or exFAT. Give the drive a name if desired.
5. Check the Quick Format box. This will format the drive quickly without scanning for bad sectors.
6. Click OK to begin formatting the drive.
Formatting via disk management does a full reformat and writes a new partition table. This can help fix corruption issues that are preventing the drive from being recognized properly in Windows. However, it will erase all data currently on the drive.[1]
Try reformatting on a different computer
Sometimes corruption issues can be specific to the USB port or computer you are using. Before assuming the USB itself is faulty, try plugging it into a different computer and reformatting it. The steps to reformat a drive are generally the same across operating systems:
– On Windows, open File Explorer, right-click on the USB drive, select Format and then click Start. Choose FAT32 or exFAT as the file system.
– On Mac, open Disk Utility, select the USB drive, click Erase, choose a file system like MS-DOS (FAT) and click Erase.
If you are able to successfully reformat the USB drive on another computer, the issue was likely with the original system and not the drive itself. However, if the corruption persists even on a different computer, there may be a deeper problem with the USB drive hardware. At that point, recovery software or low-level formatting may be required.
Check for physical damage
Sometimes your USB drive fails to format due to physical damage to the drive itself or the USB port it connects to. Here are some things to look for:
On the USB drive, inspect the connector pins where it plugs into the USB port. If any pins are bent or broken, that can prevent the drive from making proper contact. The outer casing around the USB connector should also be fully intact, with no cracks or pieces missing.
Examine the USB port on your computer as well. Loose, damaged, or worn out ports can cause connection issues with any USB device, not just your drive. Wiggling the USB plug in the port should not cause any disconnects or intermittent contacts.
If either the drive or USB port shows signs of physical wear and tear, you may need to replace the damaged component. Using a physically defective USB drive frequently can risk corrupting or losing your data.
For tips on avoiding USB drive corruption, check out this guide: https://darwinsdata.com/why-windows-cannot-format-usb-drive/
Try data recovery software
Data recovery software provides an option to force format corrupted USB drives when Windows is unable to do so. Look for data recovery tools like EaseUS Data Recovery Wizard or Wondershare Recoverit that have a “Format” feature.
These tools allow you to reformat the drive even if Windows cannot detect it. They override errors and issues at the filesystem level to reinitialize the drive. This wipes all existing data but can salvage the USB drive.
The process involves selecting the target drive, choosing “Format”, picking a filesystem such as FAT32 or exFAT, and allowing the software to perform a low-level reformat.
This type of forced reformat is effective at breathing new life into corrupted USB drives. However, if physical damage is present, it may not work. Still, data recovery software with robust formatting utilities provide the best way to revive an undetected or malfunctioning USB flash drive.
Low-level format using HDD Low Level Format Tool
If none of the above options have worked to format your corrupted USB drive, you may need to do a low-level format. This completely erases and reformats the drive at a hardware level.
A good tool for low-level formatting USB drives is HDD Low Level Format. This utility allows you to fully wipe and reinitialize the drive.
To use HDD Low Level Format Tool to format your corrupted USB drive:
- Download and install the tool.
- Connect your USB drive to your computer.
- Open HDD Low Level Format Tool.
- Select your USB drive from the drive list.
- Click “Erase” to start the low-level format.
- Wait for the process to finish. This can take some time for large drives.
Once complete, your USB should be empty and ready to be reformatted and reused. This process completely erases and reinitializes the drive, wiping out any corruption or bad sectors.
When all else fails, discard the USB
At some point, the USB drive may be so corrupted that it is simply not worth the effort to try to recover it. USB flash drives have a limited lifespan, with an average of around 10 years under normal use [1]. If the drive is several years old and has reached the end of its usable life, it may not be cost effective to keep trying to fix it.
You can try everything – reformatting, using data recovery software, low-level formatting tools, etc. But if none of those options successfully fix the errors, it’s a sign that the physical memory chips on the drive have degraded beyond repair. At that point, it’s best to simply discard the USB drive and purchase a new one rather than wasting any more time and effort trying to salvage corrupted data.
Before throwing it away, you may want to physically destroy the drive to prevent the data from falling into the wrong hands. But once you’ve exhausted all other options, it’s perfectly acceptable to recognize that the USB has reached the end of its lifespan and can be safely discarded and replaced.
Tips for avoiding corruption
There are a few best practices you can follow to reduce the chances of a USB drive becoming corrupted:
Safely eject the drive – Always use the “Safely Remove Hardware” option in Windows or “Eject” on Mac before unplugging the drive. Removing the drive without properly ejecting can lead to file corruption.
Use quality drives – Cheap, low-quality USB drives are more prone to corruption issues. Stick with well-known brands and look for drives with warranties.
Proper storage – Avoid exposing USB drives to extreme heat, cold, or moisture. Don’t store them in locations like cars on hot days. Keeping them in a climate-controlled environment reduces wear.
Handle with care – Dropping or bending a USB drive can physically damage components leading to corruption. Be gentle and avoid rough handling.
Scan for errors – Occasionally scan the drive for errors using built-in disk utilities like CHKDSK or DISKPART. This can identify issues before they lead to corruption.
Backup data – Maintain backups of your important files on a separate drive. This provides a safety net if corruption occurs on your main USB drive.
Following these simple precautions can greatly reduce the chances of file corruption happening on a USB flash drive.
