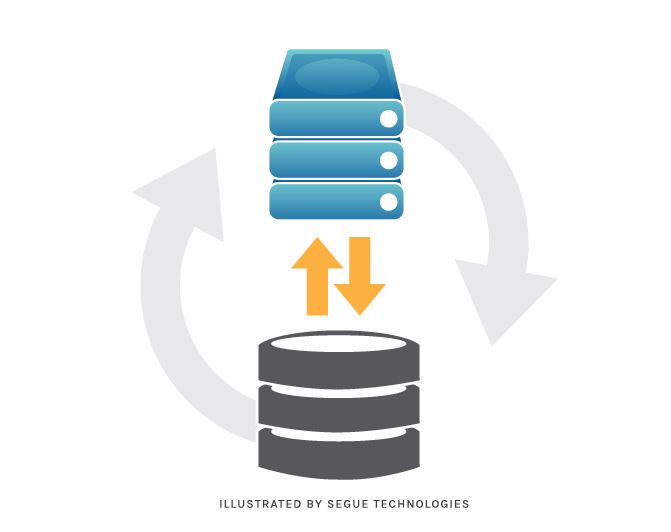
What is a force restore?
A force restore is a process in SQL Server that allows you to restore a database when a database with the same name already exists on the target instance. The existing database is overwritten by the restored database during a force restore. This allows you to replace a damaged or out-of-date database with a fresh copy from backup.
A force restore is typically used when you need to:
- Recover a database that has become unusable or corrupted.
- Revert a database back to an earlier state.
- Refresh the database schema from production onto a test/QA server.
The main benefit of a force restore is being able to restore a database without having to drop the existing database first. However, it also means you risk overwriting valid database files, so caution is required.
Overall, a force restore provides a quick way to replace a database when needed, but should be used with care to avoid accidentally damaging existing databases.
Back up the database first
It’s critical to have a recent, valid backup of the database before attempting any kind of force restore operation. Without a good backup, restoring a database could result in permanent data loss if something goes wrong. Some best practices for backing up a SQL Server database prior to a force restore include:
- Use the SQL Server Management Studio (SSMS) or the T-SQL BACKUP command to create a full backup of the database.
- Verify the backup file(s) were created successfully without errors before proceeding.
- Back up to disk rather than tape for fastest restore times.
- Make sure the backup set is complete and all data files are included.
- Back up transaction logs as well for point-in-time recovery ability.
- Store the backup files on a different disk volume than the original data files.
Taking these steps ensures you have a reliable database backup to work from in case anything goes wrong during the force restore process. It’s better to be safe than sorry when dealing with business-critical data.
According to Microsoft, it’s a best practice to back up the master, model and msdb system databases before restoring as well.
Stop any connections to the database
Before restoring a SQL Server database, it is important to stop any active connections to the database. This ensures no users are making changes during the restore process which could lead to data loss or corruption.
There are a few approaches to stopping connections:
- Detach the database – This can be done via Management Studio by right clicking the database, selecting Tasks > Detach. Detaching disconnects all sessions.
- Stop related services/applications – Stop any services or applications that may have open connections to the database before restoring. This includes SQL Server Agent jobs, web apps, reporting services etc.
- Kill user connections – In Management Studio, go to Activity Monitor, expand Processes to find connections by specific users. Right click and select “Kill Process” to end their session.
- Set database to single user mode – Execute ALTER DATABASE [name] SET SINGLE_USER WITH ROLLBACK IMMEDIATE. This will disconnect all other users.
Once all connections have been closed, the database can be safely restored without affecting users or data integrity. It’s also good practice to notify users in advance of any planned restores.
Restore database in single user mode
Restoring a SQL Server database in single user mode involves a few key steps:
- Stop any other connections to the database by using the ALTER DATABASE command to set the database to SINGLE_USER mode. For example:
ALTER DATABASE mydatabase SET SINGLE_USER WITH ROLLBACK IMMEDIATE
- Initiate the restore process using the RESTORE DATABASE command. Specify the files to restore along with WITH REPLACE to overwrite the existing database files. For example:
RESTORE DATABASE mydatabase FROM DISK = 'C:\backup\mydatabase.bak'
WITH REPLACE
- Once the restore is complete, check for any errors or issues. You can view the SQL Server error log for details.
- Set the database back to MULTI_USER mode to allow connections again:
ALTER DATABASE mydatabase SET MULTI_USER
Restoring in single user mode prevents any access issues or contention during the restore process. It ensures the restore can fully overwrite the database files without interruption. See this post for more on single user mode restore approaches.
Force restore the database
The force restore command in SQL Server allows you to restore a database even when the database is in use and connections are active. This overrides the default behavior which prevents restoring databases that are online and in use. The syntax for force restore is:
RESTORE DATABASE database_name FROM backup_device WITH REPLACE, FORCE
The key options are:
- REPLACE – Replaces the existing database with the restored database
- FORCE – Forces the restore even with active connections
For example, to force restore the AdventureWorks database from a backup file:
RESTORE DATABASE AdventureWorks FROM DISK = ‘C:\Backup\AdventureWorks.bak’ WITH REPLACE, FORCE
This will forcibly disconnect any active connections to AdventureWorks, restore the database from the backup, and then reopen the database connections.
It’s important to use caution when force restoring a production database as active connections and transactions may be disrupted. Consider scheduling a maintenance window for the restore. Also ensure you have valid, recent backups in case any data loss occurs.
Test and validate the restored database
After restoring the database, it is crucial to thoroughly test and validate that the database is functioning properly before putting it into production use. Here are some ways to test and validate the restored database:
Run DBCC CHECKDB to check for database corruption or consistency errors. This will validate the integrity of the database and its objects (Microsoft Docs).
Verify that all database objects like tables, views, stored procedures exist and have the correct schema. You can query system catalog views like sys.objects to check this.
Sample data in tables to ensure the proper data was restored. Examine row counts, sums, averages and other aggregations to check for data loss.
Execute stored procedures and queries that application depends on. Check that the queries return the expected results.
Validate any data relationships, foreign keys, and constraints have been created properly post restore.
Perform test transactions and workflows that mimic production usage. Verify application functions as expected when connecting to the restored database.
Check logs for errors or exceptions generated while accessing the restored database.
Some common issues to watch for include missing objects, data loss or truncation, loss of indexes and constraints, permissions problems, app compatibility issues among others. Address any discrepancies before using the restored database.
Reattach database files
If the data and log files were moved or damaged during the restore process, you may need to reattach them before bringing the database fully online. Here are the steps to reattach database files in SQL Server:
1. Stop any connections to the database and set it to single user mode using:
ALTER DATABASE [DatabaseName] SET SINGLE_USER WITH ROLLBACK IMMEDIATE;
2. Detach the database using:
EXEC sp_detach_db 'DatabaseName';
3. Move the data and log files to the correct locations on disk.
4. Attach the database files using the CREATE DATABASE statement:
CREATE DATABASE DatabaseName
ON (FILENAME = 'C:\Data\DataFileName.mdf'),
(FILENAME = 'C:\Data\LogFileName.ldf')
FOR ATTACH;
5. Bring the database online in multi-user mode:
ALTER DATABASE [DatabaseName] SET MULTI_USER;
6. Run DBCC CHECKDB to validate the database files have been successfully attached.
This will reattach any data and log files that were moved or corrupted during the restore process so the database can be brought fully online.
Restart SQL Server Services
After restoring the database, the next step is to restart the SQL Server services to re-establish connections. Here are the steps:
- Open the Services manager on the server. This can be accessed by typing “services.msc” in the Run command or searching for Services in the Start menu.
- Locate the SQL Server and SQL Server Agent services. Right-click each one and select Restart to stop and restart the services.
- Confirm that the services restart successfully with their Startup Type set to Automatic.
Once the SQL services have restarted, validate that connections to the restored database work as expected. You can test connectivity by opening SQL Server Management Studio and logging into the instance. Any applications or services relying on the database should also be tested at this point.
If connections still fail, double check that the database files were properly re-attached and no permission or configuration issues are present. The restart ensures SQL Server is binding to the newly restored database.
Enable multi-user access
After successfully restoring the database in single user mode, the next step is to re-enable multi-user access. Here are the steps to enable multi-user access again:
- Stop any connections to the SQL Server instance and shut down the SQL Server service. This ensures no users are connected during this process.
- Restart the SQL Server service. This will restart SQL Server in single user mode again.
- Connect to the SQL Server instance and issue the following T-SQL command:
ALTER DATABASE database_name SET MULTI_USER
[Set database from SINGLE USER mode to MULTI USER – Stack Overflow](https://stackoverflow.com/questions/14652923/set-database-from-single-user-mode-to-multi-user) - Monitor SQL Server error logs and validate that the database is now in multi-user mode and fully accessible.
At this point, normal multi-user access should be restored to the database. Users can begin connecting and working as usual.
If issues persist returning to multi-user mode, it’s recommended to open a support case with Microsoft SQL Server support for further troubleshooting.
Best practices
When force restoring a SQL Server database, it’s important to follow best practices to ensure the process goes smoothly. Here are some tips:
- Back up the database first before attempting any restore operations. This provides a rollback point in case issues arise (Acronis).
- Stop any active connections to the database before starting the restore. This prevents access conflicts (Microsoft Docs).
- Restore the database in single user mode initially to prevent access while files are being attached. Then re-enable multi-user access after verifying the restore (Alibaba Cloud).
- After restoring, thoroughly test and validate the database to ensure components like indexes and statistics restored properly.
- Carefully follow all steps when reattaching database files to avoid data loss or corruption issues.
- Restart SQL Server services after a force restore to refresh connections and bindings.
By planning ahead and taking precautions, DBAs can perform force restores efficiently while minimizing downtime and disruptions.