Formatting a 128GB SD card for use with the Nintendo Switch is a straightforward process that ensures the card is properly configured to store games, screenshots, and other data. While the Switch supports SD cards up to 2TB in capacity, a 128GB card offers a good balance of affordability and ample storage space for most users.
What you’ll need
- A 128GB microSDXC card – The Switch supports UHS-I cards with read speeds of at least 60-95 MB/s.
- A PC or Mac with an SD card reader.
- The Switch console.
Step 1 – Insert the SD Card into your Computer
First, take the 128GB SD card and gently insert it into the SD card reader slot on your computer. If your computer doesn’t have a built-in SD slot, you can use a USB-connected card reader. Push the card all the way into the slot until it clicks.
Step 2 – Format the SD Card with FAT32
Once the card is recognized by your computer, you’ll need to format it to FAT32 format. This will erase any existing data on the card.
On Windows, you can format the card using the built-in Disk Management utility:
- Press the Windows key + R to open the Run dialog box.
- Type diskmgmt.msc and press Enter to launch Disk Management.
- Right-click on the SD card and select “Format…”
- In the pop-up, under File System, choose FAT32.
- Check the Quick Format box and click OK to format the card.
On a Mac, you can use Disk Utility:
- Open Finder and select Applications > Utilities > Disk Utility
- Select the SD card on the left side panel.
- Click Erase at the top.
- Choose MS-DOS (FAT) for Format and Master Boot Record for Scheme.
- Click Erase to format the card.
Step 3 – Allocate the SD Card
The final step is to allocate the full capacity of the 128GB card to be used by the Switch.
On Windows:
- Return to Disk Management in Windows.
- Right-click on the card once more and choose Allocate.
- Select the entire Unallocated space and choose Allocate.
On Mac:
- Launch Disk Utility again.
- Select the SD card and click Partition at the top.
- Under Volume Scheme, choose 1 Partition.
- Click Options below and select Master Boot Record from the dropdown.
- Click OK, then Apply to allocate the full card capacity.
The SD card is now properly formatted and ready to be used with your Nintendo Switch!
Using the SD Card with Nintendo Switch
To insert the SD card into your Switch:
- Power off the Switch completely.
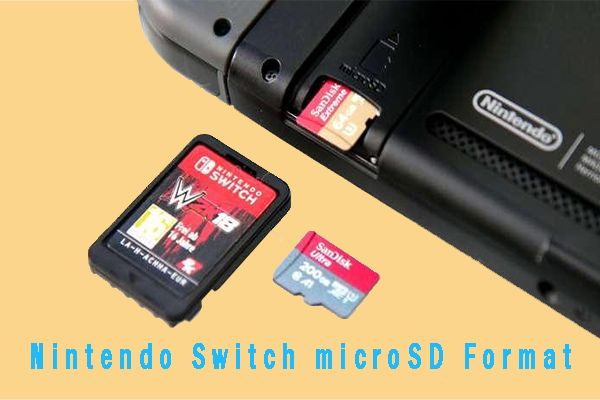
- Locate the SD card slot on the top of the console, behind the kickstand.
- Open the slot’s cover and gently insert the SD card until it clicks into place.
- Close the cover once the card is fully inserted.
- Power the Switch back on – the console will notify you if the card is detected.
Once inserted, your Switch will begin storing screenshots and game data on the SD card automatically. You can also manually transfer games and other content in System Settings:
- Go to System Settings > Data Management.
- Select Move Data Between System / microSD Card to transfer content.
With the ample 128GB capacity, you can download plenty of digital Switch games, DLC packs, and screenshots without worrying about running out of internal storage space. Just be sure to format the card to FAT32 beforehand using the steps outlined above.
Tips for Using a 128GB SD Card with Switch
- Restart your Switch after inserting the card to ensure it is properly detected.
- Periodically check for corruption – rare instances of data loss have been reported with large SD cards.
- Back up your SD card data to a computer periodically as a precaution.
- Store your digital games on the SD card rather than console memory to save space.
- Use a brand name SD card for reliability – avoid cheap knockoff cards.
- Reformat your card using the Switch if you experience crashes or performance issues.
Troubleshooting SD Card Issues
If you encounter problems after inserting your 128GB SD card into the Nintendo Switch, try the following troubleshooting steps:
Switch not detecting the SD Card
- Reinsert the card and restart the console.
- Try inserting the card into another device like a computer to verify it works.
- Check for physical damage or broken tabs on the SD card.
- Clean the gold contacts on the card with a soft cloth.
- Try formatting the card again on your computer.
SD Card not reading or game data not accessible
- Power cycle the Switch and reinsert the SD card.
- Try formatting the card using the Switch console itself.
- Remove the card and check it for file system errors on a PC.
- An SD card may have corrupted – reformat or try a new card.
Games freezing or crashing when run from SD Card
- Open Switch System Settings and check for corrupted data.
- Re-download any digital games exhibiting issues.
- Reformat the SD card and redownload games.
- Try a different SD card make and model for stability.
If problems persist even after trying the above steps, contact Nintendo Support for further troubleshooting assistance.
Frequently Asked Questions
Is a 128GB SD card compatible with Nintendo Switch?
Yes, the Nintendo Switch supports SD cards up to 2TB in capacity. A 128GB micro SDXC card is well within the supported limits.
What SD card speed do I need?
The Switch supports UHS-I interface SD cards with a recommended read speed between 60-95 MB/s. Look for Class 10 or U1/U3 ratings.
Can I use the same SD card for multiple Switches?
Yes, you can use one SD card with multiple Switch consoles. The card is not locked to any specific device.
What file system does Switch need for SD cards?
The Switch requires SD cards to be formatted with the FAT32 file system. ExFAT and NTFS are not supported.
What brand of 128GB SD card is best?
Top options are SanDisk, Samsung, Kingston, Lexar, Sony. Avoid cheap off-brand cards. Stick with well-reviewed major brands for reliability.
How much game data can a 128GB card hold?
A 128GB card can hold 15-20 average sized Switch games. Some larger games take up over 15GB, while indie games can be under 1GB.
Can I use a 128GB microSDXC card?
Yes, microSDXC cards up to 2TB in capacity are fully supported. Just be sure to use an adapter and format it properly to FAT32.
Do I need to do anything special for cards larger than 32GB?
Yes, you need to reformat cards larger than 32GB to FAT32 prior to using with the Switch. Windows and Mac provide built-in utilities for this.
Conclusion
Formatting and preparing a 128GB SD card for Nintendo Switch use is straightforward. The key steps are formatting the card to FAT32 file system, fully allocating the card capacity, then inserting the card into the Switch console. Following the steps outlined in this guide will ensure your high capacity 128GB card works flawlessly with all your Switch games, screenshots, and data. Refer to the tips and troubleshooting steps outlined here if you encounter any issues using your card.
