Formatting a hard drive with Windows installed can seem daunting, but it’s actually a straightforward process if you follow these steps. There are a few different reasons you may need to format a drive – perhaps you want to do a clean install of Windows, erase your data before selling your computer, or resolve performance issues caused by a fragmented drive. Whatever the reason, formatting will completely wipe the selected drive, so be sure to backup any important data first.
When Do I Need to Format a Hard Drive?
Here are some of the most common scenarios when formatting a hard drive is necessary or recommended:
- Performing a clean install of Windows – Formatting removes any existing Windows system files, allowing you to do a fresh installation.
- Changing the file system – Converting the drive from FAT32 to NTFS or to a different file system like exFAT.
- Removing a dual boot – If you no longer want to dual boot Windows with Linux or another OS, formatting removes the second OS.
- Selling or donating your computer – Wipe the hard drive by formatting it before selling or donating, to erase your personal files and data.
- Fixing hard drive errors – If your drive has bad sectors or file system errors, formatting can help resolve these issues.
- Improving performance – Fragmented hard drives can slow down your system. Formatting defragments the drive.
In most cases, formatting is done to prepare a drive for a new OS installation or to completely erase its contents before selling or disposing of a computer. It’s also used to troubleshoot performance issues when the drive is severely fragmented.
How to Check If Windows is Installed on the Hard Drive
Before formatting, you’ll want to confirm that Windows is actually installed on the hard drive you plan to format. Here’s how to check:
- Open the File Explorer in Windows.
- Right-click on the hard drive you want to verify and select “Properties”.
- Go to the “General” tab.
- Look for the “File system” entry. If it says “NTFS” then Windows is installed on that drive. FAT32 means no Windows install.
- You can also look at the total used space – if it’s more than a few GB, then the drive likely has Windows OS files on it.
This quick check confirms if Windows system files exist on the selected hard drive. If you see evidence of a Windows install, proceed with caution when formatting to avoid data loss.
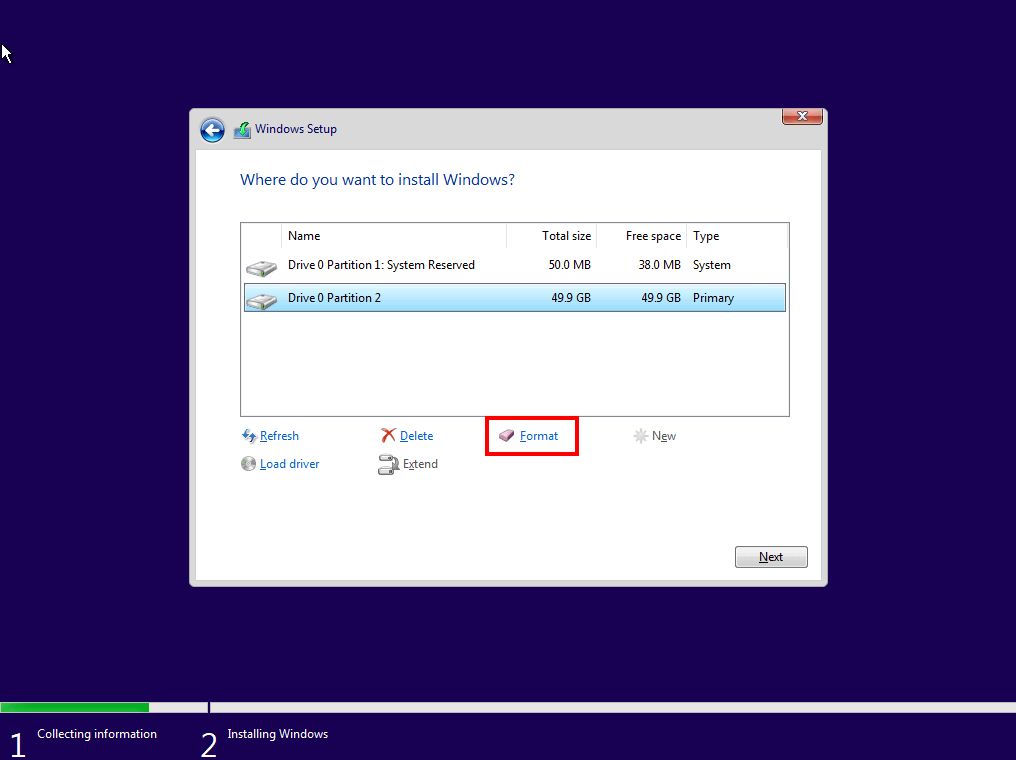
How to Format a Hard Drive in Windows 10
Windows 10 provides a straightforward way to format drives using the built-in Disk Management utility. Here’s how to access it:
- Open the Start menu and search for “disk management” and click on the result to open it.
- You can also right-click the Start button and select “Disk Management”.
- The Disk Management tool will open, showing a list of all connected disk drives and their partitions.
Now that you’ve opened the Disk Management utility, here are the steps to format a hard drive:
- Locate the hard drive you want to format in the list. Check the drive letter, size and file system to verify it’s the correct one.
- Right-click on the drive partition and select “Format”.
- A Format dialog will open. Leave the default settings as-is and click “OK”.
- A confirmation prompt will appear. Click “OK” to begin the formatting process.
- The formatting will now start. Wait for it to complete – this can take several minutes depending on the drive size.
- When done, the drive partition will show “Unallocated Space”. Right-click and select “New Simple Volume” to create a new partition.
- Go through the wizard to create a new volume using the full capacity of the drive.
That’s all there is to it! With a few clicks in the Disk Management utility, you can quickly format any hard drive connected to your Windows 10 PC or laptop.
How to Format a Hard Drive in Windows 11
The process for formatting a hard drive in Windows 11 is very similar to Windows 10. The only difference is how you initially access the Disk Management utility. Here’s how to open Disk Management in Windows 11:
- Open Settings app, go to “System” and then “Storage”.
- Select “Disks & Volumes” on the right side.
- Scroll down and click “Disk Management” under More disk options.
The Disk Management tool will open, showing all connected drives. You can then follow the same steps outlined above for Windows 10 to format the desired hard drive. Right-click the drive, select Format, choose your options, and click OK to start formatting.
How to Format a Hard Drive Using the Command Prompt
The Disk Management GUI provides an easy way to format drives, but you can also use the Command Prompt for more flexibility. Here are the steps:
- Open the Command Prompt as administrator.
- Type “diskpart” and press Enter to open the DiskPart utility.
- Type “list disk” to show all connected disks and identify the one you want to format.
- Select the disk by typing “select disk X” where X is the disk number.
- Type “clean” to delete all existing partitions and data on the disk.
- Type “create partition primary” to create a new primary partition.
- Type “format quick fs=ntfs” to quick format the partition to NTFS.
- Type “assign” to add a drive letter, then close DiskPart.
This method gives you more flexibility and control over the formatting options. You can choose between a quick or full format, pick the file system, decide on partition sizes, and more. Just be extremely careful when typing DiskPart commands to avoid formatting the wrong drive.
How to Use 3rd Party Tools to Format a Hard Drive
There are also several third party tools available for formatting hard drives if you need additional features not available in the Windows built-in options. Some examples include:
- EaseUS Partition Master – Provides features like bootable media formatting, which lets you format drives even with Windows installed.
- AOMEI Partition Assistant – Allows formatting of unallocated space, converting between MBR and GPT disks.
- Western Digital SSD Dashboard – Tool specifically for WD solid state drives with features like secure erase.
- HDParm – Provides low-level formatting options not available in standard Windows tools.
These tools give you extra capabilities like being able to format from a boot CD, securely erase drives, convert between disk partition styles, and other advanced options.
How to Securely Erase a Hard Drive Before Formatting
When selling or disposing of an old hard drive, you may want to not just format it, but completely erase the data first. Standard formatting only removes file system references to the data, but does not overwrite the actual data itself. Here are a couple options for secure erasure:
- Use the free DBAN boot disk to completely overwrite the drive with random data before formatting.
- Enable the quick format option in Windows, which will first zero out all data before formatting.
- Use the “clean all” command in DiskPart to overwrite data before formatting.
- Use a third party erase tool like HDDerase or KillDisk to securely wipe the drive.
By securely erasing the hard drive first before formatting, you can ensure no sensitive old data remains accessible when selling or recycling the drive.
Tips for Formatting a Hard Drive in Windows
Follow these tips to smoothly format a hard drive in Windows:
- Copy all important data to another drive as formatting will erase everything.
- Close all open programs and documents before starting the format to avoid errors.
- Select NTFS as the default file system for Windows hard drives unless you need FAT32 for compatibility reasons.
- Use the quick format option when possible, as full formats can take hours on large drives.
- Check Disk Management after formatting to verify the new drive partition is listed properly.
- Initialize a new drive first if it shows as Unknown in Disk Management before attempting to format.
Following these best practices will help ensure you format the correct hard drive without issues or data loss.
Frequently Asked Questions
Does formatting a hard drive delete everything?
Yes, formatting a hard drive will delete all data and programs stored on the selected drive. Be sure to backup anything important before formatting.
Can you format a hard drive with Windows on it?
You can format a hard drive with Windows installed on it, but doing so will delete the operating system along with your data. You should only format the Windows drive when doing a reinstall or erasing everything.
How long does it take to format a terabyte hard drive?
It typically takes 1-2 hours to completely format a 1 TB hard drive. Larger drives will take even longer. A quick format can be much faster but is less secure than a full format.
Is it better to format or delete a hard drive?
Formatting is generally better, as it completely erases any trace of files or data from the drive. Simply deleting files or reformatting the drive does not fully remove recoverable data.
Can you recover files after formatting a hard drive?
Recovering files after formatting is difficult and not always successful. Your best bet is to use data recovery software before formatting to backup any needed files.
Conclusion
Formatting a hard drive in Windows is a straightforward process using the built-in Disk Management utility, Command Prompt, or third party tools. Just be absolutely sure to backup your data first, as formatting will completely erase the selected drive. With a few clicks you can quickly wipe and reformat a hard drive to resolve performance issues, do a clean OS install, remove sensitive data before selling your computer, or various other reasons.
