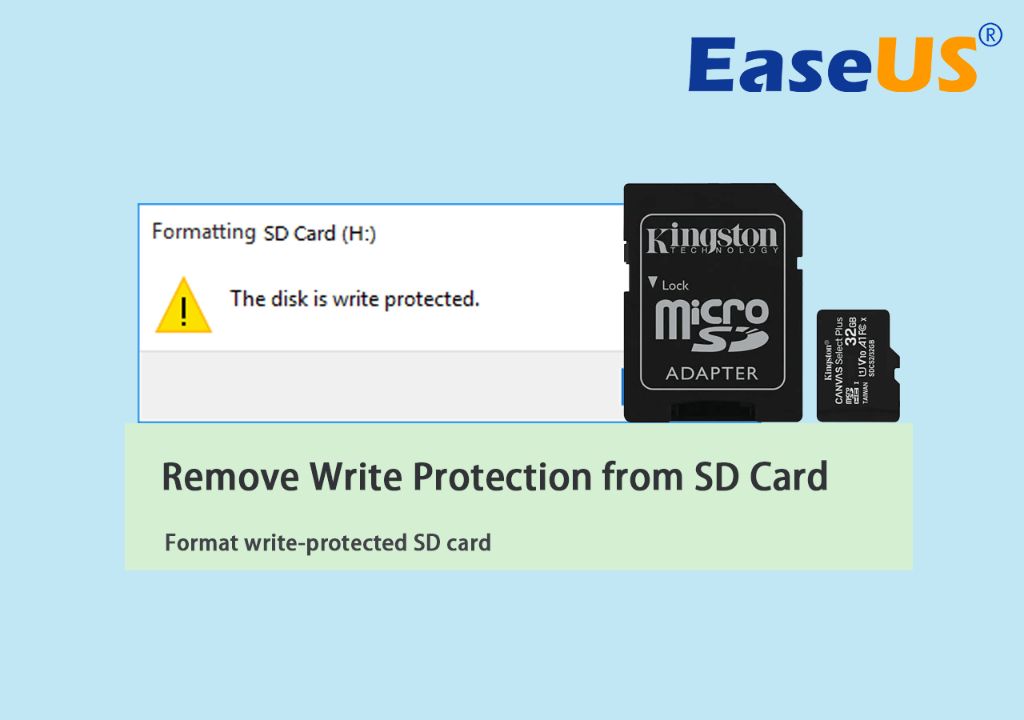
Formatting a memory card that is showing as write-protected can be frustrating, but is usually easily fixed. A write-protected error indicates that the card cannot be written to, and is often caused by the lock switch on the side of the SD card being in the ‘lock’ position. Here are the steps to format a write-protected memory card:
Check The Lock Switch
The first thing to check on your memory card is the lock switch on the side. SD and microSD cards have a small switch that slides up or down. When the switch is in the ‘down’ position, the card is locked and write-protected. Take the memory card out of your device and make sure the lock switch is in the ‘up’ unlocked position. This allows the card to be written to and should fix the write-protected error.
Use Diskpart in Windows
If adjusting the lock switch does not work, the next step is to use the Diskpart utility in Windows to override the write-protection. Diskpart is a command line tool that can reset and format disks. Here are the steps:
- Insert the SD card into your computer.
- Search for “Diskpart” in the Windows start menu and open it.
- In the Diskpart window, type “list disk” and press enter. This shows the disks connected to your PC.
- Type “select disk x” where x is the number of your memory card disk. This selects the disk.
- Type “attributes disk clear readonly” and press enter. This clears the read only attribute.
- Type “clean” and press enter. This deletes all data on the disk.
- Type “create partition primary” to create a new primary partition.
- Type “format quick fs=fat32” to quick format the disk to FAT32.
- Type “assign” to assign a drive letter to the disk.
- Type “exit” to close Diskpart.
After following these steps, your memory card should no longer be write-protected and can be formatted and written to as normal from Windows Explorer or other programs.
Use SD Association Card Formatter
Another option is to use the official SD Card Formatter app from the SD Association. This utility is designed to format SD cards. The steps are:
- Download and install the SD Card Formatter tool.
- Insert your memory card into your computer.
- Open the SD Card Formatter app.
- Select your memory card from the drive list.
- Click “Format” to start formatting.
- Choose “Quick” format and click OK.
The SD Card Formatter will be able to override the write protection and fully format your memory card. This should resolve any issues with write protected errors.
Try Another Card Reader
In some cases, the memory card reader or adapter itself could be faulty and causing the write protected error. Try inserting your memory card into a different card reader or adapter connected to your computer. If the card now shows up normally without write protection, the problem is with the original card reader. You will need to replace the faulty card reader.
Check for Physical Damage
Check your memory card closely for any physical damage or broken pieces. The write protect switch could be damaged and stuck in the lock position. Look for any scratches, bent pins, or cracks on the card itself. Any physical damage could cause the write protection error. The card may need to be replaced if it is damaged.
Recover Data First If Needed
If your memory card has important photos or other data on it, you should try to recover the data first before formatting. Insert the card into your computer and use data recovery software like Recuva or DiskDrill to restore deleted files from the card before formatting. This will ensure you don’t lose valuable photos or documents.
Conclusion
Write-protected errors on memory cards are generally easy to fix. Start by checking the lock switch, using Diskpart or SD Card Formatter tools to override the protection, trying another card reader, checking for physical damage, and recovering data off the card. With one of these steps, you should be able to format your memory card successfully and continue using it in your devices.