What is Partitioning a Hard Drive?
Partitioning a hard drive means logically dividing it into two or more separate storage regions, called partitions. Each partition acts like its own separate disk drive. Partitioning has a number of advantages over using an entire drive as one big partition:
Partitioning allows you to separate different types of data onto their own partitions. For example, you may have a partition for your operating system, a partition for applications, and a partition for your personal files.[1] This makes it easier to manage your data and can help improve security and performance.
Partitioning also makes reinstalling an operating system simpler because your personal files will remain untouched on their own partition. And if you need to reformat or upgrade your OS partition, the other partitions are not affected.
In addition, it’s easier to do backups when you have partitions since each partition can be backed up independently. Overall, partitioning gives you more flexibility and organization in managing your hard drive space.
Determine Your Partitioning Needs
There are several common reasons you may want to partition an external hard drive:
- Separate operating systems – Creating separate partitions for each operating system allows you to dual-boot different OSes like Windows, Linux, or Mac OS on the same computer.
- Organize data – Partitions let you group related data together for easier access and organization. For example, you could have partitions just for photos, videos, documents, etc.
- Enhanced security – Keeping sensitive data like financial records or personal information in a separate partition can restrict access and prevent corruption of other data if one partition is compromised.
- Store backups – Having a dedicated backup partition makes it simpler to regularly backup your important files.
- Isolate programs – Some programs work best when installed to their own partition rather than cluttering up the primary OS drive.
- Multi-booting – Multiple partitions allow installing different operating systems on each (like Windows, Linux, Mac OS, etc.) so you can choose which to boot from.
Consider how you intend to use the external drive to determine if you should partition it, and how many partitions may be useful for your needs.
Choose Your External Hard Drive
The first step in creating a multi-partition external hard drive is choosing the right external hard drive for your needs. There are a few key factors to consider:
Storage Capacity
External hard drives come in a range of storage capacities, typically from 500GB up to 10TB or more. Consider how much storage you need both now and in the future when determining capacity. For example, a 1TB drive provides ample storage for most users’ documents, photos, videos and music, while larger 4TB+ drives are ideal for storing extensive media libraries or system backups. Choosing a drive with room to grow can save you from running out of space down the road.
According to PC Magazine, some of the top-rated external hard drives in terms of storage capacity options are:
- WD My Book Duo (3TB to 28TB)
- Buffalo MiniStation Extreme NFC (1TB to 5TB)
- Samsung Portable SSD T7 (500GB to 2TB)
Port Types
Most external hard drives today use a USB interface, but there are some port options to consider:
- USB 3.0 – Offers fast data transfer speeds up to 5Gbps. Compatible with any computer with a USB port.
- USB-C – Compact port that supports USB 3.1 speeds up to 10Gbps. Standard on newer MacBooks.
- Thunderbolt – Very fast interface capable of 20Gbps throughput. Ideal for intensive tasks like video editing. Found on Macs and some PCs.
According to Space.com, top USB-C external SSDs include the Samsung X5 Portable and the SanDisk Extreme Portable SSD V2.
Backup Any Data
Before partitioning your external hard drive, it is critical that you backup any important data currently stored on the drive. According to Backblaze’s hard drive test data, hard drives can and do eventually fail. Their data shows that across over 200,000 tested hard drives, the annualized failure rate was 1.47% (https://www.backblaze.com/cloud-storage/resources/hard-drive-test-data).
While the chances of failure may seem low, if your external hard drive were to fail during the partitioning process before you’ve backed up the data, you could lose your files permanently. To avoid data loss, use backup software or manually copy your important files and folders to another drive or storage device. Cloud storage services like Dropbox, Google Drive, or Microsoft OneDrive are also a good option for creating off-site backups.
Only once you’ve secured your data in a separate location should you proceed with partitioning your external hard drive. Having a backup ensures you can restore your files should anything go wrong during the partitioning process.
Using Disk Management
The Disk Management utility built into Windows allows you to easily create, format, and manage disk partitions. To access Disk Management in Windows 10 or 11, right-click the Start menu and select “Disk Management”. You can also search for it in the Start menu or Windows search bar.
Disk Management provides a graphical overview of your disks and their partitions. Any new disks connected to your computer, such as an external hard drive, will show up here. You can right-click on the disk icon to initialize it, if needed. Then you can right-click on the unallocated space to create a new volume.
When creating partitions, you can specify the size, drive letter, file system (e.g. NTFS or FAT32), and other options. Be sure to create the partitions you need before formatting them. Formatting erases all data on a partition and prepares it for use with the file system you select.
Once formatted, your partitions will show their drive letters and file system. You can access them in Windows File Explorer to manage files and folders. Over time, you may need to reformat partitions or run error checking utilities in Disk Management to keep your external drive functioning properly.
Create Your Partitions
To create partitions on your external hard drive in Windows, you will use the Disk Management utility. Here are the steps:
- Open Disk Management by right-clicking the Start menu and selecting “Disk Management”.
- Right-click on the unallocated space on your external hard drive where you want to create a partition.
- Select “New Simple Volume” from the menu.
- Follow the wizard, specifying the size of the partition and assigning it a drive letter.
- For the file system, you can choose between NTFS and exFAT. NTFS is compatible with all versions of Windows but not Mac OS, while exFAT works with both Windows and Mac.
- Repeat steps 2-4 to create additional partitions as needed. Just be sure to leave some unallocated space in between partitions.
Splitting the external hard drive space into separate partitions with assigned drive letters allows you to organize and access the different sections individually. Just be sure to track which drive letter corresponds to which partition. The file system controls how data is stored and determines compatibility across operating systems. Overall, partitioning gives you more flexibility with a single external hard drive.
Sources:
[1] https://www.androidauthority.com/format-partition-external-hard-drive-windows-3184818/
Format Your Partitions
Once you have created the partitions on your external hard drive, the next step is to format them. Formatting prepares the partitions for storing files by creating a file system.
To format each partition:
- Open Disk Management.
- Right-click on each partition you created and select “Format”.
- Select the file system you want – typically NTFS is recommended for Windows. [1]
- Give the partition a meaningful name if desired.
- Make sure the “Perform a quick format” box is checked.
- Click “OK”.
The format process will run for each partition. Once completed, the partitions will show the chosen file system and will be ready to use.
Assign Drive Letters
Once you have created partitions on your external hard drive, the next step is to assign unique drive letters so that you can easily access each partition. Drive letters allow you to navigate to the different partitions in File Explorer. Typically, Windows will automatically assign the partitions drive letters, but you may want to manually assign them instead.
To manually assign drive letters in Windows 10 and 11:
- Open Disk Management.
- Right-click on the partition you want to change and select “Change Drive Letter and Paths.”
- Click “Add” to assign a new drive letter.
- Select a letter from the dropdown menu and click “OK.”
To change an existing drive letter assignment:
- Right-click the partition and select “Change Drive Letter and Paths.”
- Click “Change” and choose a new letter.
Be sure to assign unique drive letters to each partition. You cannot assign the same letter to multiple partitions. Common letters to use are E:, F:, G:, etc. Avoid using a letter already assigned to another drive.
Once drive letters are assigned, you will be able to easily access each partition of your external hard drive by navigating to the associated drive letter in File Explorer.
Transfer Data to Partitions
Once you have formatted your new partitions on the external hard drive, you can transfer files and folders to the partitions. Here are some tips for moving data between partitions:
Open File Explorer and navigate to the location of the data you want to move. Select the files/folders, right click and choose ‘Cut’. Then navigate to the partition you want to move the data to and right click, choosing ‘Paste’ to transfer the data. The data will be moved from its original location to the new partition.
Alternatively, you can simply drag and drop files and folders between partitions in File Explorer. Click on the files/folders you want to move, drag them over the partition you want to transfer them to, and drop them into place.
When moving large amounts of data between partitions, it’s recommended to do so in smaller batches rather than many files at once. This helps avoid data transfer issues or system slow downs.
You can also use the Windows command line utility Robocopy to efficiently move folders between partitions. The command would be:
Robocopy source_folder destination_folder /E /MT
This will multi-thread the transfer for faster moving of large data.
After the transfer, double check that all your data has moved over successfully to the new partition. You can then delete the original data folders from the old partition if no longer needed there.
Moving data between partitions on the same external hard drive is faster than transferring data between separate external drives. But take care not to overwrite existing data on the destination partition.
Maintenance Tips
It’s important to properly maintain your external hard drive partitions to keep your data safe and optimize performance. Here are some tips:
Run Error Checking
You should periodically run error checking on each partition to scan for and repair any corrupted files or bad sectors. In Windows, right click the partition, select Properties, Tools, then Error Checking. Check “Scan for and attempt recovery of bad sectors” and hit Start. This helps keep your partitions running smoothly.
Perform Regular Backups
To protect your data, be sure to regularly backup your partitions. You can backup to another external drive or a cloud storage service. Backup at least once per week, or more often for frequently changing data. This ensures you have copies of your data if a drive fails.
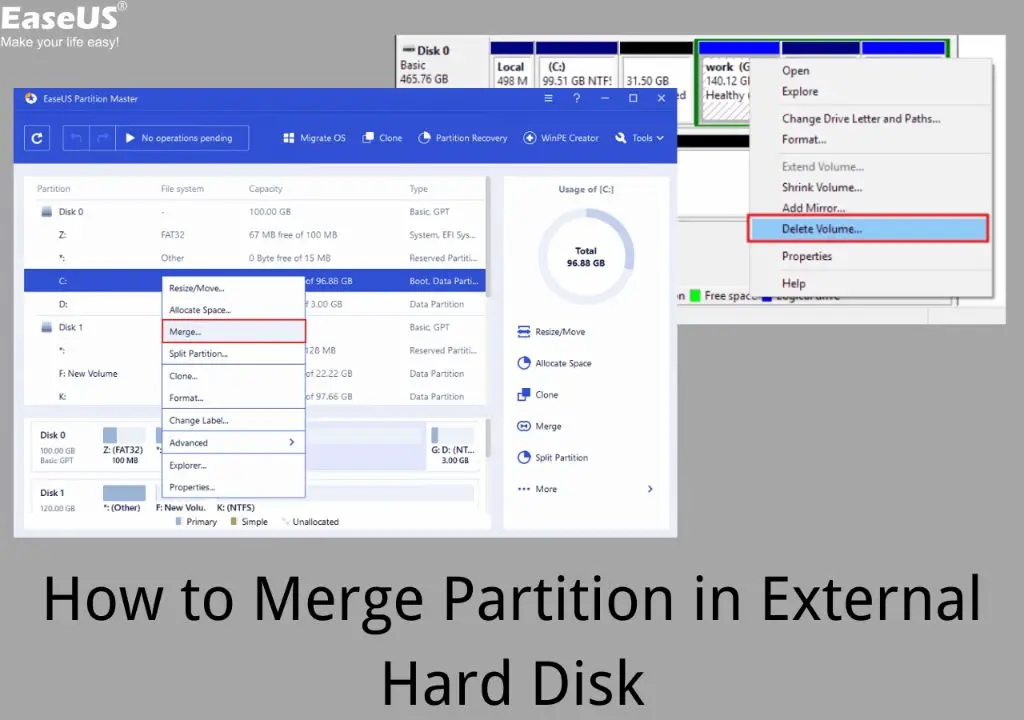
Manage Partitions
Over time you may need to resize, move, or delete partitions as your needs change. You can manage partitions in Disk Management. Be careful when resizing, as you risk data loss if you shrink a partition too small. Backup first before making major partition changes.
Proper maintenance helps optimize performance, find and fix issues, and protect your data across multiple partitions.