Over time, Mac hard drives can become fragmented into multiple partitions. This can happen for a variety of reasons – installing a new operating system, partitioning the drive to run Windows, creating separate partitions for data organization.
While having multiple partitions can be useful in some cases, it also complicates things if you want your Mac’s hard drive to be a single unified volume again. The good news is it is possible to merge multiple partitions back into one single partition on a Mac.
Here are some common scenarios in which you may want to go back to a single partition on your Mac’s hard drive:
- You dual-booted with Windows but no longer need it
- You created separate partitions for personal, work or time machine backups
- You upgrade to a new Mac and want to simplify into a single partition
- You feel the multiple partitions are causing file management confusion
The process involves erasing and reformatting which will delete all data on the drive. So it’s critical to first backup any data you want to keep before proceeding.
In this guide, I’ll walk through the steps to consolidate your Mac hard drive back into a single partition using Disk Utility.
Preparing for the Partition Merge
Before beginning the process of merging partitions, it’s essential to complete the following preparatory steps:
Step 1: Backup Important Data
With a partition merge, all data on the hard drive will be deleted. So you’ll want to make sure to backup any important files, documents, photos and other data you want to keep.
The best way to backup a Mac is with Time Machine which will create a full backup of your drive contents that can be easily restored after the partition merge.
If you don’t have Time Machine set up, you can manually backup important folders and files by copying them to an external hard drive or cloud storage service.
Be sure your backups are complete before proceeding!
Step 2: Download Latest macOS Installer
After reformatting the hard drive, you’ll need to reinstall macOS from scratch.
Go to the App Store and download the latest macOS installer which will be needed after erasing the drive. The installer will be several GB in size, so give time for it to fully download.
You’ll want to have the installer easily accessible after the reformatting is done. I recommend copying it to a USB flash drive for easy access.
Step 3: Have Mac OS X Installation Disc Available
If your Mac came with OS X installation discs, have the installation disc on hand as well. This provides another option for reinstalling the OS after the merge process.
Alright, with your data backed up and macOS installer ready, you’re all set to proceed with merging the partitions.
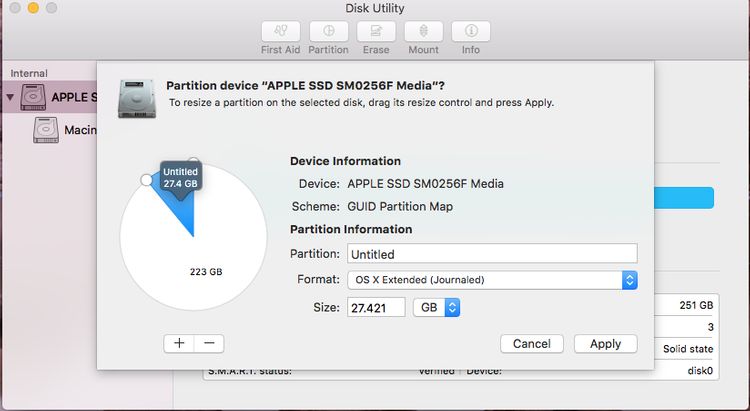
Using Disk Utility to Merge Partitions
Disk Utility is the built-in Mac app used for managing internal and external drives. It will be the primary tool used to complete the partition merge.
Here are the steps to consolidate partitions with Disk Utility:
Step 1: Boot to Recovery Mode
In order to reformat the hard drive, you’ll need to boot your Mac into Recovery Mode which loads a special recovery environment.
To boot into Recovery Mode:
- Fully shut down your Mac
- Power back on and immediately press and hold Command + R keys
- Keep holding down Command + R until you see the Recovery Mode screen
This will bring up the Recovery desktop with a limited set of utilities available for disk management and reinstallation of macOS.
Step 2: Launch Disk Utility
From the Recovery Mode desktop, select Disk Utility from the Utilities menu.
Disk Utility will scan and load all detected volumes and partitions on your Mac. You’ll see the internal hard drive and any external drives listed on the left.
Step 3: Select Main Internal Drive
Select the view of your main internal hard drive that you want to reformat. Typically it will be named “Macintosh HD” unless you customized it.
You may see multiple partitions under the drive which you’ll want to merge together.
Step 4: Click Erase in Toolbar
With the main hard drive volume selected, click on the Erase button in the Disk Utility toolbar.
This will prompt a confirmation popup to erase the drive.
Step 5: Rename Volume and Select APFS Format
In the erase volume popup, give the hard drive partition a name like “Macintosh HD” and select APFS as the format.
APFS is the modern file system used by macOS.
Step 6: Confirm Erase Volume
Triple check you have backups of any data as it will now be deleted. Then click the Erase button to confirm reformatting the selected hard drive.
Disk Utility will unpack and repartition the drive, consolidating all space into a single APFS formatted volume. This process can take several minutes to complete.
When finished, you’ll have a single partition Mac hard drive ready for macOS installation.
Clean Install macOS
With the drive now a single partition, you can proceed with a clean install of the Mac operating system.
Step 1: Reinstall macOS from Recovery
The easiest option is to install macOS directly from Recovery Mode which you are still booted into.
To reinstall the OS:
- Select Reinstall macOS from the Utilities window
- Follow the prompts to install the latest macOS version
- Be sure to select the newly formatted partition as the destination
The OS installer will take care of the rest, automatically reformatting and clean installing macOS on your single partition drive.
Step 2: Restore from Time Machine Backup
Once the new OS installation is complete, you can optionally restore your files and settings from a Time Machine backup.
Connect the external Time Machine drive and boot to the desktop. Then use Migration Assistant to restore from the backup.
This will recreate your old drive state while preserving the single partition structure.
Step 3: Restore Data Manually
If you don’t have a Time Machine backup, your last step is to manually copy back any important data you backed up earlier. Re-download any apps from their sources to finalize the restore process.
Verifying Single Partition
To confirm your Mac hard drive now has a single partition again, reboot back to Recovery Mode and open Disk Utility.
You should see a single volume for the internal drive, formatted as APFS. The full drive space should be contained in this one partition.
If you don’t see a single partition, repeat the steps above to re-erase and consolidate the volumes.
With that, you can reboot back to your desktop and start using the simplified single partition Mac hard drive. Your files, apps and OS will operate as normal again.
Conclusion
While Macs often arrive from the factory with a single hard drive partition, over time multiple partitions can develop as you dual boot with other OS’s, divide for backups or create separate data volumes.
If you want to go back to a single partition for any reason, it is possible by erasing and reformatting the drive in Recovery Mode using Disk Utility.
Be absolutely certain to backup your data first! With a freshly reformatted single partition, you can then clean install macOS and optionally restore data from backup.
Consolidating multiple partitions into one unified volume can help simplify your Mac’s file system and restore performance. Just take care before erasing disk data.
With the right preparation and steps, you can reconfigure your Mac to operate again on a single hard drive partition.