Getting the Big Sur update on your Mac is an easy process that allows you to enjoy the latest features and improvements in macOS. In this comprehensive guide, we’ll walk you through everything you need to know to update to Big Sur, from checking system requirements and compatibility to troubleshooting any issues that arise.
What is the Big Sur Update?
Big Sur is the latest major release of macOS, Apple’s operating system for Macs and MacBooks. Released in 2020, Big Sur (macOS 11) brings a number of enhancements and refinements to the Mac experience. Some of the key changes and improvements include:
- A redesigned user interface with more spacious app windows and controls
- Widget support on the home screen for quick information
- Built-in app updates like Messages, Maps, and Safari
- Better privacy protections and more transparency around app data access
- Support for running iOS and iPadOS apps natively on Apple silicon Macs
- Optimizations for Apple silicon Macs like the M1 chip
Overall, Big Sur offers both visual refresh and under-the-hood improvements for modern Macs. Updating provides important security protections, compatibility with the latest Apple devices and services, and access to new features that enhance productivity and user experience.
Checking if Your Mac can Run Big Sur
Before updating to Big Sur, it’s important to check if your Mac is compatible with the latest macOS version. Big Sur can run on:
- MacBook models from early 2015 or later
- MacBook Air models from 2013 or later
- MacBook Pro models from 2013 or later
- Mac mini models from 2014 or later
- iMac models from 2014 or later
- iMac Pro models from 2017 or later
- Mac Pro models from 2013 or later
In addition, Big Sur requires:
- At least 4GB of memory
- 64GB of storage space
- macOS 10.13 or later
To find out if your Mac meets these requirements:
- Click on the Apple icon in the top left corner of the screen
- Select “About This Mac” from the dropdown menu
- Check the version number listed for “macOS.” If it’s an earlier version like macOS 10.12 Sierra, you’ll need to update to a later OS first
- Click on the “System Report…” button
- Under hardware, look at the “Memory” and “Storage” sections to ensure you meet the minimum RAM and storage requirements
If your Mac is compatible, you’ll be able to safely update to Big Sur directly from your current macOS version. If your Mac isn’t eligible for Big Sur, you may need to upgrade your hardware before you can update.
Backing Up Your Mac Before Updating
Making a complete backup of your Mac before installing any major operating system update is always a wise precaution. Backing up ensures you have a bootable copy of your current system in case anything goes wrong during the upgrade process. Here are a couple recommended backup options:
Time Machine Backup
Time Machine is the built-in backup utility in macOS. To back up with Time Machine:
- Connect an external hard drive or other storage device to use for backups
- Open System Preferences and go to the Time Machine section
- Click “Select Backup Disk” and choose your external drive
- Enable the switch for Time Machine to turn on automatic backups
- Time Machine will regularly back up your entire Mac state including files, applications, settings, and more
Bootable Clone
Creating a bootable clone involves making an exact copy of your entire hard drive that you can boot from in case of emergency:
- Connect an external hard drive that’s at least as large as your Mac’s built-in drive
- Use cloning software like Carbon Copy Cloner or SuperDuper to make a complete clone of your startup drive
- Set the external drive as your Mac’s startup disk and test booting from it before updating to ensure full compatibility
Having a current Time Machine or bootable clone backup guards against any unexpected issues during installation.
Downloading the Big Sur Update
Once you’ve verified system compatibility and backed everything up, it’s time to download the macOS Big Sur update. Here’s how:
- Click on the Apple menu and choose “System Preferences”
- Go to the “Software Update” section
- Click “Check for Updates” and the Mac will detect the latest Big Sur update if available
- Click “Download and Install”
- Enter your admin password to confirm the download
- Let the Big Sur installer download completely before moving on
The Big Sur update is around 12GB total, so download times will vary based on your internet connection speed. On a fast broadband connection, expect anywhere from 10-30 minutes for the full download.
Alternative Update Methods
If Software Update doesn’t show the Big Sur upgrade yet, you can also:
- Download from the Mac App Store – Open the App Store app and search for “macOS Big Sur” to find the installer
- Use Apple’s updater tool – Get the “macOS Big Sur” updater utility from Apple’s website to install
These routes accomplish the same task as Software Update and produce a bootable Big Sur installer on your Mac.
Installing the Big Sur Update
After the downloading and verification is complete, you’ll be prompted to begin the actual installation process. Here’s what to expect:
- Your Mac will reboot to a special installer screen showing the Apple logo and a progress bar below
- Allow the installation to proceed without interruption until completed
- The Mac will restart and boot into Big Sur for the first time
- The initial boot may take 10-20 minutes as Optimization runs in the background
- Big Sur will walk you through some setup steps like signing into iCloud and enabling key features
- Your Mac desktop and apps will look updated with the new Big Sur aesthetic!
Plan on the entire install process taking up to an hour including download time, installation, and first boot. Make sure your Mac stays powered on during this sequence and don’t restart it manually or unplug it.
Clean Install Option
If you’re comfortable reconfiguring your Mac from scratch, you can optionally perform a clean install of Big Sur rather than an in-place upgrade:
- Fully back up your Mac with Time Machine or a bootable clone
- Boot into macOS Recovery by holding Command+R at startup
- Use Disk Utility to erase the internal drive, reformatting it
- Install Big Sur as usual to the empty, clean drive
- Restore your files and data from your backup
This clean install approach may help resolve any lingering issues from previous macOS installations. But it takes more time and effort than a standard upgrade.
What to Expect After Installing Big Sur
Once Big Sur is up and running, there are a few common experiences you may encounter:
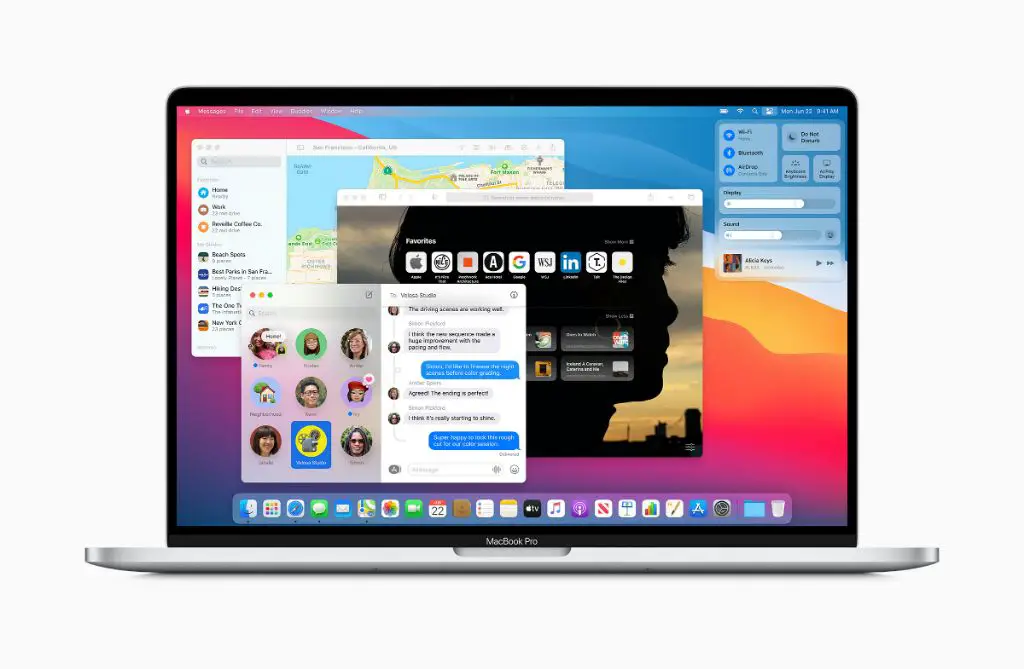
- New visual design – App windows, menus, and controls have a more modern, minimalist design
- Reconfigured sounds – System alert sounds have been updated
- Desktop widgets – You can add widgets like weather, calendar, news, and more to your desktop
- Control Center – Quick system settings and features are available from the top right menu bar
- Updates to bundled apps – Safari, Messages, Maps and others have significant enhancements
- Incompatible software – Some older apps or utilities may fail to work until they receive updates
Give yourself time to get used to the user interface changes, customize your settings, and reconfigure any software that’s not fully Big Sur compatible yet. Check the Mac App Store for updates to your apps. Overall system performance and battery life should remain consistent.
Troubleshooting Upgrade Issues
While most Macs transition smoothly to Big Sur, it’s not uncommon to experience minor glitches or problems after a major OS update. Here are some troubleshooting tips for common post-install issues:
Installation Problems
- If the install seems stuck, allow it to continue for at least 1 hour before force restarting your Mac
- Damaged apps, files or settings can prevent Big Sur from finishing installation. Try restarting in Safe Mode and re-run the installer
- For installation errors, reboot into Recovery Mode, use Disk Utility to check disk health, then reattempt install
Performance and Usability Problems
- Sluggish performance, crashes or odd behaviors after upgrade may indicate incompatible software. Check for and install app updates
- Use Activity Monitor to identify any rogue processes hogging system resources, then force quit them
- Reset NVRAM and SMC to clear out system memory and caches
- In System Preferences, disable unnecessary Login Items and Kernel Extensions that could be destabilizing the system
Big Sur Compatibility Issues
- Some printers, scanners, tablets, VPNs, and other hardware may not fully work until updated drivers are released
- An incompatible anti-malware app can cause severe stability problems. Check your security software vendor’s guidance
- Downgrade back to your previous OS version while waiting for Big Sur support updates
Monitor official Apple discussions, vendor forums and expert sites for the latest advice on fixes and workarounds for Big Sur issues.
Conclusion
Updating to Big Sur allows your Mac to take full advantage of Apple’s latest OS technologies and features. Carefully check your Mac model for compatibility, back up your data, download the installer, allow ample time for smooth installation, and troubleshoot any post-upgrade issues that arise. Pay close attention to app compatibility after upgrading. With some prudent preparation and patience working through initial bugs, Big Sur provides an excellent user experience and will keep your Mac running its best.