Getting the macOS Ventura installer is a straightforward process that allows you to upgrade your compatible Mac to the latest operating system. The newest version of macOS, called Ventura, introduces exciting new features like Stage Manager, Continuity Camera, and improvements to apps like Mail, Messages, and Safari. Upgrading can enable these useful additions that make your Mac easier and more enjoyable to use. Here is a step-by-step guide on how to get the macOS Ventura installer.
Check if Your Mac is Compatible
Before downloading the installer, you should check if your Mac is compatible with Ventura. macOS upgrades are designed to work best on Macs from the last several years. macOS Ventura requires a Mac with an Intel or Apple silicon processor. Here are the compatible models:
- iMac: 2017 and later
- iMac Pro: 2017 and later
- MacBook: Early 2016 and later
- MacBook Air: Early 2015 and later
- MacBook Pro: Early 2015 and later
- Mac mini: Late 2014 and later
- Mac Pro: Late 2013 and later
- Mac Studio: 2022
So if you have one of those Macs from the last 5-8 years, you should be ready for Ventura. Older Macs likely cannot install the latest OS due to hardware limitations. If your Mac is not compatible, upgrading the RAM or SSD may help meet system requirements for new OS versions.
Back Up Your Mac
Before installing a major operating system upgrade like Ventura, it’s essential to back up your Mac. This provides a safety net in case any issues arise during or after the install process. Time Machine is the built-in backup utility in macOS that can automatically back up all your files, apps, and system settings.
To use Time Machine, connect an external hard drive to your Mac. The drive should have at least the same amount of storage or more than the disk space on your Mac. Then go to System Preferences > Time Machine and select the external drive as the backup destination. Make sure the option to back up automatically is enabled. Your Mac will now periodically back itself up to the external drive, with hourly snapshots of file changes.
You can also manually back up immediately at any time by clicking Back Up Now in the Time Machine preference pane. Allow the process to complete to ensure your files are fully backed up before installing Ventura. Testing the backup by entering Time Machine and locating some files is also a good idea.
Check App Compatibility
With each major OS release, some apps may not be optimized yet for the new version. Before updating, you should check if the software and apps you rely on will work properly in Ventura. Most common applications from major developers get updated quickly, but more obscure apps may take weeks or months.
For Apple apps, like iMovie, Pages, GarageBand, etc., you can expect full compatibility. For third party apps, check the developer’s website or app release notes for details on Ventura support. If an app you must have is not yet compatible, you may want to wait on upgrading until the app gets updated. Make a list of the software that’s essential for you, and ensure compatibility before installing Ventura.
Free Up Disk Space
The macOS Ventura installer will require around 12GB of available storage space on your Mac. To avoid any issues, you should ensure you have at least 20GB or more of free space before downloading and installing. Here are some tips to free up disk space if needed:
- Empty the Trash – Permanently delete files you no longer need.
- Remove large files – Find and delete or move big documents, videos, photos and downloads you can part with.
- Uninstall unneeded apps – Delete apps and games you no longer use.
- Store files externally – Move files to an external drive or cloud storage.
- Use Storage Management – Optimizes storage by removing unneeded system files.
Go to About This Mac > Storage > Manage to check your free space and use the optimization options. Getting at least 20GB free before installing Ventura will avoid any installation issues.
Update Apps and macOS
Before downloading Ventura, it’s a good idea to make sure your Mac and apps are fully up to date. Go to the App Store app and click Updates to check for any available app updates. Install all the updates to ensure your apps are current. Also install any macOS updates available under System Preferences > Software Update.
Updating prevents bugs or conflicts between old apps and the new operating system. After updating both apps and system software, your Mac will be primed and ready for the macOS Ventura upgrade.
Download the macOS Ventura Installer
With your Mac prepared, you are now ready to download the macOS Ventura installer application. Follow these steps:
- Go to the App Store app on your Mac.
- Search for “macOS Ventura” in the search box.
- When the macOS Ventura page appears, click the Download button.
- Enter your Apple ID password to begin the download.
- The 12GB Ventura installer will download to the Applications folder.
The download may take some time depending on your internet connection speed. You can continue using your Mac as normal during the download. Once it has fully downloaded, the Ventura installer will be ready for use.
Install macOS Ventura
After downloading, you can begin the installation process for the major OS upgrade. Make sure your Mac is plugged in during installation. Then follow these steps:
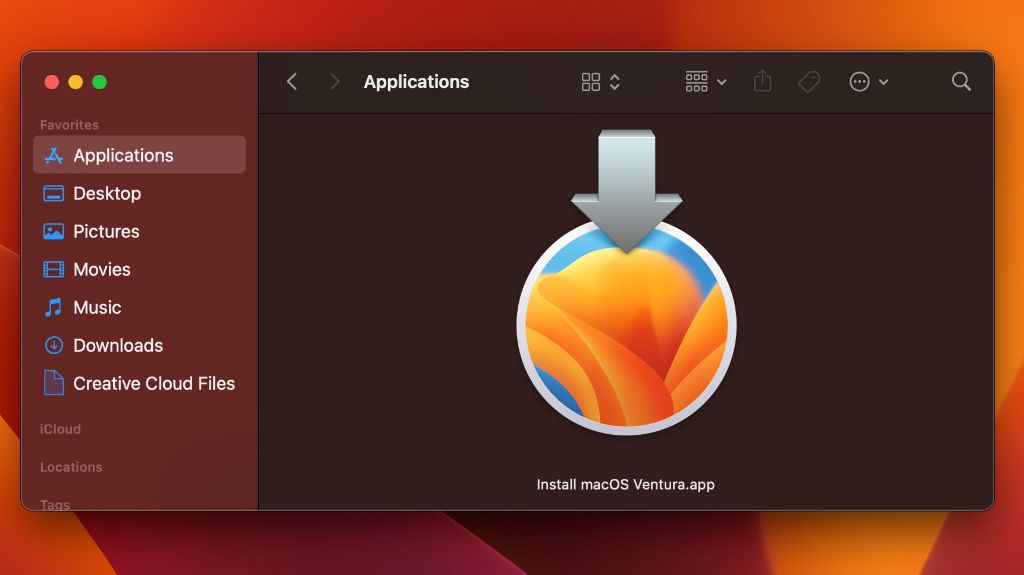
- Open Finder and go to the Applications folder.
- Locate the macOS Ventura installer app and double click to open it.
- Click Continue on the Introduction screen and follow the onscreen prompts.
- Your Mac will reboot to complete the installation process.
- After rebooting, you’ll be running macOS Ventura!
The entire installation process can take 15 minutes or longer, depending on your Mac’s specs. Your computer will reboot multiple times during the upgrade process as files are replaced and settings are migrated. Be patient and let the process complete.
Alternative Install Methods
In addition to downloading directly on your Mac, there are a couple other ways to get the Ventura installer file:
- Create an installer USB drive – Download the installer on another Mac. Then use the createinstallmedia command in Terminal to build a bootable installation USB drive.
- Via Apple Configurator – Use the Apple Configurator app to download an OS installer that can then be applied to multiple Macs.
These methods allow installation on Macs that cannot access the internet or App Store. The USB creation method also lets you perform a clean install and reformatting of your Mac if desired.
New Features in Ventura
Once you have macOS Ventura up and running, you can start exploring all the great new features included in the upgrade. Here are some of the key improvements and additions:
Stage Manager
An entirely new multitasking experience that lets you focus on apps and tasks while keeping other windows neatly organized on the side.
Continuity Camera
Use iPhone as a webcam for Mac. Features Center Stage to keep you in frame automatically during video calls.
Handoff for FaceTime
Start a FaceTime call on iPhone or iPad and fluidly transfer it over to your Mac with Handoff.
Updates to Mail, Safari, Messages
Major improvements to core apps include Schedule Send for Mail, improved Tab Groups in Safari, and ability to edit and undo send in Messages.
There are many more great upgrades waiting in Ventura for your Mac. Enjoy exploring the new OS!
Tips for Installing Ventura
Here are some additional tips to ensure the installation process goes smoothly:
- Use a wired internet connection for fastest download speed.
- Do not interrupt the download or installation.
- Quit all open apps before installing – they may interfere.
- Disable security and anti-virus software temporarily.
- Ensure your Mac has adequate ventilation and is not overheating.
- Plug your Mac into AC power for the entire installation.
- Create a backup first before upgrading.
- Check compatibility for all essential apps and devices.
Following these best practices will help avoid any hiccups while installing the major macOS update. Take your time and ensure each step completes fully before moving to the next. Enjoy the new features and functionality in macOS Ventura!
Troubleshooting Ventura Installation
During the installation process for macOS Ventura, you may encounter an error message or issue that prevents the upgrade from completing. Here are some troubleshooting steps to try:
Not Enough Disk Space
If you get a message that there is not enough available storage, free up more disk space on your Mac by deleting unused files and apps. You need at least 20GB free.
Connection Timed Out
Slow or unreliable internet can cause the download to fail halfway. Try connecting to a different Wifi network or use a wired Ethernet connection.
App Incompatibility
Check the console logs for messages about incompatible apps blocking the install. You may need to uninstall problem apps first.
Restart and Retry
A basic step but sometimes effective – reboot your Mac and try the installation again from the beginning.
Re-download Installer
If the installer is corrupted or missing files, delete it from Applications and re-download the Ventura installer app.
Erase and Reinstall
As a last resort, completely erase your Mac’s disk and perform a clean install of Ventura. Backup your files first!
With some troubleshooting and retrying the steps, you should be able to resolve most issues getting macOS Ventura installed. Don’t hesitate to contact Apple support if you need assistance.
FAQs
Is Ventura a Free Update?
Yes, macOS Ventura is a free upgrade for compatible Macs. Major OS releases from Apple do not cost money for Mac users.
Can I Go Back to Monterey if I Don’t Like Ventura?
You can downgrade and revert back to macOS Monterey up to two weeks after installing Ventura. After that grace period, downgrading is more difficult.
Do I Need to Back Up Before Installing Ventura?
It is highly recommended to create a full backup of your Mac before upgrading. Time Machine can handle this automatically.
How Long Does the Ventura Install Take?
The installation process can take around 30 minutes or longer depending on your Mac’s specs. Be patient and let it fully complete.
Will My Apps and Files be Deleted in Ventura?
No, upgrading the OS will not delete your personal data or apps. But having a backup is still recommended.
Conclusion
Upgrading to macOS Ventura is a great way to get access to the latest features that Apple has developed for Macs. The process is straightforward by downloading the installer app, prepping your system, and following the onscreen installation prompts. Make sure to check compatibility, backup your files, and have sufficient disk space before beginning. Address any issues promptly if the install encounters errors. With some care taken ahead of time, you’ll have a smooth upgrade experience and can enjoy using the brand new Ventura. Your Mac will feel faster, fresher, and work better than ever!