Dealing with IO errors when trying to initialize a hard drive can be frustrating, but there are some steps you can take to try to resolve the issue. An IO error typically means there is a problem communicating with the hard drive, which could be caused by a faulty cable, corrupt file system, or physical damage to the disk.
What Causes IO Errors on a Hard Drive?
There are several potential causes of IO errors when trying to initialize a hard drive:
- Faulty or loose SATA cable – If the connection between the hard drive and motherboard is disrupted, it can cause IO errors. Re-seating the SATA cable or swapping it out may resolve the issue.
- Outdated disk controller drivers – If the motherboard disk controller drivers are outdated, buggy, or corrupted, it can sometimes manifest as IO errors. Updating the drivers may help.
- Failing power supply – An inadequate power supply can cause IO errors during disk access. Test with another PSU if possible.
- Damaged hard drive – If the hard drive itself is damaged, either physically or logically (file system corruption), it can prevent proper communication and lead to IO errors.
- Incompatible hard drive mode – Trying to initialize a hard drive that is set to an incompatible mode like RAID without changing it to AHCI first can result in IO issues.
Steps to Initialize a Hard Drive with IO Errors
If you encounter IO errors when trying to initialize a new hard drive, there are some steps you can take to try to fix it:
- Try a different SATA cable – Switch out the existing SATA data cable with a known good one.
- Connect the hard drive to a different SATA port – Use a different motherboard SATA port and see if the error persists.
- Update disk controller drivers – Download and install the latest driver update for the motherboard disk controller.
- Check and replace the power cable – Swap out the hard drive power cable with another one to rule that out.
- Update system BIOS – A BIOS update can sometimes resolve disk initialization issues.
- Change mode from RAID to AHCI – If the HDD was previously used in RAID, change the SATA mode to AHCI in the BIOS.
- Try diskpart clean command – Type “diskpart” in Command Prompt, then run the commands “list disk”, “select disk X” (X being the disk number), and “clean”.
- Use disk management to initialize – Open Disk Management, locate the disk, right click and choose to initialize it.
- Perform a low-level format – Using disk manufacturer’s tools, do a full format to map out bad sectors.
Using Diskpart to Fix IO Errors
The diskpart utility built into Windows can be used to clean and initialize a drive from the Command Prompt. Here are the steps to try using diskpart to resolve IO errors:
- Open a Command Prompt window as Administrator.
- Type diskpart and press Enter.
- Type list disk and press Enter – This shows all connected drives.
- Type select disk X (replace X with the disk number of the problem drive).
- Type clean and press Enter – This wipes all partitions and data.
- Type create partition primary to create a new primary partition.
- Type format fs=ntfs quick to do a quick format as NTFS.
- Type exit to close diskpart.
The diskpart clean command will erase any existing partitions and file system, essentially resetting the drive. Then you can create a new primary partition and format it. This can overcome many IO issues when standard initialization fails.
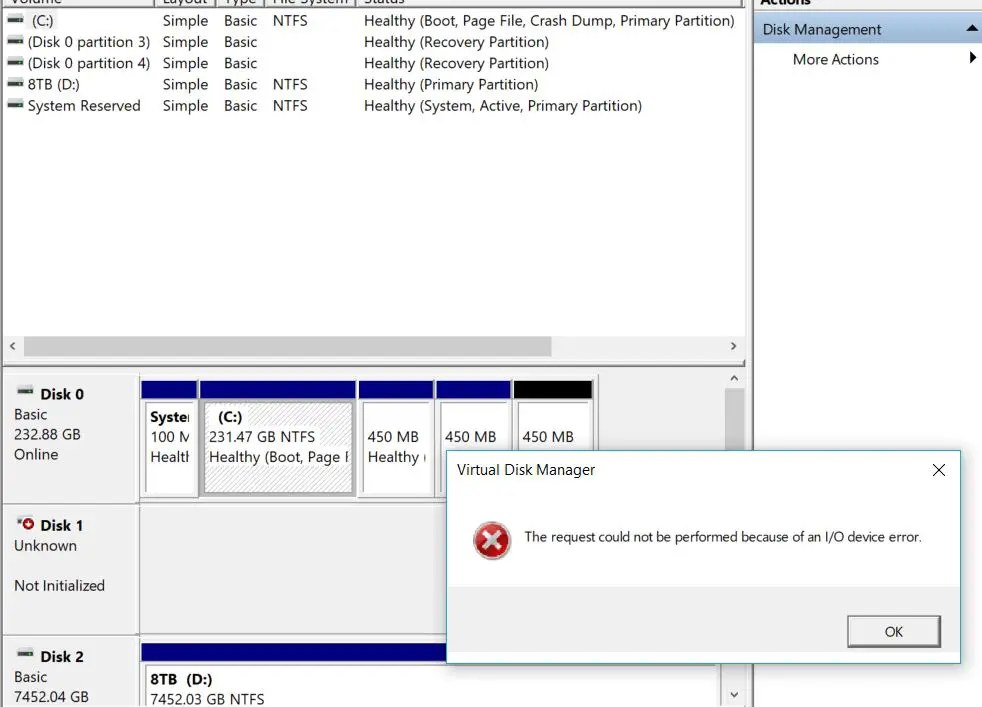
Using Disk Management to Initialize with IO Errors
The Windows Disk Management utility can also be used to initialize a problematic hard drive:
- Open the Disk Management snap-in (diskmgmt.msc).
- Find the new drive in the lower panel – It may show as unknown or not initialized.
- Right click on the disk entry and choose Initialize Disk.
- Select either MBR or GPT partitioning and OK.
- Right click on the area shown as unallocated space and choose New Simple Volume.
- Work through the wizard to format and assign a drive letter.
This achieves the same result as using the diskpart commands, but through a graphical interface. Initializing the disk may allow it to be accessed normally again after any IO issues are resolved.
Using Low-Level Format Tools to Fix IO Errors
Performing a full low-level format directly on the hard drive can sometimes resolve stubborn IO errors. This process will map out any bad sectors on the disk. Some tools to try:
- HD Tune – Has a Low Level Format option in the tools section.
- HDD Low Level Format Tool – Free dedicated low level format utility.
- HDD LLF Low Level Format – Another free dedicated low level formatting tool.
- Manufacturer diagnostic tool – Seagate SeaTools, WD Data Lifeguard, etc.
Note that this will erase all data on the drive. Backup anything important first before attempting a low level format if the drive is still accessible. This is an advanced process, so use it with caution.
Replace the SATA Cable and Port
One of the simplest solutions to try with IO errors is to use a different SATA cable, and connect the hard drive to another SATA port on the motherboard. Cables can go bad over time, and some SATA ports may not be fully functional. Try swapping these components one by one:
- Replace SATA cable with a known good one.
- Change SATA ports on the motherboard.
- Connect drive directly to the motherboard rather than through a splitter.
Damaged SATA cables are a common cause of IO errors when initializing drives. Replacing the cable with a new high quality one can resolve intermittent issues.
Update System and Disk Controller Drivers
Outdated motherboard disk controller drivers can also lead to IO errors with disk access and initialization. Try updating:
- Motherboard chipset drivers – From manufacturer website.
- Disk controller drivers – SATA, AHCI, RAID, NVMe drivers.
- BIOS/UEFI firmware – Latest stable BIOS version.
Updated motherboard drivers, BIOS, and firmware ensure maximum compatibility with storage devices. Apply any available updates from your motherboard or system manufacturer’s website.
Troubleshooting Hard Drive IO Errors
Some additional things to check when troubleshooting hard drive IO errors:
- Power down completely before re-seating cables.
- Inspect SATA cable connectors for any bent pins.
- Check SATA cable integrity with Cable Tester tool.
- Confirm HDD status and errors in BIOS screen.
- Try a different power supply if possible.
- Attempt initialization on a different PC if available.
Carefully inspect all connectors and cables for any damage before swapping them. Check the disk status on the BIOS boot screen as well. Trying the drive on another system can help narrow down if the issue is with the host system or the drive itself.
Replace Failing or Damaged Hard Drive
If you have tried all other troubleshooting steps to initialize a drive and IO errors persist, the hard drive itself may be damaged or failing. Some signs include:
- Loud clicking or grinding noises from the drive.
- Repeated IO error messages during disk access.
- Drive detected in BIOS but not within Windows.
- Visible physical damage to the drive enclosure.
- Multiple bad sectors detected during scanning.
- Failed or aborted low level format.
At this point the hard drive should be replaced. Drives do have a finite lifespan and will eventually fail. New solid state and hard disk drives are reasonably affordable these days for capacity. Backup important data if possible and replace the faulty unit.
Common IO Error Codes
Some common disk IO error codes you may encounter when trying to initialize a hard drive:
- Error 21 – No device detected.
- Error 1117 – Disk read error typically from damage.
- Error 1168 – Disk not found or changed to offline state.
- Error 3016 – Attempted write outside valid address range.
- Error 43 – Target device removed or powered down.
- Error 45 – System cannot read from the specified device.
These point to connection issues or physical disk problems in most cases. Checking cables, ports, and running disk diagnostics can help diagnose the specific cause.
Recovering Data from the Drive
If the disk has important data on it that you need to recover, initializing with IO errors will erase that existing file system and partition tables. First try to recover the data using software like:
- Recuva – Free corrupted file recovery utility.
- EaseUS – Data recovery wizard with free trial option.
- Stellar – Advanced paid recovery software.
- Ontrack – High end professional data recovery service.
These tools may be able to copy data off the drive prior to attempting initialization in some cases. If the drive is making odd noises indicating a mechanical failure, a professional recovery service may be required.
Conclusion
IO errors when initializing a new hard drive are frustrating but usually solvable. Updating disk drivers, using diskpart or disk management for initialization, replacing cables, running low level formats, and checking for physical drive issues can all help resolve these errors. If the drive ultimately appears to have failed, replacing it and attempting data recovery are the final options. With some persistence and carefully applying troubleshooting techniques, most drives experiencing IO errors can eventually be initialized and put into use.
