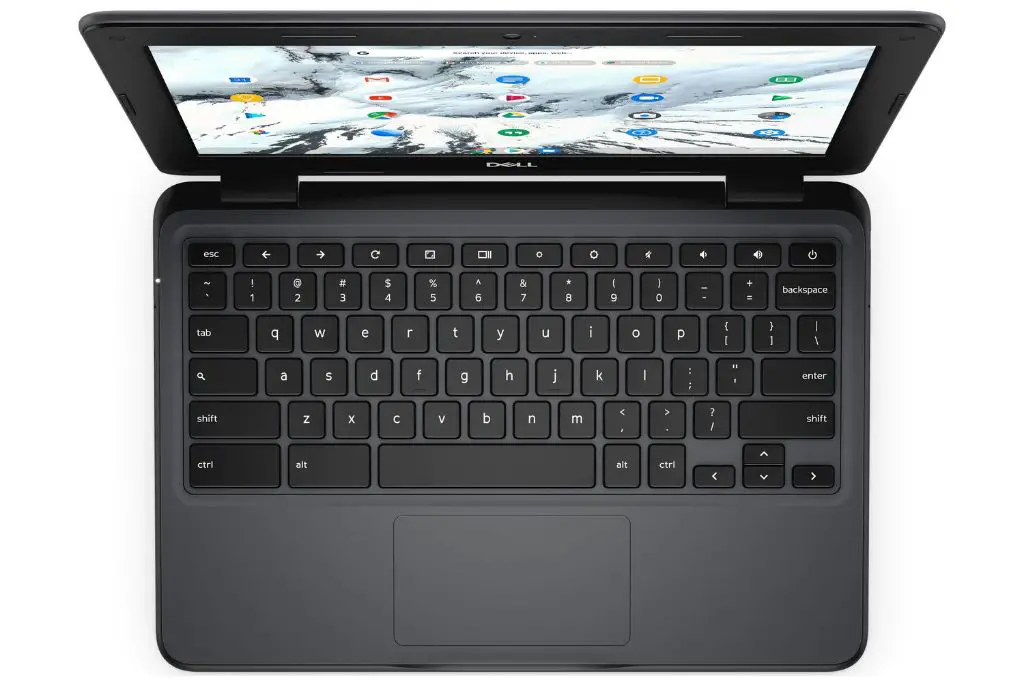
If your Dell laptop won’t turn on or start up properly, you may need to manually start it up. Here are some quick answers to common questions about manually starting a Dell laptop:
What are the steps to manually start a Dell laptop?
Here is an overview of the basic steps to manually start up a Dell laptop:
- Check that the laptop is plugged into a working power source and the battery is charged.
- Press and hold the power button for 30 seconds to force shut down the laptop.
- Disconnect any peripherals connected to the laptop like USB devices, external monitors, etc.
- Remove any discs in the optical drive.
- Drain static electricity by touching a metal surface.
- Remove the battery from the laptop if possible.
- Press and hold the power button for 20 seconds to discharge any leftover electricity.
- Reseat the RAM modules and hard drive.
- Reconnect the battery if you removed it.
- Connect the power adapter back into the laptop.
- Press the power button to turn on the laptop.
Why won’t my Dell laptop turn on?
There are several reasons why your Dell laptop may not be turning on:
- The battery is completely drained and needs recharging.
- The power adapter is damaged or not properly connected.
- There is a loose connection inside the laptop.
- The power button is damaged or stuck.
- The CMOS battery is dead and needs replacing.
- The motherboard has failed.
How can I force shut down a frozen Dell laptop?
If your Dell laptop is frozen and unresponsive, you can force shut it down by:
- Press and hold the power button for at least 20 seconds until the laptop turns off.
- If that doesn’t work, disconnect the power adapter from the laptop.
- Remove the battery from the laptop if possible.
- Press and hold the power button for 5-10 seconds while the laptop is disconnected from power.
Should I remove the battery when manually starting a Dell laptop?
It’s generally recommended to remove the battery when trying to manually restart a Dell laptop. Here are some key reasons why:
- Removes power source and forces laptop to fully discharge.
- Resetting the laptop without battery allows you to isolate hardware issues.
- Prevents possible electrical damage from power surges during reboot.
- Battery removal resets the laptop’s CMOS settings.
- Allows you to check for damage or swelling in the battery.
However, removing the battery may not be possible on some newer Dell laptops with internal, non-removable batteries.
Should I take apart the laptop when troubleshooting start up?
You typically don’t need to take apart a Dell laptop to troubleshoot start up issues. Some steps to try before disassembling include:
- Checking battery and power connections.
- Allowing battery to fully recharge if drained.
- Resetting the laptop CMOS memory.
- Testing with minimal peripherals connected.
- Trying external monitor connections.
- Reseating the RAM and hard drive.
If you do take apart a Dell laptop, be very careful not to damage any internal components. Also be sure to discharge any static electricity first by touching a metal surface.
How can I access the CMOS battery on a Dell laptop?
The CMOS battery is a small lithium coin battery on the motherboard that powers the laptop’s BIOS settings. To access it:
- Disable the internal laptop battery.
- Turn the laptop over and remove the cover plate securing the hard drive and RAM.
- Locate the circular, flat CMOS battery plugged into the motherboard.
- Gently push the locking tab to release the battery from its connector.
On some Dell laptop models, you may need to partially disassemble the case to access the motherboard and CMOS battery. Refer to the service manual for detailed disassembly instructions for your specific Dell laptop model.
Why won’t my Dell laptop screen turn on?
If your Dell laptop powers on but the screen remains black, some possible causes are:
- The laptop is set to an external display, try toggling the display output.
- The screen brightness level is turned down, try adjusting brightness.
- The screen cable is loose or damaged, verify cable connections.
- The LCD screen is faulty and needs replacing.
- The graphics card driver is corrupt or missing, try reinstalling drivers.
- BIOS settings need to be reset to default.
Carefully check the screen cable connections before attempting any other troubleshooting. Reseating cables can often resolve no video issues.
My Dell laptop powers but goes to a black screen
If your Dell laptop turns on but only shows a black screen, possible fixes include:
- Let the laptop battery fully drain, the reboot it without the adapter.
- Try connecting an external monitor to test for video output.
- Reset the laptop CMOS memory to default settings.
- Boot the laptop into Safe Mode and uninstall any recent updates.
- Boot into the Advanced Startup Options menu and choose Startup Repair.
- Test with bare minimum components like just the hard drive and RAM.
A black screen on boot up often indicates an issue with the operating system rather than a hardware problem. Trying system diagnostics and repairs can resolve software related causes.
Why is my Dell laptop getting stuck at the Dell logo screen?
If your Dell laptop boots but gets stuck on the Dell logo splash screen, possible causes include:
- Failing hard drive preventing boot up.
- Corrupt operating system files.
- Faulty RAM modules need to be reseated or replaced.
- Loose connections inside the laptop.
- BIOS requires resetting to default settings.
- Overheating issue causing a shutdown during boot.
Allowing extended time on the Dell logo screen can sometimes resolve this if the laptop is slowly booting up. If the laptop remains stuck, technical repairs may be needed for faulty hardware or a corrupted operating system.
How to enter BIOS on a Dell laptop
To access the BIOS settings menu on a Dell laptop:
- Power on the laptop and press the F2 function key several times as the Dell logo appears.
- On some models, pressing F12 or Delete may open BIOS instead of F2.
- The BIOS setup screen should display if key presses were entered correctly.
- Navigate menus using arrow keys and make changes as needed.
- Save changes and exit BIOS before system reboot.
Entering BIOS is useful for altering boot order, changing hardware settings, resetting to defaults, and accessing advanced options to troubleshoot start up issues.
Does reseating the RAM help fix startup problems?
Yes, reseating the RAM modules in a Dell laptop’s motherboard can often resolve startup issues like:
- Powering on but no video displaying.
- Freezing on Dell logo splash screen.
- Random shutdowns or crashes during start up.
- Blue screen errors mentioning memory failure.
- Beeping sounds on power up.
- Sluggish performance or laggy response.
When reseating RAM, be sure to discharge static, handle modules carefully by the edges, and press firmly to lock modules into the slots. This can clear up lodged connections causing start up failures.
Conclusion
Troubleshooting failed startups on Dell laptops often involves going through basic steps like charging the battery, checking connections, restarting the CMOS, reseating internal components like RAM and hard drives, and eliminating possible software errors. For hardware related issues, never disassemble the laptop beyond your comfort level and consider seeking professional tech support. With persistence and care, you can usually resolve common boot up problems and get your Dell laptop up and running again.
| Step | Description |
|---|---|
| 1 | Check laptop battery and power connections |
| 2 | Force shutdown by long pressing the power button |
| 3 | Disconnect all external devices and discs |
| 4 | Drain static electricity |
| 5 | Remove laptop battery if possible |
| 6 | Press and hold power button for 20 seconds to discharge electricity |
| 7 | Reseat RAM modules and hard drive |
| 8 | Reconnect battery and power adapter |
| 9 | Press power button to turn on laptop |
This table summarizes the key steps to manually start a Dell laptop that is experiencing power on or start up issues. Following these steps sequentially can help diagnose and resolve many common causes preventing successful boot up.