Here are quick answers to common questions about permanently deleting files in Windows 10:
How do I permanently delete a file so it can’t be recovered? Use the Shift + Delete keyboard shortcut while selecting the file, or use a third party file shredder tool.
Why won’t my deleted files go away permanently? When you delete a file normally, Windows just marks the file as deleted but doesn’t actually remove the data right away. The file remains recoverable until it gets overwritten.
What is the best free file shredder tool? Some good options include Eraser, File Shredder, and Secure Delete. Make sure to research any file shredder before downloading.
Understanding File Deletion in Windows 10
When you delete a file normally in Windows 10, either by hitting the Delete key or right-clicking the file and selecting Delete, Windows does not actually remove the file from your hard drive right away. Instead, it simply marks the file as deleted in the file table, essentially tagging it to be overwritten eventually as that space is needed for new files.
This means deleted files remain recoverable using file recovery tools until the operating system overwrites the part of the hard drive where that file was stored. That could happen quickly or not happen for a long time, depending on how much free space you have and how heavily you continue to use the computer.
File recovery tools take advantage of this behavior to scan the hard drive and look for files marked as deleted. As long as the original data is still there in whole or partial form, these tools can restore deleted files and make them accessible again.
When are deleted files overwritten?
If you want to ensure a file is deleted permanently and unable to be recovered, you need to take further action beyond just putting it in the Recycle Bin. The key is overwriting the data.
Without manually interfering, when the deleted file’s data clusters are overwritten depends on several factors:
- How full your hard drive is – The emptier the drive, the longer until deleted file data is overwritten
- How actively you continue using the computer – The more you modify and create new files, the faster deleted data gets overwritten
- Whether you manually perform a defragmentation – Defragmenting can speed up overwriting deleted file data
In other words, if you have a nearly full hard drive and continue creating/downloading files, deleted file data could be overwritten in as little as a few hours or days. But if you have ample free space and barely use the computer, it could take weeks or months.
Preventing file recovery
If you want to ensure deleted files are unrecoverable through standard tools, you need to overwrite the data yourself. There are a few ways to do this:
- Use the Shift + Delete keyboard shortcut when deleting files – This bypasses the Recycle Bin and performs a permanent delete
- Use third party file shredder or wipe tools – These overwrite the data before deleting the file
- Format the hard drive – Reformatting the entire drive overwrites all existing data
These methods overwrite the file’s data to prevent file recovery. We’ll take a closer look at each next.
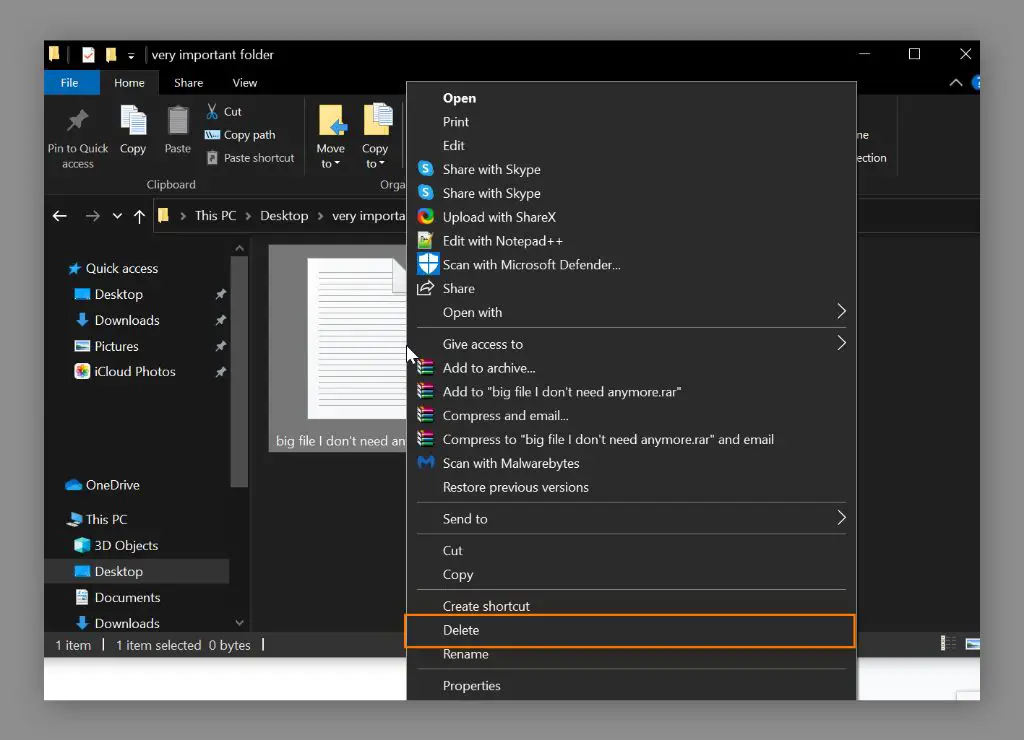
Permanently Deleting Files Using Shift + Delete
Windows has a built-in way to perform a permanent file delete by bypassing the Recycle Bin. Here’s how it works:
- Select the file or files you want to permanently delete
- Press Ctrl + Shift + Delete keys together. This will bring up a prompt.
- Click Yes to confirm you want to permanently delete the files.
Using Shift + Delete deletes files immediately, skipping the Recycle Bin. Windows overwrites the file’s data clusters on the hard drive so that file recovery tools cannot rescue the deleted files.
When to avoid Shift + Delete
Shift + Delete is quick and easy, but not always the most secure deletion method. Here are some downsides to consider:
- Windows does not thoroughly overwrite the data – It simply marks the clusters as available for reuse. Portions of the data may remain until totally overwritten.
- The original file name and directory info may remain – Making it possible to identify what was deleted.
- Does not work on solid state drives (SSDs) – TRIM command erases data immediately on SSDs, making recovery impossible.
For maximum assurance against file recovery on traditional hard drives, use a dedicated file shredder tool instead. These tools thoroughly overwrite data multiple times to eliminate any remnants left behind.
Using File Shredder Tools for Permanent Deletion
File shredder tools, also called file wipe or file eraser tools, are specialized programs designed to completely overwrite a file’s data before deletion. This prevents any chance of recovery, even using forensic data recovery methods.
Here are some features that make file shredders effective:
- Overwrite the data multiple passes – Most file shredders overwrite each sector 7+ times by default, up to 35+ passes in some cases. The more overwrites, the less likely data remnants remain.
- Use randomness – Shredders generate random bit patterns for each pass instead of just using 1s or 0s, making leftover data increasingly hard to reconstruct.
- Erase slack space and metadata – Slack space contains remnants from previous versions of files. Metadata stores filenames, timestamps, file structure data, etc.
- Permanently wipe free space – Prevents recovery of any previously deleted files.
Choosing a File Shredder
There are many free and paid file shredders available. Look for the following key features when choosing a tool:
- Secure overwrite algorithms (DOD 5220.22-M, Peter Gutmann, etc)
- Multiple overwrite passes
- Ability to wipe slack space and metadata
- Permanently wipe free space
- Cross-platform support
Some popular and highly rated options include:
Eraser (Windows)
Eraser is a free open source file shredder for Windows. It overwrites data up to 35 times with a variety of recognized algorithms, including the Gutmann method.
File Shredder (Windows)
File Shredder is a lightweight tool from MiTeC offering up to 25 overwrite passes. Hasn’t been updated recently but still works on modern Windows.
Secure Delete (Windows, Mac, Linux)
Secure Delete provides a simple interface for securely overwriting files, recycle bins, or wiping entire drives. Supports DoD and Peter Gutmann deletion methods.
Permanently Wiping a Hard Drive
You can take deletion to the extreme and completely wipe an entire hard drive by formatting or disk partitioning. This overwrites all existing data for a fresh start:
- Format the drive – Reformatting a drive erases all data and creates a new blank file system.
- Disk partitioning – Using partition tools to delete all partitions erases all contents for repartitioning.
Keep in mind that solid state drives (SSDs) handle drive formatting differently than traditional hard drives. TRIM technology built into SSDs wipes deleted data instantly, making recovery impossible after deleting or formatting an SSD.
When to wipe a hard drive
Situations where you may want to completely wipe a hard drive include:
- Getting rid of a computer – Blank the hard drive before disposal
- Eliminate all personal information – Start fresh before selling or donating a PC
- Remove malware – Clean a severely infected drive
- Clear out unused files – Reclaim space from temporary files and system clutter
How to format a hard drive
To format an entire hard drive on Windows 10:
- Open the Start menu and type “Disk Management” and press Enter
- Right-click the disk you want to format and choose “Format”
- Select desired file system – NTFS is recommended for Windows. Leave other settings as default.
- Click OK to begin formatting, then confirm when prompted.
The format process overwrites all existing data. The drive will show as raw unallocated space when completed.
To make the wiped drive usable again, right-click it in the Disk Management window and choose New Simple Volume. Follow the wizard to create a new volume which will assign a drive letter.
How to wipe a drive using diskpart
Diskpart is a command line disk partitioning tool built into Windows. You can use it to automate wiping a drive.
- Type cmd in the Start menu to open the command prompt
- Type diskpart and press Enter
- Type list disk to show disks. Identify the disk number for the one you want to wipe.
- Type select disk X where X is the disk number, and press Enter
- Type clean to overwrite and erase all data on the drive
This will completely wipe the selected drive in a few seconds. Use the Disk Management GUI to reformat it after cleaning.
How to Check Deleted Files Are Overwritten
To confirm your deletion methods are working to permanently overwrite files, you can check the raw disk contents and look for any readable remnants left behind.
Reading disk contents with a hex editor
A hex editor allows viewing and editing the raw binary contents of a storage device. Here’s how to use one to check for deleted file remnants:
- Download HxD (free hex editor for Windows)
- Launch HxD and choose your physical disk drive from the menu
- Navigate to areas where deleted files were located
- See if you can spot any readable text from old files that should be overwritten
If a file shredder performed thorough overwrites, any previously deleted contents should be replaced by random characters.
Scanning for deleted data with file recovery tools
You can also prove deleted files are unrecoverable by scanning for them using free file recovery software like Recuva or TestDisk. Try to recover deleted files from the Windows Recycle Bin and hard drive locations where you permanently shredded files.
If no trace of the deleted files can be found, it confirms your chosen method successfully made them unrecoverable.
| Deletion method | Effectiveness |
|---|---|
| Delete file normally | File remains recoverable until overwritten |
| Shift + Delete | Bypasses Recycle Bin for immediate delete, but data remnants may remain |
| File shredder tool | Overwrites data multiple times for permanent unrecoverable deletion |
| Format hard drive | Overwrites all existing data for a fresh drive |
Best Practices for Permanently Deleting Files
Follow these tips to maintain both security and convenience when permanently deleting files:
- Use Shift + Delete sparingly – Reserve for temporary files containing sensitive info you want immediately destroyed.
- Delete other files normally – Allows recovering useful files from accidental deletion.
- Install a file shredder – For when you need to thoroughly destroy sensitive documents.
- Shred files before computer disposal – Protect personal data from whoever takes ownership next.
- Format drives before selling PCs – Required by some manufacturer warranties anyway.
- Defrag drives occasionally – Helps consolidate free space to overwrite deleted data faster.
When NOT to permanently shred files
Here are some cases where permanent deletion may be inadvisable or unnecessary:
- Personal documents – Keep recoverable in case of accidental loss
- Versioned files – Retaining older versions can be useful
- SSD drives – Unrecoverable after TRIM command, don’t need shredding
- Shared computers – Let the next user recover files if needed
- Devices you own – Data is safe until disposal or transfer
Conclusion
Permanently deleting files in Windows takes more than just putting something in the Recycle Bin. For full assurance of secure deletion where no one can recover the data, you need to manually overwrite the contents before removing files.
Using Shift + Delete shortcuts or file shredder tools provide the necessary overwrites for permanent destruction. Just remember this level of data eradication is not always practical or advisable. But when selling a PC or discarding sensitive documents, take the extra steps to prevent any chance of recovery.