Using an SD card is a great way to expand the storage capacity on your Android phone. With more storage, you can save more photos, videos, music and apps. Before you can start using your SD card, you need to properly prepare it for use in your Android device. Here is a step-by-step guide on how to get your SD card ready for your Android phone.
Check SD Card Compatibility
Not all SD cards will work properly in all Android devices. So the first step is to check the compatibility. There are a few key things to look for:
- Storage capacity – Make sure the SD card does not exceed your phone’s maximum supported capacity. Many Android phones support up to 512GB.
- SD card type – Your phone may require a specific type of SD card such as microSD, miniSD or SDXC.
- Speed rating – Faster SD cards with higher speed classes and UHS ratings will provide better performance.
Consult your Android phone’s user manual to determine the compatible SD card type and specifications. Purchasing an incompatible SD card may result in errors, slow speeds or failure to recognize the card.
Inspect and Clean the SD Card
Before inserting your SD card into your Android phone, it’s a good idea to visually inspect it and clean it if necessary. Here are some tips for inspection and cleaning:
- Look for any physical damage like cracks, bends or scratch marks on the SD card casing.
- Check for debris, dirt or residue on the metal contacts. Use a soft, dry cloth to gently wipe any grime away.
- Do not try to wipe off any colored stains on the contacts. These are likely oxidization and normal wear.
- Use compressed air to blow away any dust or lint buildup on the SD card.
- Check that the write-protection switch on the side is slid up (unlocked position).
A damaged, dirty or locked SD card can cause connection issues when inserting into your Android device. Proper inspection and cleaning helps maximize performance.
Format the SD Card
Before you can store files on it, a new SD card must be properly formatted. Formatting the card will erase all data and prep the file system:
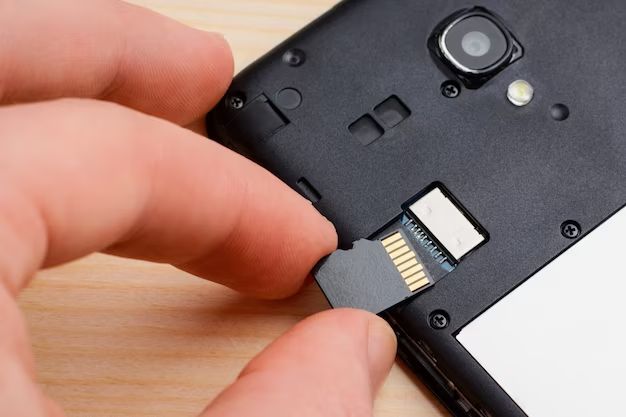
- Insert the SD card into your Android phone if not already inserted.
- Go to Settings > Storage.
- Locate and tap on the SD card name.
- Tap “Format” or “Erase & Format”.
- Follow the prompts to confirm formatting. This will erase all data on the card.
- The card will now show the proper formatted capacity.
Some Android devices will offer to automatically format a new SD card when inserted. It is best to manually format it yourself to be sure the proper file system is set up.
Configure SD Card Settings
After formatting, there are some additional SD card settings that should be configured for best performance and convenience:
- Set default storage location – Go to Settings > Storage and tap the SD card name. Choose “Set as default storage” to save all new apps and data to the card by default.
- Enable storage access – Ensure apps have permission to access and save to the SD card under Settings > Apps & notifications > Advanced > Special app access > Storage.
- Check file system – Verify the card is formatted with the FAT32 or exFAT file system for optimal compatibility.
- Adjust cache settings – Increase cached data allowed on the SD card to improve read/write speeds.
Tweaking these settings helps your Android phone make full use of your expanded SD card storage.
Move Apps and Data to the SD Card
If your SD card is replacing the internal storage, you will want to migrate your existing apps and data from internal memory to the card:
- Go to Settings > Apps & notifications.
- Tap on each app and choose “Change” under Storage.
- Select the SD card, then tap “Move” to migrate the app.
- Return to Settings > Storage and tap the SD card name.
- Tap “Migrate data” to move files and other data to the card.
Not all apps support full migration to external storage. Some may have portions remaining on internal memory. Moving data and compatible apps maximizes the free space on your Android phone.
Back Up Important Data
While SD cards are fairly reliable, there is always a small risk of corruption or failure. Before fully relying on your expanded storage, it is wise to back up your important photos, videos and other data.
You can back up your SD card files and data in a few different ways:
- Copy files to a computer – Use a USB cable and file explorer to manually copy important files to your PC or Mac.
- Cloud storage – Upload files to a cloud service like Google Drive or Dropbox.
- External hard drive – Use a USB OTG cable to connect an external hard drive and transfer file backups.
- Backup & Restore – Use your Android phone’s built-in backup features to save data to the cloud.
Having at least one additional copy of your precious data provides an added layer of protection against data loss.
Safely Remove the SD Card
To prevent corruption, you should safely eject the SD card prior to removal:
- Go to Settings > Storage.
- Tap the SD card name.
- Tap “Eject” to safely disconnect it.
- Wait for the confirmation that it is safe to remove.
- Power off the Android phone.
- Gently slide out the SD card from the slot.
Removing the card without properly ejecting it first can potentially lead to file damage or data loss.
Insert Into New Android Device
If moving your SD card to a new Android phone, follow these steps:
- With both devices powered off, gently insert the card into the target device’s SD slot.
- Power on the Android phone and allow it to recognize the SD card.
- Follow the prompts to scan and mount the card.
- Restart the device once card is detected to finalize access.
- Configure SD card settings and move data/apps as desired.
You may need to reformat the card again if the new Android phone has different storage requirements. After insertion, your expanded storage is ready to use.
Monitor Health and Performance
To keep your SD card functioning smoothly, you should monitor its health and performance:
- Watch for slowdowns, freezing, crashes or pixelation as these can indicate issues.
- Note any warning messages about the card needing to be formatted or errors mounting.
- Check the remaining lifespan in Settings > Storage > SD card.
- Benchmark random read/write speeds to test card performance.
- Scan for bad blocks and sectors which can corrupt data.
Catching and troubleshooting problems early allows you to take action before potential data loss occurs.
Reformat the SD Card
If your SD card becomes corrupted or experiences performance issues, reformatting it may fix the problems:
- Back up your SD card files and data first.
- Go to Settings > Storage, tap the card, then choose “Format”.
- Select “Erase & Format” to confirm.
- Wait for the process to finish formatting the card.
- Test the card’s performance and try using it again as normal.
Reformatting wipes all data, resolves many card issues, and restores full functionality.
Replace a Damaged SD Card
If your SD card becomes damaged or fails completely, replacement may be necessary:
- Try reformatting as a last resort to revive a damaged card.
- Purchase a new SD card that is compatible with your phone.
- Copy any retrievable data from the old card if possible.
- Follow the steps to prepare the new replacement card.
- Insert the new SD card and configure it as desired.
A damaged SD card that cannot be revived will eventually need replacement to restore expanded storage.
Conclusion
With the right preparation, your SD card will integrate seamlessly with your Android phone. Formatting, migrating data, and customizing card settings allows it to optimize and expand your phone’s storage. Routine maintenance and performance monitoring helps detect issues early. Reformatting or replacing faulty cards can get you back up and running quickly. Follow these steps and your SD card will be a vital storage asset for your Android phone.