Intro
With iTunes and Apple Music, you have access to a vast library of songs that you can purchase and download. However, once purchased, these songs may be scattered across your iTunes application rather than collected neatly into your permanent music library. Consolidating your purchased iTunes music into your core library makes it easier to organize, access, and sync your songs across devices. This guide will walk through the steps to locate your iTunes purchases, create a playlist to collect them, add that playlist to your library, and sync your updated library across your iPhone, iPad, and other devices. The end result is a central music repository that contains all the songs you own, making them easier to find and enjoy.
According to recent statistics, the average iTunes user spends about $40 per year on music purchases [1]. With a user base of over 1 billion worldwide [2], iTunes offers access to a library of over 60 million songs [3]. Consolidating your purchases into your permanent music library makes it simple to organize and access the songs you’ve acquired over time across various albums and artists.
Locate Purchased Songs in iTunes
Songs purchased from the iTunes Store are stored locally on your computer under iTunes. By default, songs you buy are downloaded directly into your iTunes library.
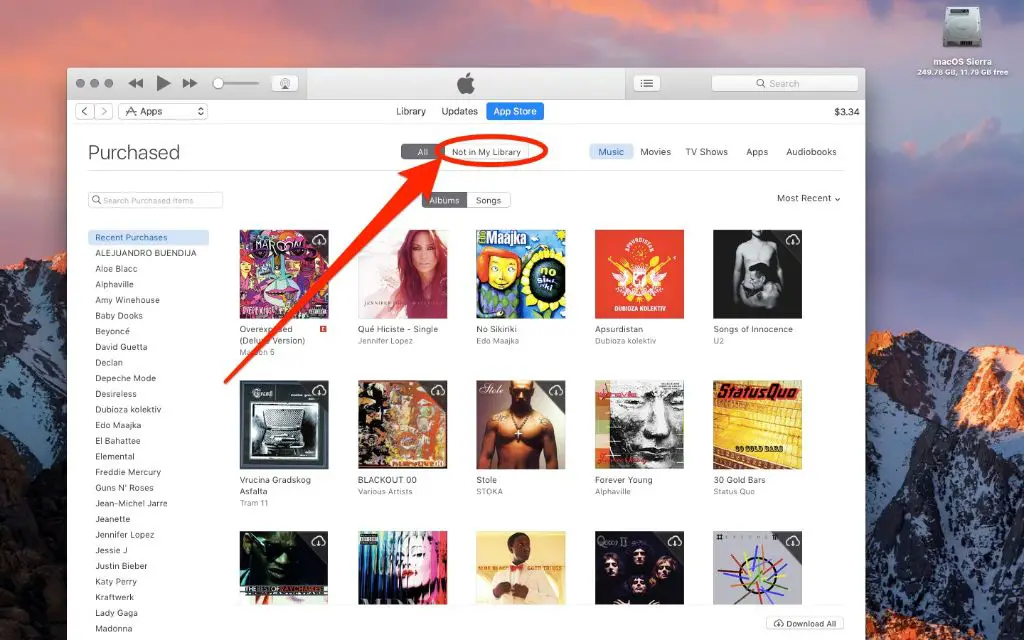
To view all your purchased songs in one place, you need to find the ‘Purchased’ playlist in iTunes.
To locate purchased songs:
- Open iTunes on your computer
- In the menu on the left side, click on ‘Playlists’
- Under the ‘Library’ section you will see a playlist called ‘Purchased’. This contains all the songs you’ve downloaded from the iTunes store.
You can also sort your entire library by the ‘Purchased’ column to see all your purchased iTunes music grouped together.
Create a New Playlist for Purchased Songs
Having a dedicated playlist for all your purchased songs can make it easier to find, organize and listen to the music you’ve bought. Rather than having your purchases mixed in with songs you’ve ripped from CDs or downloaded elsewhere, putting them in their own playlist keeps them neatly in one place.
To create a new playlist in iTunes for your purchased music:
- Open iTunes and click on Music in the top left corner.
- Click File > New Playlist.
- Name the playlist something like “Purchased Music” or “iTunes Purchases.”
- Click Create.
This will create a blank playlist ready for you to add in all your purchased iTunes songs.
Add Purchased Songs to Your Playlist
Once you’ve created a new playlist to hold your purchased songs, it’s time to add those songs in. Here are a few different ways to easily transfer your purchased iTunes music into your new playlist:
Select multiple songs at once
To select multiple songs to add to your playlist, hold down the Command key on Mac or the Ctrl key on Windows while clicking on each song you want to add. This will allow you to highlight and select numerous songs at the same time.
Drag and drop selected songs
After you’ve selected the songs you want, simply click and drag them over to your new playlist in the left sidebar menu. Let go once the playlist is highlighted and all the selected songs will be added.
Transfer all purchased songs
For the easiest option, go to the top “Music” menu in iTunes and choose “Library”>”Add to Playlist”>”Purchased”. This will automatically add your entire purchased song library into the playlist.
Using one of these methods, you can quickly get all your purchased iTunes music consolidated into a new playlist. Then just sync your updated library to enjoy it on your devices!
Add Playlist to Your Library
The playlists you create in iTunes are separate from your main library. Playlists allow you to organize and group together songs for listening, but they are kept independent of your actual library.
Your library in iTunes is your permanent collection of all the music you own. Any songs or albums you purchase and import into iTunes are added to your library. Playlists are helpful for organizing selections of songs from your library, but they are temporary groupings.
To make your purchased songs a permanent part of your iTunes library:
- Open the playlist you created for your purchased songs.
- Select all songs in the playlist by choosing Edit > Select All.
- Drag the selected songs into your Library or choose File > Library > Add to Library.
Adding the playlist to your library makes those purchases a permanent part of your iTunes collection. The songs will remain in the library even if you delete the playlist.
Having your purchases in your permanent library ensures you’ll always have access to the music you bought. You’ll be able to sync the songs to devices or burn them to CDs. If you only keep songs in playlists, you risk losing access if that playlist gets deleted.
Sync Library to Devices
One of the key benefits of using iTunes to manage your music library is the ability to easily sync that library across all your devices. This allows you to access your entire music collection on any device linked to your iTunes account.
To enable device syncing in iTunes, go to the Preferences menu and click on the Devices tab. Check the box next to “Prevent iPods, iPhones, and iPads from syncing automatically”. This will allow you to manually control when your device library is synced.
Once you’ve added new purchased songs or albums to your iTunes library, you’ll want to make sure they get synced to your iPhone, iPod or iPad. To do this, connect your device to your computer via the USB cable. iTunes will recognize the device and show it under the Devices header in the top right corner.
Click on your device and then click the Music tab. Make sure the Sync Music option is checked along with “Selected playlists, artists, albums, and genres”. Then check the box next to your new purchased songs playlist to sync it to your device.
Click Apply and your new music will be copied onto your iOS device. You can then disconnect it and enjoy listening to your latest song purchases anywhere!
Access Library on iOS Devices
Once you’ve added your purchased iTunes songs to a playlist and synced that playlist to your library, you’ll be able to access all of that music from your iPhone, iPad, or iPod Touch.
Here are some tips for finding and listening to your synced music library on iOS devices:
- Open the Music app and select the “Artists” view. This will show you all of the artists for the songs in your synced library.
- Tap an artist to see their albums that contain your purchased songs.
- You can also create playlists directly on your iOS device. Go to Playlists > Add Playlist and select the purchased songs to add.
With your music synced from your iTunes library, you’ll have your full collection of purchased songs that you can listen to anywhere on your iOS devices.
Listen to Purchased Songs
Once you have added your purchased songs to your iTunes library and synced to your iOS devices, you can access and listen to them anytime.
To play your purchased playlist on an iPhone or iPad:
- Open the Music app
- Tap on Library at the bottom
- Select Playlists
- Tap on the playlist you created for your purchased songs
- Tap on Shuffle at the top to shuffle the playlist order
- Tap on the Repeat icon to repeat the playlist
You can also download the playlist for offline listening when you don’t have an internet connection. To download a playlist:
- Open the playlist you want to download
- Tap on the three dots next to the playlist name
- Select Download Playlist
The playlist will now be available offline. You can access and play it even without an internet connection.
Troubleshooting Tips
If you find that some or all of your purchased songs are missing from your iTunes library, there are a few troubleshooting steps you can take:
Re-download missing purchases from your iTunes account
Go to the iTunes Store on your computer and click on your account icon in the top right corner. Select “Purchase History” to view all of your past purchases. Find the missing songs or albums and download them again to your library.
Check that syncing and iCloud Music Library are enabled
Make sure that syncing is enabled on your computer and iOS devices. Also confirm that you have iCloud Music Library enabled under Preferences > Music in the iTunes desktop app. This will allow your purchases to automatically sync across devices.
If you made purchases on another device, enabling iCloud Music Library will add those purchases to your main iTunes library so you can access them everywhere.
Summary
In summary, we covered the key steps for easily consolidating your iTunes purchases into your permanent music library. We saw how to locate purchased songs, create a playlist to collect them, add the playlist to your library, and sync everything to your devices. Now you can conveniently access all your iTunes music purchases across all your devices.
Downloading new music and media on iTunes is a great way to expand your digital collection. I invite you to browse the iTunes store and take advantage of their vast catalog of songs, albums, movies, TV shows, apps and more. With just a few clicks, you can purchase and instantly add new content to your iTunes library. Consolidating everything into organized playlists makes it simple to sync and enjoy your latest iTunes purchases.
