Recovering a file you accidentally replaced can seem daunting, but it is possible in many cases. There are a few different methods you can try to get your file back depending on what type of system you are using. The key is to act quickly and avoid making any further changes that could overwrite the data you want to recover.
Check your computer’s recycle bin or trash
When you delete a file on your computer, it often gets sent to a recycle bin or trash folder before being permanently deleted. If you just recently replaced the file, your first step should be to check your recycle bin or trash to see if the original is still in there. On Windows computers this is called the Recycle Bin, while on Macs it’s called the Trash.
To check the recycle bin in Windows:
- Open the recycle bin – Double click on the Recycle Bin icon on your desktop or single click to highlight it and select “Open” from the File menu.
- Search for your file – Scroll through the list of deleted files to see if your file is still in the recycle bin.
- Restore your file – If you find the file you want to recover, right click on it and select “Restore”. This will put the file back in its original location.
On Mac:
- Open the Trash folder – Click on the Trash icon in your Dock or open the Trash folder through the Finder menu.
- Search for your file – Scroll through the list of deleted files to see if your file is still in the Trash.
- Restore your file – If you find the file you want to recover, right click on it and select “Put Back”. This will restore the file to its original location.
If your file has been already permanently deleted from the recycle bin, then you won’t be able to recover it through this method.
Use File History or Time Machine backups
If the file you want to recover is no longer in the recycle bin, your next option is to check any automated backups you have set up on your system. Windows has a built-in backup utility called File History, while Macs have Time Machine.
To recover a file using File History on Windows 10:
- Open the Start Menu and search for “File History”.
- Look for the file you want to recover in the timeline and listings. You can search for a filename or browse through different backup states.
- Once you’ve located the correct version of the file, select “Restore” to retrieve it.
- Choose whether to restore the file to its original location or a new location.
On Mac with Time Machine:
- Open the Time Machine app from your Applications folder or Dock.
- Either browse through your timeline backup snapshots or search for a filename to locate your file.
- Select your file and click the Restore button.
- Choose to restore to the original or a new location.
This recovery method relies on having backups available from before the time you accidentally replaced the file. If you don’t have automated file history backups set up yet, unfortunately this option will not work.
Use file versions from cloud storage
If you have your files synced to cloud storage like OneDrive, Google Drive, Dropbox, iCloud Drive, or another service, you may be able to recover a previous version of your file from the cloud. Most major cloud services keep version histories of files, so you can restore an older copy if you’ve accidentally overwritten or deleted the current version.
For example, to restore an older file version from OneDrive:
- Right click on the file and select “Version history”.
- Browse through the different versions and timestamps to find the one you want to recover.
- Click “Restore” on that specific version.
- Choose whether to overwrite the existing file or restore to a separate location.
Similarly, you can right click on files in Google Drive and select “Manage versions” or use the Time Machine-like interface in Dropbox to browse through previous file versions. Just point and click to download the version you want to recover locally.
This method depends on having cloud backups from before your file was accidentally replaced. If you don’t have copies stored in the cloud, you won’t be able to use this method.
Recover from a system restore point
If the file you need was replaced recently, restoring your computer to an earlier system restore point is another option to try and get it back. System restore periodically takes snapshots of your Windows system files and settings, letting you roll back to undo changes.
To recover a file using system restore on Windows:
- Search for “System Restore” and choose “Create a restore point” or “Restore system files and settings”.
- Pick a restore point from before the time your file was replaced. Click Scan for affected programs to check what will be changed.
- Click Next, then Confirm to restart your system and restore to the earlier time.
- Once your system is restored, check for your original file in its previous location.
The key consideration here is that system restore needs to have a snapshot from before your file was replaced for this process to work. If you don’t have a relevant restore point available, you won’t be able to use System Restore to recover your file.
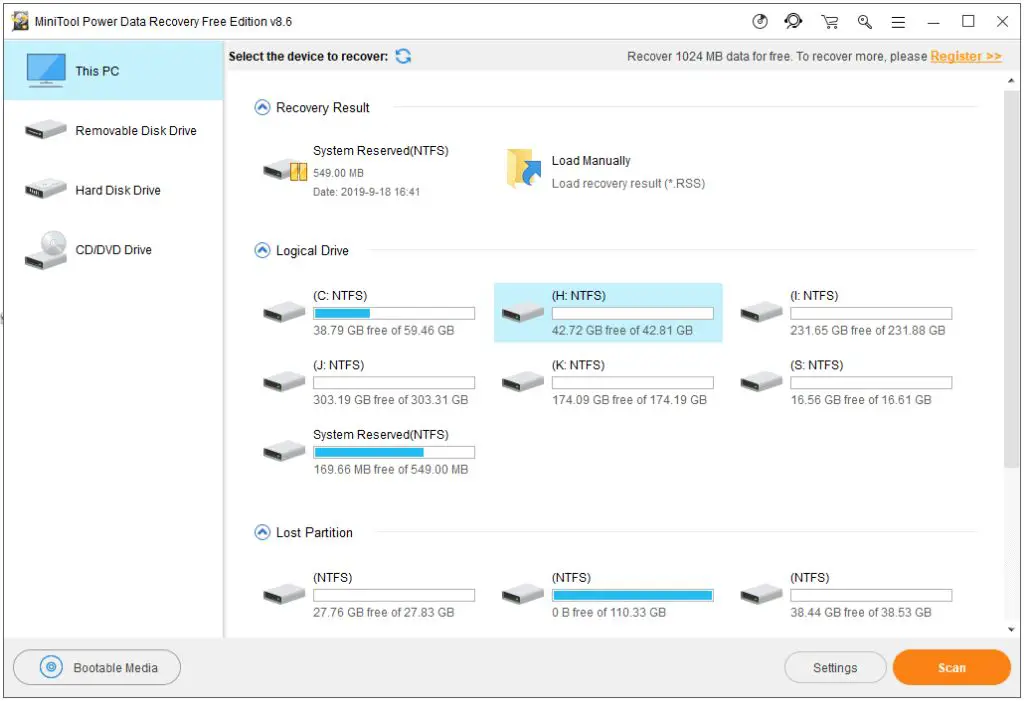
Use recovery software
If the above options don’t work, you may need dedicated file recovery software to scan your system’s hard drive and find traces of your deleted file. Some programs that can help recover replaced or overwritten files include:
- Recuva – Free recovery tool for Windows systems
- EaseUS Data Recovery Wizard – Free and paid versions for Windows and Mac
- Stellar Data Recovery – Works on Windows, Mac, and Linux
- Ontrack EasyRecovery – Advanced paid recovery software
Recovery software scans your hard drive and looks for residual traces of files that were deleted or overwritten. It can often rebuild files by piecing together leftover data fragments. To use these tools:
- Download and install the recovery software.
- Scan your hard drive for recoverable files. This may take some time depending on the size of your drive.
- Browse the scan results and hopefully find your missing file there.
- Select the file you want to recover and restore it to a safe location.
The effectiveness of recovery software depends on how much data fragmentation remains from your missing file. The quicker you run the scan after replacement, the better your chances. If the file has been overwritten multiple times, recovery becomes very difficult or impossible.
Send your drive to a data recovery service
As a last resort when all else fails, you can use a professional data recovery service. They have specialized tools and methods for extracting data from storage devices. This is an expensive option but may be your only hope for very important, irreplaceable files.
To try professional file recovery:
- Research reputable recovery companies like DriveSavers, Kroll Ontrack, or Gillware.
- Ship your hard drive to them for analysis. Expect this to cost several hundred dollars at minimum.
- Their engineers will analyze your drive and attempt to recover lost and overwritten files.
- With luck, they can rescue your important file and send back your drive.
Professional recovery can cost thousands of dollars depending on the difficulty and storage device sizes involved. However, for very important files it may be worth the expense when you’ve run out of other options. Approach this method carefully though, since there’s no guarantee of success.
Prevent accidental file replacement
The easiest way to avoid this issue in the future is to implement some preventative measures:
- Turn on automated backups through a tool like File History or Time Machine. This gives you secondary copies to restore from if needed.
- Use cloud storage services to keep an online copy of important files.
- Enable versioning in cloud storage when available to preserve previous copies.
- Be cautious when moving, renaming, or modifying files to avoid accidental overwrites.
- Use the “Save As” function at times to create new files instead of overwriting existing ones.
While accidents still happen on occasion, putting protections in place reduces the chances of you needing to rely on recovery methods. Maintaining good backup practices is the best way to avoid file recovery situations altogether.
Conclusion
Recovering a accidentally replaced file is often possible if you act quickly and use the right techniques. Check your recycle bin, leverage backups from File History or Time Machine, restore a previous version from the cloud, roll back using System Restore, run recovery software, or send out your drive as a last resort. With smart prevention going forward and recovery tools at the ready, an accidentally overwritten file doesn’t have to be a disaster.
