An SD card is a small, removable flash memory card that is used for storing photos, videos, and other files on devices like digital cameras, phones, and tablets (Source). They are very common due to their compact size and affordability. Losing photos or important files because an SD card was accidentally formatted can be devastating.
The goal of this guide is to provide steps for recovering files from a formatted SanDisk SD card. With the right software and techniques, it is often possible to successfully restore lost data even after an SD card has been reformatted.
When Formatting Happens
There are two main types of formatting for SD cards: quick format and full format. A quick format simply empties the file table on the card but does not actually overwrite or erase the data itself. This is faster, but data could potentially still be recovered. A full format scans the entire card and overwrites all data with zeros so that nothing can be recovered. This takes longer but is more secure.
Some common reasons that may require formatting an SD card include:
- Preparing the card for use in a new camera, phone, or device
- Freeing up storage space when the card is full or close to capacity
- Fixing corruption such as error messages, problems reading files, or crashing
- Removing viruses or malware that may have infected the card
- Wiping all data before selling or giving away the card to someone else
- Refreshing the file system after frequent read/write cycles
Formatting cleans the slate and reorganizes the logical structure of the card. It may be required after repeated use when the file system gets fragmented over time. Regular formatting helps keep the card running smoothly.
Stop Using the Card Immediately
It is crucial to stop using the SanDisk SD card immediately after accidentally formatting it. Writing new data to the card can overwrite your deleted files making them unrecoverable. The deleted files still exist on the card until they get overwritten by new data. So it is imperative to prevent writing any new files to the card if you want the best chance of recovering your deleted files.
According to EaseUS, using the formatted SD card to take new photos, videos, music or any other data will occupy the space that original data was being stored. This reduces the chances of recovering the original lost data. Therefore, to increase the success rate of data recovery, stop using the SanDisk card right after formatting and avoid saving new data.
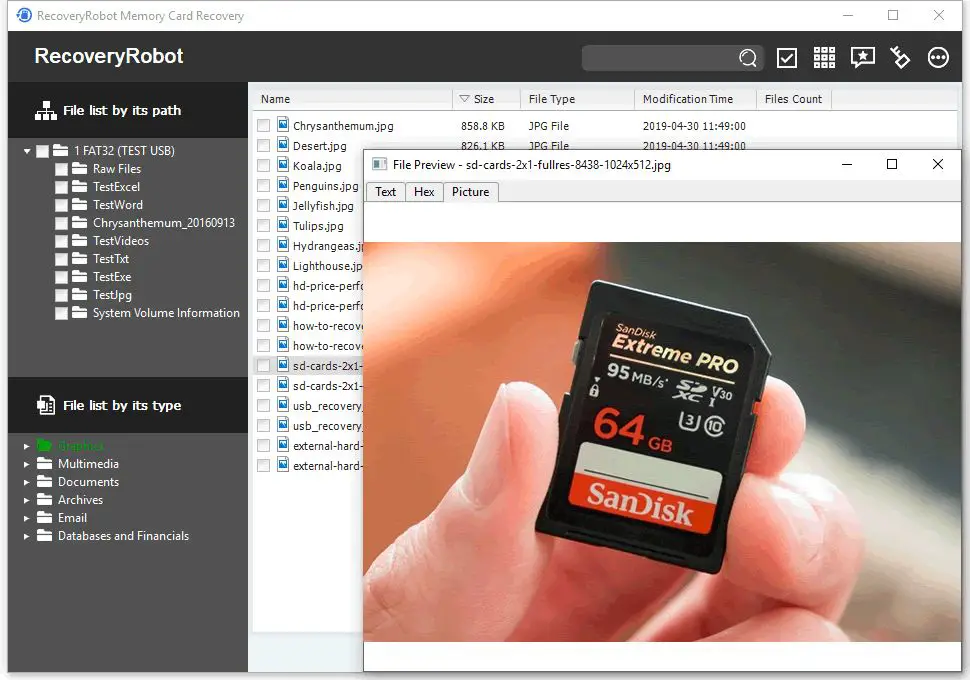
Try Recovery Software
There are many SD card recovery apps available to help recover formatted data. According to expert reviews, the top recommended software options include:
Recoverit Data Recovery by Wondershare – A robust recovery tool that scans SD cards thoroughly to find lost and deleted files. It has a high recovery rate and intuitive interface.
Disk Drill by CleverFiles – Easy to use software with powerful scanning and preview capabilities. Can recover media files, documents, archives and more.
These programs scan the SD card sector-by-sector to identify files that can be recovered based on the file signatures still intact. They rebuild file structures in order to extract as much data as possible from even severely corrupted cards. The scanning process can take some time depending on the size of the card and amount of data.
Many recovery apps offer both free trial and paid versions. The free options allow you to scan and preview found files, while the paid upgrades unlock the actual file recovery capabilities.
Connecting the SD Card
When attempting data recovery, it is crucial not to overwrite the existing data on the SD card. Opening files or saving new data to the card can permanently overwrite the deleted or lost files you want to recover. Therefore, after a formatting error, you should avoid using the SD card at all until attempting recovery.
To recover data from the formatted SD card, first connect it to your computer or device using a card reader or adapter. Do not open or access any files on the card itself. Instead, launch your recovery software and allow it to interface directly with the SD card to scan for recoverable data. The recovery program will read the card without changing it, maximizing your chances of restoring your photos, videos, and other content.
Select the correct SD card drive within the recovery software so it scans the correct location. Follow all instructions from the recovery program when connecting the device. Avoid any other actions which could write new data to the card before a full scan and recovery is complete.
Scanning and Previewing Files
Once the SD card is connected, you’ll need to scan it to find recoverable files. Here are the step-by-step instructions:
- Open the SD card recovery software and click on the “Scan” button.
- The software will now perform a deep scan of your SD card to find lost and deleted data.
- Depending on the capacity of your SD card and number of files, this process can take anywhere from a few minutes to a couple of hours.
- Be patient and let the scanning complete.
- Once the scan finishes, the recoverable files will be listed in the software’s interface.
- Go through this list and preview files by clicking on them.
- Previewing helps identify and ensure the files are intact and can be recovered properly.
- Refrain from saving the files onto the SD card during preview.
Scanning and previewing are critical steps in SD card recovery using data recovery software. Take your time to carefully go through all recoverable data before restoring it.
Recovering the Files
Once the scan is complete, you will see a list of all recoverable files and folders. The software will organize them by file type for convenience. Carefully browse through all available folders and file types to locate your lost data.
Be sure to preview files before recovering them to ensure they contain your desired data. Many recovery apps allow you to preview photos, documents, and other file formats. Avoid recovering corrupted or unwanted files as this will use up storage space.
When you locate files you wish to recover, select them individually or choose entire folders to recover multiple files at once. Then specify a save location – this should always be a different drive than the one you are recovering from, to avoid overwriting the deleted data.
An external hard drive or secondary internal drive are the best options for saving recovered files. Avoid saving to the same SD card you are recovering from. Once you select a new drive, start the recovery process.
The software will copy the files from the SD card to the new location. Expect this to take some time depending on the amount of data. Once completed, your recovered files are accessible again.
Recovery Success Tips
There are a few tips to have the best chance of successfully recovering your formatted SanDisk SD card:
Try multiple recovery software options if you are not satisfied with the results from the first one. Different software use different algorithms and scan the SD card in different ways, so you may have better luck with a different program. Some popular free options include Recuva, TestDisk, Photorec, and EaseUS Data Recovery Wizard.
If you exhaust all DIY software recovery options without success, consider sending your SD card to a data recovery specialist. Professionals have specialized equipment and advanced techniques that give them the best chance of recovering your files. However, their services can be expensive.
Recover data from the formatted SD card as soon as possible. The longer you wait, the more likely the operating system will overwrite the existing data with new data. Immediately stop saving anything new to the card, connect it to your computer, and run data recovery software.
Following these tips will give you the best chance of getting back lost files and photos after accidentally formatting your SanDisk SD card.
Avoid Formatting in the Future
You can take steps to avoid accidentally formatting your SD card in the future. Here are some tips:
- Regularly back up your photos and files stored on the SD card to another location like your computer or a cloud storage service. This ensures you have copies of your data if the card ever needs to be formatted.
- Safely eject the SD card before removing it from your camera or device. This can help prevent corruption or damage to the card that may require formatting.
- Check your SD card periodically for errors using your computer’s error-checking utility or a 3rd party app. Address any errors found before they accumulate and potentially require formatting the card.
Taking preventative measures like regular backups and safely ejecting the card can help you avoid finding yourself in a position where you might need to format the SD card and lose data.
Summary
In summary, the main steps covered to recover a formatted SanDisk SD card included:
- Stopping use of the card immediately after formatting to avoid overwriting data.
- Trying reliable recovery software designed for SD cards.
- Properly connecting the SD card to a computer.
- Scanning and previewing recoverable files.
- Recovering files successfully to another drive.
It’s critical to act quickly after accidentally formatting a card, before new data has a chance to overwrite your deleted files. Don’t lose hope, try SD card recovery software as soon as possible to maximize your chances of getting your photos, videos, and other content back intact.
With the right tools and prompt action, you have an excellent chance of recovering your formatted SD card. Don’t assume valuable files are lost forever – try recovery before replacing the card or recreating lost work.