Recovering data from a crashed iMac can seem daunting, but is very doable with the right tools and techniques. The most important thing is to not panic or attempt fixes that could make the situation worse. There are tried and true methods you can follow to retrieve your files and get your iMac operational again.
Quick Overview of Data Recovery Options for a Crashed iMac
- Try restarting your iMac and running disk utilities like Disk Warrior and Drive Genius to repair disk errors.
- Boot the iMac into Target Disk Mode and access it like an external hard drive from another Mac.
- Remove the hard drive and connect it to another Mac using a hard drive enclosure or adapter cable.
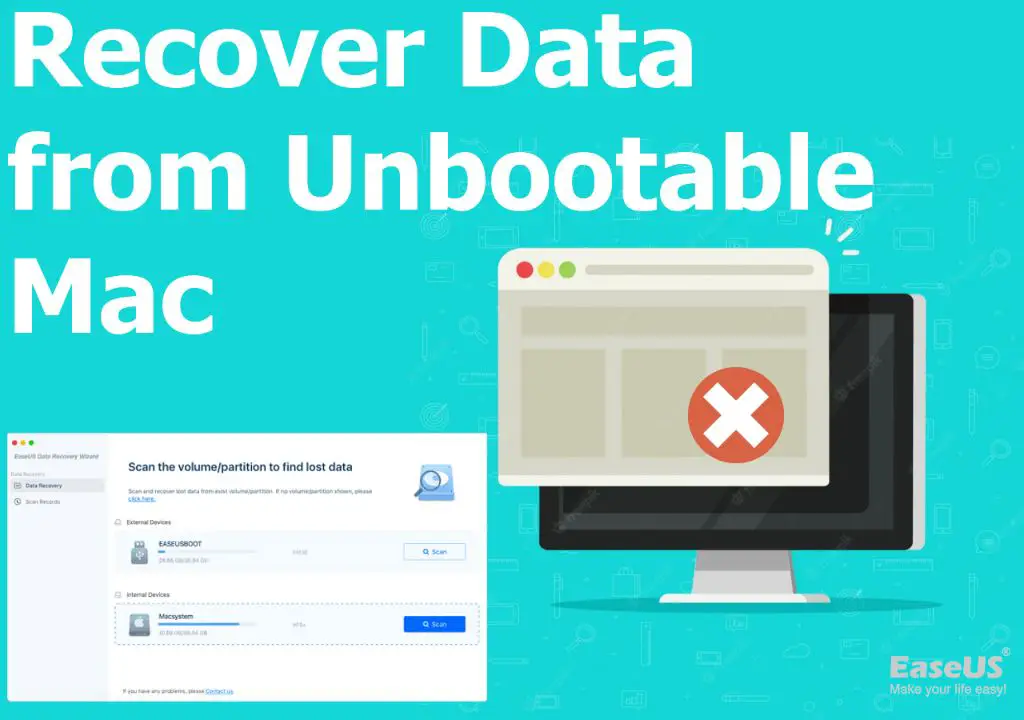
- Use data recovery software like Data Rescue, Disk Drill, or Stellar Data Recovery to scan the drive and recover deleted or lost files.
- Send the hard drive to a data recovery service for recovery of critical or seemingly lost data.
The best approach depends on the specifics of your machine’s crash and your comfort level using advanced troubleshooting techniques. But in most cases, DIY data recovery is possible.
Determining the Cause of the Crash
To determine the proper data recovery strategy, you need to first diagnose why your iMac crashed. Common causes include:
- Software errors – Corrupted files, malware, buggy updates can crash the operating system and make your computer unbootable.
- Hardware failures – Bad RAM, failed hard drive, LCD panel or power supply problems can lead to sudden crashes.
- Liquid spills – Damage to electronic components from accidentally spilled liquids cause unpredictable crashes.
- Overheating – Dust buildup causing overheating and component failure, leading to freezes or crashes.
- Power surges – Sudden loss of power while computer is on can corrupt software or damage hardware.
The recovery process will vary greatly depending on if it’s a software or hardware issue. Software problems have the best chance of data recovery success. Hardware failures make DIY fixes much more difficult.
Troubleshooting Steps to Diagnose an iMac Crash
Here are some basic troubleshooting steps to help determine why your specific iMac crashed:
- Check error messages on the screen during a crash for clues to the cause.
- Try booting into Apple Hardware Test (hold D during boot) to check system hardware.
- Boot to Safe Mode (hold Shift during boot) to isolate software issues.
- Check System & Console logs in Applications > Utilities for crash details.
- Look for obvious signs of liquid damage or overheating around internal components.
- Check connections to RAM and hard drive to rule out loose connections.
Documenting any error messages, unusual behavior, or problems during hardware tests will help identify whether it’s a hardware or software issue at the root of the crash.
Attempting to Revive a Crashed iMac
Before attempting recovery on an external machine, try reviving the crashed iMac itself first. The following solutions may bring it back to a bootable state:
Run Disk Repair Utilities
Using disk repair utilities like Disk Warrior, Drive Genius, and Disk Utility can often resolve software-related crashes by fixing corrupt directories, file permissions, or boot records.
To use them:
- Boot to Recovery Mode (Command-R on boot)
- Connect an external drive with the utilities downloaded
- Open and run the utilities to check and repair the internal drive
If the drive errors are repairable, this should get your system booting again so you can recover data normally off the internal drive.
Erase and Reinstall The Operating System
A clean install of the OS can fix manycrash-causing software errors:
- Boot to Recovery Mode orInternet RecoveryMode
- Use Disk Utility to fully erase/reformat theinternal drive
- Reinstall macOS cleanly onto the erased drive
This wipes all your data but can resurrect an iMac suffering from system file corruption. Allow it to complete installations, thenshut down. You can then target data recovery off the “erased” drive.
Reset NVRAM and SMC
Resetting these firmware settings to defaults may resolve booting issues:
NVRAM – Turn off Mac > Hold Command-Option-P-R keys during boot > Hold until hear startup chime a 2nd time
SMC – Shut down Mac > Unplug power cable > Press and hold power button 10 sec > Plug in power > Turn on
Once you’ve tried these basic revive techniques, a crashed Mac that still won’t boot requires data recovery via an external machine.
Data Recovery Option 1: Target Disk Mode
Target Disk Mode allows a Mac to be booted up and used as an external drive when connected to another working Mac.
When to Use Target Disk Mode
– If the crashed Mac powers on but won’t complete booting up normally.
How to Use Target Disk Mode for Data Recovery
- Connect the two Macs with a Firewire, Thunderbolt, or USB-C cable.
- Power on crashed Mac and immediately hold down T key to enter Target Disk Mode.
- Booted Mac will mount internal drive from crashed Mac as an external drive.
- Copy all data or files as needed to booted Mac or external backup drive.
This method provides read-only access but enough to copy your data to another drive for recovery.
Target Disk Mode Limitations
– Slow data transfers, especially over USB. Use Thunderbolt or FireWire direct connections when possible.
– Limited to Mac-to-Mac data migration. Can’t mount drive on a Windows PC.
So Target Disk Mode offers a quick solution for grabbing data off an iMac that won’t boot properly but still powers up.
Data Recovery Option 2: Removable Drive Extraction
For iMacs that won’t power on at all, you’ll need to remove the internal drive for access on another computer.
When to Attempt Removable Drive Extraction
– If the iMac does not power on at all to enter Target Disk Mode
– If the drive itself is making unusual clicking or grinding noises (indicating hardware failure)
How to Recover Data from Removed iMac Hard Drive
- Extract the hard drive – Carefully open the iMac and remove the hard drive. An iMac toolkit helps.
- Connect drive to another Mac – Use a SATA-USB adapter or external drive enclosure to connect.
- Run recovery software – Use data recovery software to attempt to access the drive and copy files.
This difficult method has a lower success rate. But it’s the only DIY option if the iMac won’t power on for Target Disk Mode. Expect an uphill battle recovering data from a physically failed drive.
Challenges of Recovered Drive Extraction
– Requires disassembling the iMac carefully to not damage components
– A physically failing drive may not mount on another machine or recovery software
– Older iMacs use proprietary drive connections, limiting access options
So removable drive recovery should only be attempted if absolutely needed. Seek professional help for older iMacs with non-standard drives.
Data Recovery Option 3: Dedicated Recovery Software
Specialized data recovery software is designed to reconstruct data from corrupted or failing drives.
Benefits of Data Recovery Software
- Recovers deleted files even if emptied from Trash.
- Rescues data after formatting or erasing a drive.
- Restores data after software crashes or file corruption.
- Advanced scanning to locate files from failed hard drives.
Top data recovery programs for Mac:
| Software | Price | Recovery Features |
|---|---|---|
| Data Rescue | $99 | Deletion, corruption, crashes, formatting recovery options. |
| Disk Drill | Free or $89 Pro | Undelete Protection can instantly recover files after accidental deletion. |
| Stellar Data Recovery | $99 | Time Machine style backups allow you to roll back a drive to recover from data loss. |
These tools scan drive content at a granular level to reconstruct and restore corrupted or deleted data.
Using Recovery Software on a Crashed iMac
- Create bootable recovery drive on a USB stick or external drive.
- Boot crashed iMac from recovery drive.
- Run recovery tool’s scan on iMac’s internal drive.
- Preview found files before recovering to another drive.
Recovery software is most effective when the iMac still boots, even if slowly or to a limited extent.
Data Recovery Option 4: Professional Drive Recovery Service
For significant data loss from extreme drive failure, a professional recovery service may be needed.
When to use Professional Recovery
– DIY options failed to recover critical data.
– Extreme physical hard drive failure or damage.
– Proprietary technology needed for non-standard RAID arrays or enterprise drives.
The Professional Data Recovery Process
- Evaluation – The drive is examined to determine the failure and feasibility of recovery.
- Recovery Work – Experts dismantle the drive in a dust-free clean room and use specialized tools and techniques to extract data.
- Return of Data – The recovered data is loaded onto new storage media and returned to the customer.
Expect an extremely high recovery rate but at a steep price ranging from $300 to over $1000.
When is Professional Recovery Worth It?
– If DIY options were completely unsuccessful.
– Only 50-80% of data was recovered.
– The data is mission critical or one-of-a-kind.
– You need expert testimony for legal evidence.
Evaluate the unique value of irreplaceable data vs. the cost of professional recovery.
Preparing for Data Recovery
You can take steps before disaster strikes to prepare for possible future data recovery:
- Have backups – Maintain multiple backups like Time Machine to avoid reliance on recovery.
- Document your system – Track hardware, OS, software, drive details in case crucial for recovery.
- Know your options – Research recommended data recovery methods for your specific model iMac.
- Keep tools on hand – Have drive enclosures, recovery software, extra drives, etc. ready to use.
Careful backups provide the best insurance against disaster, but recovery preparation can still save you when needed.
Conclusion
Recovering crashed iMac data may seem daunting but can be tackled with the right approach:
– Diagnose the cause of failure to pick the optimal recovery path
– Try reviving the iMac first via repairs, reinstalls, resets when possible
– Use Target Disk Mode for quick data migration to a working Mac
– Remove the drive for recovery attempts on another machine if needed
– Turn to data recovery software and professional help for extreme cases
Stay calm, research the ideal method for your specific situation, and utilize the many DIY and expert options at your disposal. This will ultimately ensure you get your important data back intact so you can continue to use and enjoy your Mac.