Losing important files on your Mac can be incredibly stressful. Fortunately, with the right tools and techniques, you can often recover deleted files or data from a failed hard drive. This guide will walk you through the steps for recovering lost data on a Mac.
Quick Overview of Data Recovery Options
Here are some quick answers to common questions about Mac data recovery:
- Use Time Machine backups – If you have Time Machine backups, you may be able to restore deleted files from there.
- Try data recovery software – Software like Disk Drill can scan your Mac and recover lost files.
- Send to data recovery service – For complex cases like hardware failure, a data recovery service may be able to recover data.
- Repair the disk – Disk Utility can potentially fix disk errors and make data accessible again.
Determine Why Files Are Missing or Lost
Before attempting data recovery, it’s important to understand the cause of data loss. Here are some of the most common reasons files can disappear from a Mac:
- Accidental deletion – Files that are accidentally deleted may be recoverable, if not overwritten.
- Hard drive failure – Physical damage to the hard drive can lead to inaccessible files.
- Corrupted drive – Errors in the file system or directory structure can make data unreadable.
- Formatted drive – If a disk is reformatted, the files may still be recoverable.
- OS crash – System crashes can cause data loss or make files inaccessible.
Knowing the reason for data loss will help determine the best recovery method to use and improve your chances of getting the files back.
Check for Time Machine Backups
If you have previously set up Time Machine to back up your Mac, that should be your first stop when trying to recover lost data. Time Machine makes hourly backups of changed files, so you may be able to restore deleted or altered files from a previous backup.
To restore from Time Machine:
- Open Time Machine from the Applications folder or Dock.
- Browse through earlier backups and find the lost files.
- Select a file and click Restore to retrieve the file.
Time Machine makes it easy to recover individual lost files. You can also restore the entire system from a Time Machine backup if needed.
Limitations of Time Machine
While Time Machine is handy for data recovery, it has some limitations:
- Time Machine won’t have deleted files if they weren’t backed up.
- Restoring large amounts of data from Time Machine backups can be slow.
- Time Machine won’t help if your backup drive is also damaged or corrupted.
So while Time Machine should be your first option, it’s not a foolproof data recovery solution in all cases. Other options may be required if Time Machine can’t restore what you need.
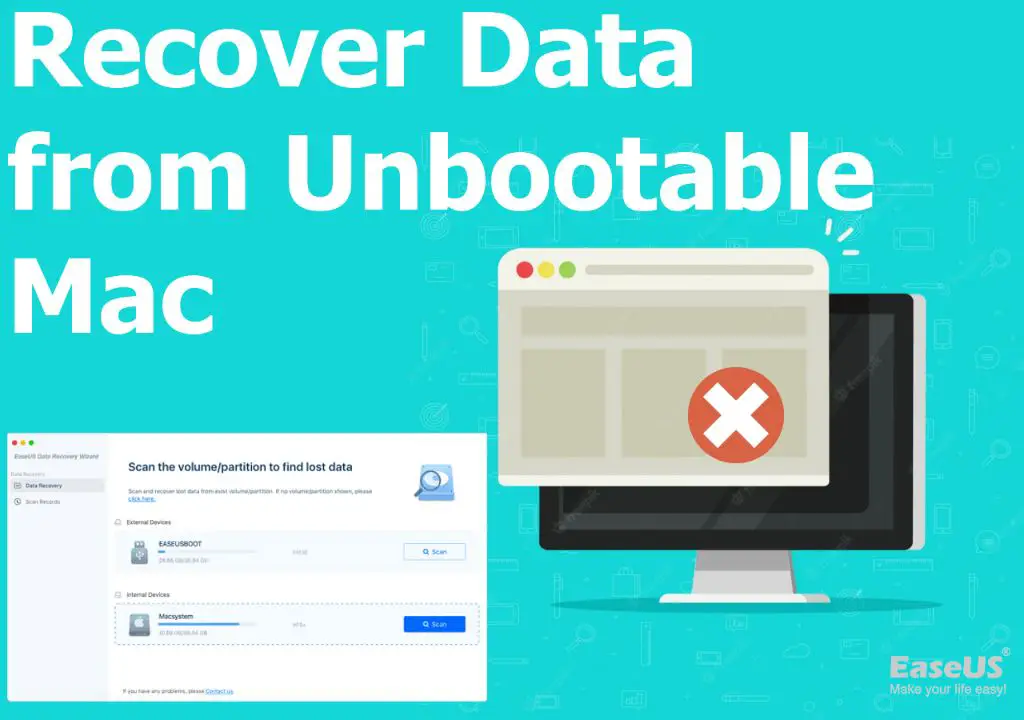
Try Data Recovery Software
If Time Machine doesn’t have the files you need, the next step is to try data recovery software. Applications like Disk Drill include powerful scanning tools that can find deleted files and reconstruct damaged drives.
Some of the features of Disk Drill for Mac data recovery include:
- Recover deleted files even if emptied from Trash.
- Retrieve data lost due to OS crashes, accidental formatting, etc.
- Recovery Vault protects files from accidental deletion.
- Scans internal and external drives for recoverable data.
- Preview files before recovering to avoid recovering unnecessary data.
Follow these general steps to use Disk Drill to recover lost data:
- Download and install Disk Drill.
- Open Disk Drill and select the drive to scan for lost data.
- Click “Recover” next to a file to restore it or click “Recover all” to restore everything recoverable.
- Preview files first if you need to selectively recover data.
- Choose a recovery destination folder to save restored files.
The deep scanning and file reconstruction capabilities of software like Disk Drill makes it possible to recover even deleted files. But results still depend on the condition of the storage device and whether files were overwritten.
When Data Recovery Software Won’t Work
In some cases, data recovery software reaches its limits:
- Disk is mechanically damaged and unreadable – Physical damage prevents access.
- Encryption locks files – Encrypted volumes may be unrecoverable without the password.
- Files are overwritten – Saving new data over deleted files makes recovery impossible.
If drive errors are preventing software from scanning or the needed files were replaced, then more advanced recovery is necessary through a dedicated recovery service.
Send to a Data Recovery Service
For difficult cases of severe file loss or drive failure, you may need to turn to a professional data recovery service. Data recovery specialists have access to advanced tools and techniques that can rescue data from even seriously damaged drives.
Examples of cases where a professional data recovery service can help:
- Hard drive has physical damage, is unrecognized, or won’t spin up.
- Recovery software can’t access the drive due to system corruption.
- Needed files were lost due to formatting or repartitioning.
- Water, fire or other damage make data recovery impossible without a clean room.
Professional data recovery follows this general process:
- You ship the failed drive to the recovery company.
- They diagnose the extent of damage in the clean room lab.
- Technicians disassemble the drive and repair or extract the platters.
- The recovered data is copied to a new drive and returned.
Data recovery services are the best hope for getting data off a drive with physical damage or highly corrupted files. But it’s expensive – costs typically start around $300 but can reach $1000 or more.
Choose a Reputable Service
With sensitive data, it’s critical to choose a reputable recovery firm. Look for reviews, certifications, security guarantees, and experience recovering Mac data. Top options include:
- DriveSavers – Well-known Mac and RAID recovery service with decades of experience.
- Data-Medics – Recovers data from Macs and iOS devices.
- Secure Data Recovery – All facilities have Class 100 clean room.
Avoid low-cost, inexperienced outfits. The savings aren’t worth the risk with irreplaceable data.
Repair Disk Errors and Permissions
Sometimes lost files or crashing is caused by underlying file system or disk errors. macOS includes the Disk Utility app to check for and repair such problems.
To use Disk Utility to recover lost data on a Mac:
- Open Disk Utility located in Applications > Utilities
- Select the affected drive volume.
- Click First Aid in the toolbar and choose Run.
- Disk Utility will check and repair errors.
With Disk Utility, you can fix disk permissions, recover damaged directories, rebuild boot sections and more. Repairs may make your data accessible again without advanced recovery.
When Disk Utility Can’t Repair
Disk Utility has limitations like any tool:
- It can’t recover deleted files or lost partitions – it only fixes file system errors.
- Extreme file system corruption may be unrepairable.
- Physical damage to the drive mechanics isn’t fixable through software.
So while Disk Utility repairs can restore lost data in some cases, turn to data recovery software or services for more serious recovery needs.
Avoid Losing Data in the First Place
Recovering lost data is often difficult, expensive, or flat-out impossible. That’s why it’s critical to implement backup strategies to avoid data loss:
- Use Time Machine – Set up hourly backups to external storage.
- Enable cloud backups – Back up important files offsite to cloud storage.
- Make drive clones – Keep bootable duplicates as instant backups.
- Have a sync system – Sync files between devices to access from anywhere.
No backup system is foolproof, but following the 3-2-1 backup rule gives you an excellent data safety net. The 3-2-1 rule means maintaining:
- 3 copies of data (primary plus 2 backups).
- 2 local backups (external drive and/or clone).
- 1 offsite backup (cloud storage).
Following best practices for preventing data loss will save you the pain and cost of trying to recover data. But if you do suffer data loss, use the techniques in this guide to recover files on a Mac.
Conclusion
Here are some key takeaways on recovering lost data on a Mac:
- Try Time Machine restores for deleted files if you have backups enabled.
- Use data recovery software like Disk Drill to scan for recoverable files.
- For serious cases of drive failure, turn to professional recovery services.
- Repairing disk errors with Disk Utility may fix underlying issues.
- Avoid data loss by regularly backing up your data locally and to the cloud.
While data recovery is never easy, following this process gives you the best chance to get lost or deleted files back after a data loss disaster.