Removing the hard drive from an old HP Pavilion desktop PC is a straightforward process that can be done in just a few steps. While the exact steps may vary slightly depending on the specific Pavilion model, the general process is the same across all models. With some basic tools and safety precautions, you can remove the hard drive from your old Pavilion desktop quickly and easily.
Why Would You Want to Remove the Hard Drive?
There are several reasons why you may want to remove the hard drive from an old desktop computer like the HP Pavilion:
- To retrieve data – If the computer will no longer boot up properly, removing the hard drive to connect it to another computer is often the best way to retrieve any important files or data that may be on the drive.
- To do a clean reinstall of the operating system – Wiping the hard drive clean and doing a fresh OS install is sometimes necessary to fix software issues and improve system performance.
- To physically destroy the drive – If you are disposing of the computer, you may want to remove and physically destroy the hard drive to prevent data theft.
- To install a new hard drive – You may want to upgrade to a larger, faster hard drive or an SSD to improve performance.
- To troubleshoot hardware issues – Removing the hard drive will help you diagnose problems that may be caused by a faulty drive.
Safety Precautions
Before removing the hard drive from your HP Pavilion desktop, it’s important to take some basic safety precautions:
- Unplug the computer – Unplug the power cable from the back of the computer to avoid electric shock. Also unplug all other connected cables.
- Wear an anti-static wrist strap – Use an anti-static wrist strap grounded to an unpainted metal surface to prevent static discharge damage to computer components.
- Work on a non-static surface – Choose a work area that won’t generate static electricity, such as a tabletop made of wood or glass rather than plastic.
- Handle drives carefully – Don’t drop or jolt hard drives, as this can damage internal components.
- Use appropriate tools – A Phillips-head screwdriver is generally all that’s needed, but you may also require a Torx screwdriver on some models.
Prepare the Computer
Before opening up your HP Pavilion to remove the hard drive, you’ll want to prepare the computer:
- Close any open programs and shut down the computer through the Windows Start menu.
- Disconnect ALL cable connections from the back of the computer, including the power cord.
- Remove any discs/media from the optical drive.
- Clear any cables, phones, or other objects from the immediate workspace.
- Put on your anti-static wrist strap, clipping it to an unpainted metal surface.
- Have your Phillips-head screwdriver at the ready.
Open the Case
With the computer powered down and unplugged, you’re ready to open up the case. The exact method varies between different Pavilion models, but typically involves some combination of:
- Removing screws from the back of the case
- Sliding off the side panels
- Removing screws securing the front bezel
- Lifting up the case lid
Refer to your specific Pavilion’s user manual if you need exact instructions on opening up its case. Just be gentle, take it slow, and keep track of any screws you remove.
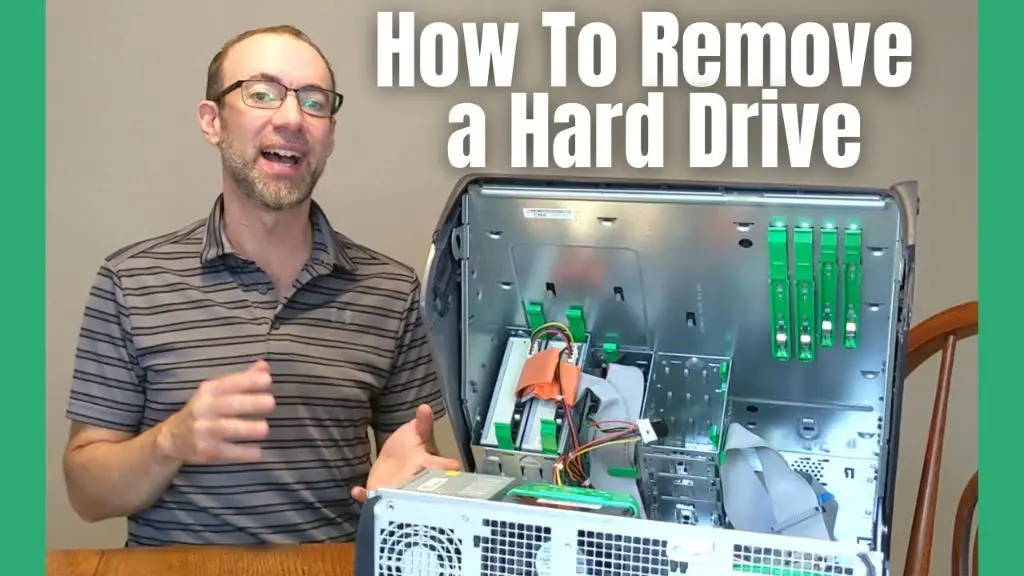
Locate the Hard Drive
Once you have the case open, you’ll need to locate the hard drive. In most Pavilion desktops, the hard drive is mounted in a drive bay, typically near the top of the case.
Look for a drive that looks like a flat rectangle and has power and data cables running into it. It may have a label indicating it is the hard drive. The hard drive will look similar to this:
Note the location and orientation of the hard drive in its bay before moving on.
Disconnect Cables
Before fully removing the hard drive, you’ll need to disconnect the power and data cables attached to it:
- Carefully detach the small power cable from the back of the hard drive. This cable provides power from the power supply to the drive.
- Disconnect the wide ribbon cable that connects the hard drive to the motherboard. This is the data cable that allows data transfer.
- Unclip any cable ties or straps that may be bundling the cables together or tying them down.
Be gentle when handling the cables, especially the data cable. Don’t yank on them or bend them at sharp angles.
Remove Mounting Screws
The hard drive will be secured in the drive bay with several small screws. Use your Phillips-head screwdriver to remove these screws; there are typically between 2-4 screws depending on the specific model.
On some models, you may need to remove a retaining bar or bracket to fully release the hard drive. Refer to your Pavilion’s documentation if you’re unsure.
Slide Out the Hard Drive
With the cables detached and mounting screws removed, the hard drive should now be loose in its bay. Before fully removing it:
- Take note of the exact orientation of the drive in the bay. You’ll need to reinsert it the same way later.
- Double check that both the power and data cables are detached.
Then, gently grasp the hard drive and slide it out of the drive bay. Don’t force it if it seems stuck – recheck for any remaining cable connections or screws.
Once it’s removed, you can set the hard drive aside on your anti-static work surface.
Install the New Hard Drive
If you’re replacing the original hard drive with a new one, the installation process is similar:
- Line up the new hard drive into the empty drive bay in the same orientation as the original drive.
- Slide it evenly into place until fully seated in the bay.
- Replace any mounting screws or brackets to secure it.
- Reattach the power and data cables to the corresponding ports on the back of the new drive.
- Adjust the cables to avoid obstructing any other components.
Refer to your Pavilion manual for details like torque specs on the mounting screws. With the new drive installed, you can reassemble the computer.
Conclusion
Removing the hard drive from most HP Pavilion desktop PCs is a straightforward process:
- Prepare the computer by shutting down, unplugging cables, and removing media.
- Open up the case according to the instructions for your specific model.
- Locate, disconnect, and remove any screws from the hard drive.
- Gently slide out the hard drive.
- Replace with a new drive if needed, reattaching cables and screws.
- Reassemble the case and reconnect power/accessory cables.
With some basic precautions taken, the right tools on hand, and following the steps above, you can remove the hard drive from an old HP Pavilion desktop computer in minutes. Just be gentle, organized, and refer to the manual for your particular model if you need specific guidance on opening up the case or locating the drive.