What is a flash drive write protection?
A flash drive write protection is a feature that prevents files from being modified, deleted or new files being added to the drive. It essentially makes the drive read-only.
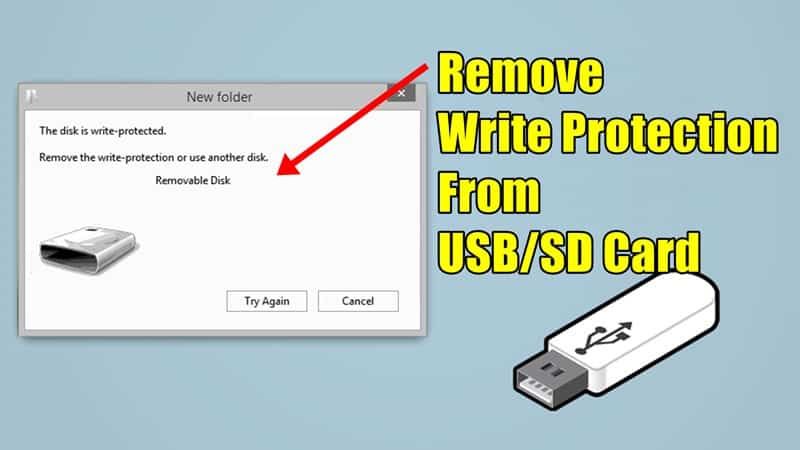
The write protection helps prevent accidental or malicious changes to the data on the drive. Once enabled, you cannot format the drive or delete any files on it.
Flash drives usually have a physical switch on the housing that toggles write protection on and off. Sliding the switch to the ‘lock’ position enables write protection.
Why would I need to remove write protection?
You may need to remove the write protection from a flash drive in order to:
- Format the drive
- Delete files from the drive
- Add new files to the drive
- Modify or edit existing files on the drive
- Reset the drive to factory settings
Basically, if you need to make any changes to the contents of the drive, you will need to disable write protection.
How to remove write protection on a flash drive
There are a few different methods you can use to remove or disable write protection on a flash drive:
Toggle the physical write protect switch
Most flash drives have a small physical switch on the housing that toggles write protection on and off.
To remove write protection:
- Locate the write protect switch on the housing of the flash drive.
- Use your fingertip or a small object like a paperclip to gently slide the switch to the unlocked position.
- The switch will stay in the unlocked position, allowing you to add/edit files on the drive.
Use diskpart in Command Prompt
You can use the diskpart utility in Windows Command Prompt to remove write protection:
- Insert the flash drive into your computer.
- Open the Command Prompt application.
- Type diskpart and press Enter.
- Type list disk and press Enter. Note down the disk number of your flash drive.
- Type select disk x (replace x with your disk number) and press Enter.
- Type attributes disk clear readonly and press Enter.
- Type exit and press Enter to close diskpart.
This will clear the read-only attribute and remove write protection.
Use diskpart in PowerShell
Similarly, you can use diskpart in PowerShell:
- Insert the flash drive and open PowerShell
- Type diskpart
- Type list disk and note down the disk number.
- Type select disk x (replace x with disk number)
- Type attributes disk clear readonly
- Type exit to close diskpart
Use Registry Editor
You can edit the registry to remove write protection system-wide:
- Open Registry Editor (regedit.exe)
- Navigate to HKEY_LOCAL_MACHINE\SYSTEM\CurrentControlSet\Control\StorageDevicePolicies
- Change the WriteProtect value to 0
- Restart your computer for changes to take effect
This will disable write protection for all drives.
Format the flash drive
Formatting the flash drive will remove write protection along with all data:
- Connect the drive to your computer.
- Open Windows File Explorer.
- Right-click on the flash drive and select Format.
- Under File System, select FAT32 or exFAT.
- Check Quick Format and click Start.
After formatting, the drive will be writable again.
Removing write protection from a hardware locked drive
Some flash drives come with hardware write protection that cannot be disabled with software. This is common in enterprise drives to prevent tampering.
On such drives, write protection is hard-coded into the controller chip. You will need to take apart the drive and remove the hardware lock:
- Unscrew and open the metal housing of the drive.
- Locate the lock switch or tab on the PCB.
- Move the switch to the unlocked position using tweezers.
- Replace the housing and re-assemble the drive.
Now the drive should be writable again.
Proceed with care as you can damage the drive if not handled properly while disassembled.
Conclusion
Write protection on a flash drive can be removed in various ways:
- Toggling the physical switch to unlocked position
- Using diskpart utility in Command Prompt or PowerShell
- Editing registry to disable write protection
- Formatting the flash drive
- Removing hardware write protect tab if present
Choose the appropriate method based on whether your drive has hardware write protection and your reason for removing it.
Back up important data on the drive before making any changes. And be gentle while handling the drive internals if removing a hardware lock.