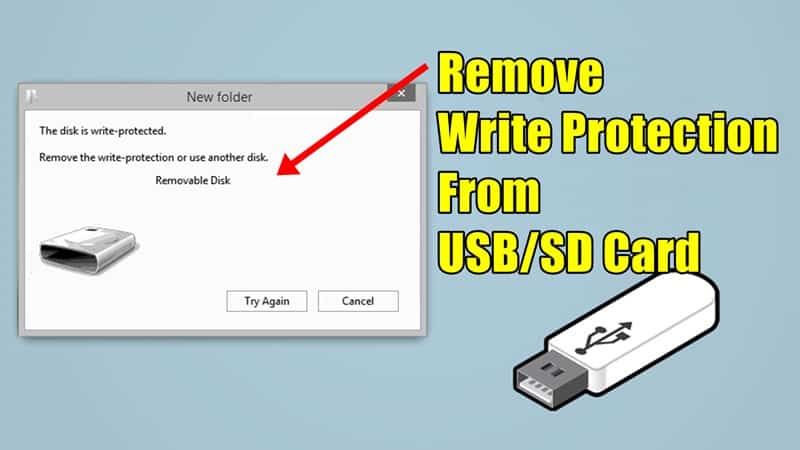
What is write protection?
Write protection is a feature that prevents files on a storage device like a USB flash drive or SD card from being modified, deleted, or new files added. It essentially locks the device into read-only mode. Write protection helps prevent accidental deletion or overwriting of important files.
There are a few ways write protection can be enabled:
- A physical lock switch on the USB or SD card
- A software setting applied through disk utility tools
- A firmware lock built into the controller chip
If write protection is enabled, you’ll get errors when trying to copy, move, edit, delete or add new files to the device. The files can be read but not changed in any way.
How to remove write protection from USB drive
If your USB flash drive has a physical lock switch on the housing, simply sliding it to the unlocked position will disable write protection. Refer to the manual if unsure of switch orientation.
If there’s no physical switch, write protection may be enabled in software. This is common for internal flash drives embedded in devices like cameras. Here’s how to remove software write protection:
On Windows
1. Insert the USB drive into your computer.
2. Open File Explorer and right click on the drive. Select Properties.
3. Go to the Security tab and click Advanced.
4. Uncheck the box next to “Read-only” under Removable Storage Access and click OK.
This will disable the software write protection on the drive. You may need admin access to change these permissions.
On Mac
1. Insert the USB drive and launch Disk Utility.
2. Select the drive and click Info.
3. Expand the General section and uncheck Read-only.
4. Click Apply Changes.
This will remove the software write protection attribute from the drive.
Using Diskpart (Windows)
Diskpart is a command line disk utility built into Windows. To use it to remove write protection:
1. Press Windows + R to open the Run box.
2. Type “diskpart” and press enter to launch the tool.
3. Type “list disk” to show disks. Identify the number of your USB drive.
4. Type “select disk x” replacing x with your drive number.
5. Type “attributes disk clear readonly” to remove write protection.
6. Type “exit” when done.
This will clear the read-only attribute at a firmware level, disabling write protection.
How to remove write protection from SD card
SD cards and microSD cards have a similar small physical lock switch on the card itself. Sliding it up will enable write protection while down disables it. Refer to the manual for the correct orientation.
If there’s no physical lock, the card may have software write protection applied like on a USB drive. Follow these steps:
On Windows
1. Insert the SD card into your computer directly or using a card reader.
2. Open File Explorer and right click on the drive. Select Properties.
3. Go to the Security tab and click Advanced.
4. Uncheck the box next to “Read-only” under Removable Storage Access and click OK.
On Mac
1. Insert the SD card and launch Disk Utility.
2. Select the drive and click Info.
3. Expand the General section and uncheck Read-only.
4. Click Apply Changes.
Using Diskpart
Follow the Diskpart command line steps outlined earlier, substituting the SD card drive number when selecting the disk.
This will reset software write protection attributes on the SD card.
What to do if remove write protection doesn’t work
In some cases, you may follow the steps above and still be unable to remove write protection from a USB or SD card. There are a few reasons this can happen:
– The drive has a firmware lock that cannot be changed through software tools. This is common on promotional USB drives from companies.
– There is physical damage to the drive causing the write protect lock to be permanently on.
– The USB or SD card controller has failed with the write protect lock enabled.
– The drive is infected with malware that has applied a malicious write protection.
If software methods do not work, here are some other steps to try:
- Try the drive in another computer or operating system in case it is an OS-specific issue.
- Check for any physical damage to the drive housing/pins and card lock switch.
- Inspect the drive on another device like a digital camera or media player.
- Scan for malware and viruses that may be enabling write protection.
If you’ve tried all troubleshooting steps and still cannot remove write protection, the drive itself is likely damaged or permanently locked. At that point, the only solution is to replace the USB flash drive or SD card.
How to avoid write protected drives
To avoid dealing with write protected drives, follow these tips:
- Physically lock the switch on cards and drives you want to protect from accidental changes.
- Be careful when handling drives to avoid physical damage.
- Eject and unmount drives properly before removal to avoid corruption.
- Maintain up to date anti-malware software to detect write protecting viruses.
- Enable drive passwords and encryption where available for extra protection.
- Avoid using drives from unverified sources which may be locked.
Following best practices for drive care and computer security will help prevent you from having to deal with write protection issues.
Conclusion
Write protection is enabled either through a physical lock switch or in software. To remove write protection, you’ll need to disable the lock switch, clear software read-only attributes, or use diskpart to reset the state. If software methods don’t work, physical damage or a firmware lock may be preventing you from writing to the drive. Avoiding write protection is possible by taking care of your drives, using security tools, and locking switches when necessary. With the right steps, you can successfully remove read-only protection and regain full access to your USB and SD card storage.